My new reed organ looked majestic in the living room, but it clearly needed a lot of work. Several keys were dead, the reservoir could barely hold wind, a few stops were broken, and touching the thing left a mysterious black residue on one’s fingers. I’ve never repaired anything remotely like this, but after reading Reed Organ Repair: A Generic Approach Part 1 a few times and wondering what it all meant, I decided to start work.

An interesting label on the treble side of the back panel. There is no Vox Humana in the organ, and I don’t believe there ever was. The Mouse Proof Protection gives an upper bound of 1880 for the manufacture date.
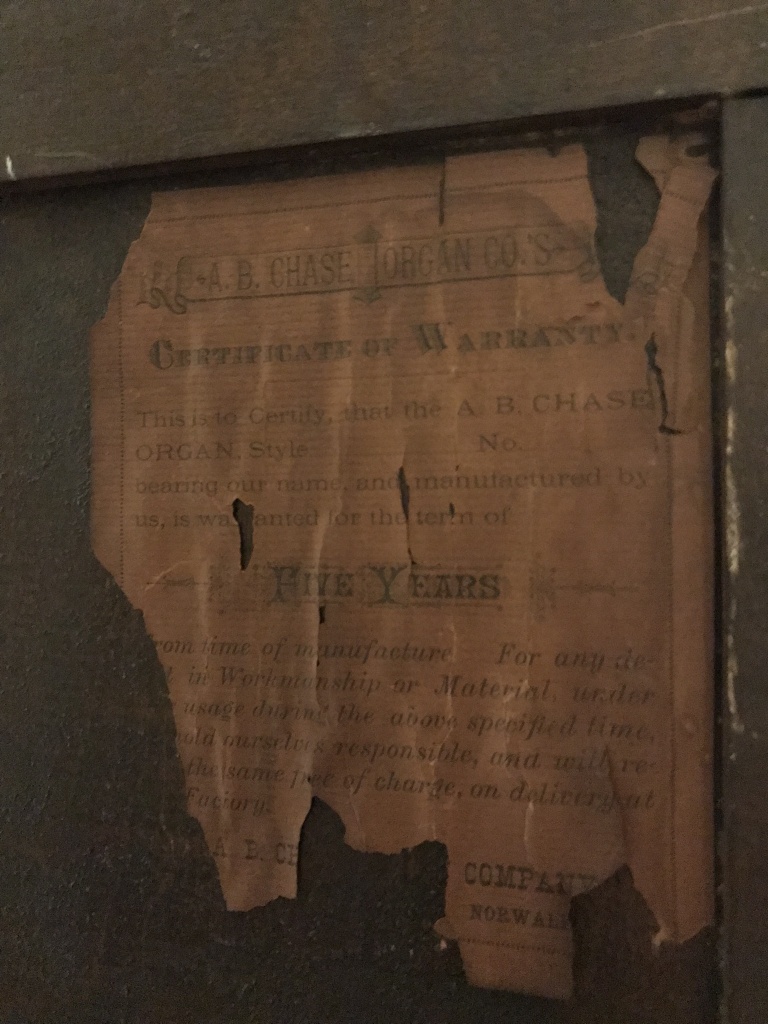
From the bass side. I wonder why they didn’t fill out the blanks, I wish they had.
The back panel came away without protest, being held in only by pegs and latches. The top part of the organ—which, by the way, was purely decorative, the bits that make noise are surprisingly small—was less cooperative. Many screws were obscured by dust. After I found and removed all of them (labeled for hopefully easy reassembly), I discovered that many joints had been reinforced with glue. Musical instruments are generally held together with hide glue, which is sensitive to moisture and heat. This is supposed to make repairs reasonably easy. However, after half an hour of alternating between hot water and a hair dryer, I gave up and used a knife to pry the joints apart. I’m not proud of it, but honesty compels me to tell events as they happened. Anyway, the brittle glue broke without damaging the wood, much.
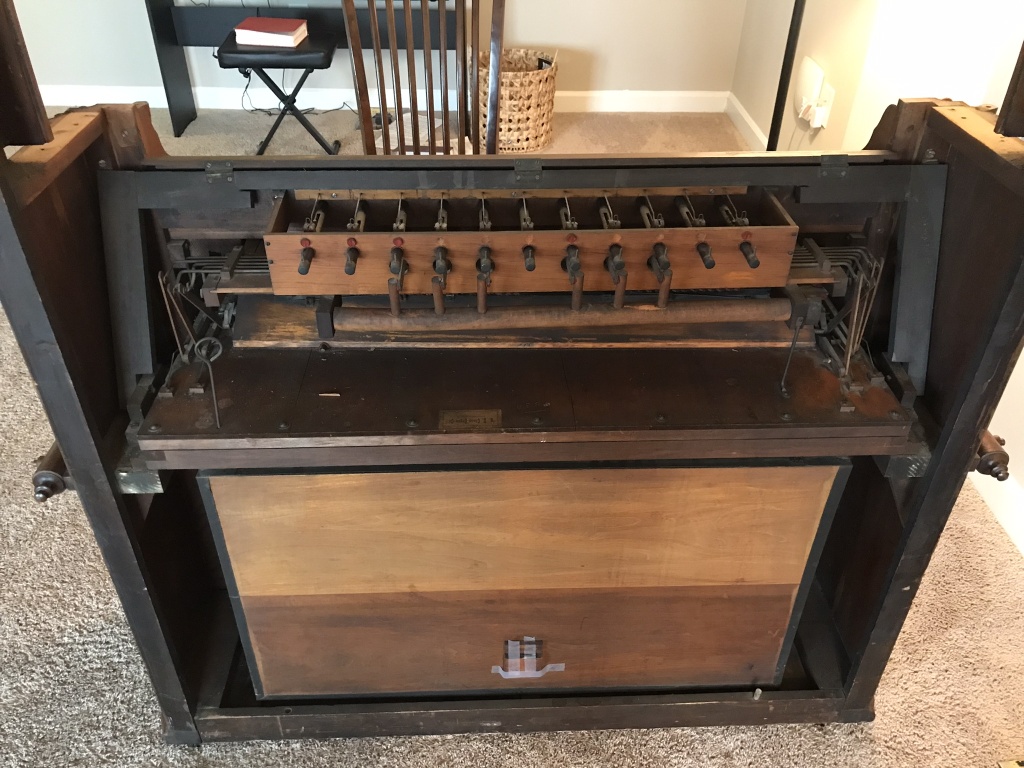
A nice view of my living room and the organ with the casework removed. The stop action, rear swell shade, reed pan, and reservoir are visible. The interior was blanketed in a thick layer of greasy dust, which I vacuumed away. Notice the large cracks in the reed pan. The label says “A. B. Chase Organ Co. / Norwalk, O. / Number [blank]”. The metal rod with a loop on the end is a reed-puller. The spill valve is taped because the hinge and spring were broken.
The treble stop linkages. You can just see the backs of a few keys. Notice how dirty everything is.
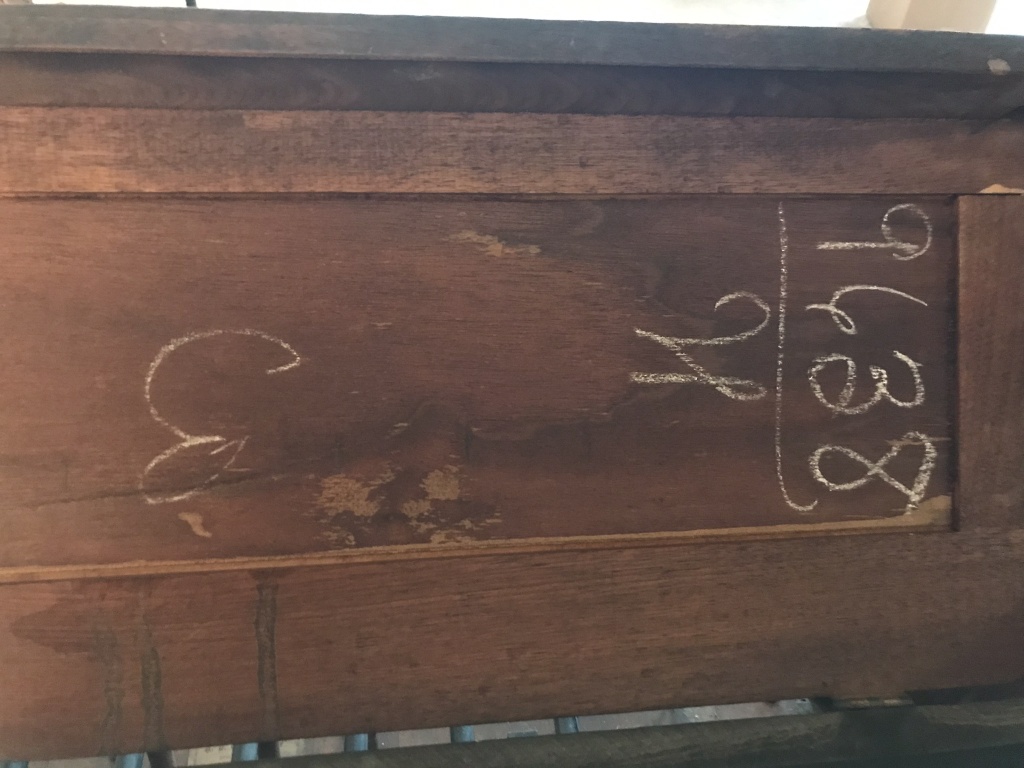
The back of the key cover, which had to be removed. The writing is in chalk, I have no idea what it means. If you do, I’d definitely be curious to learn.
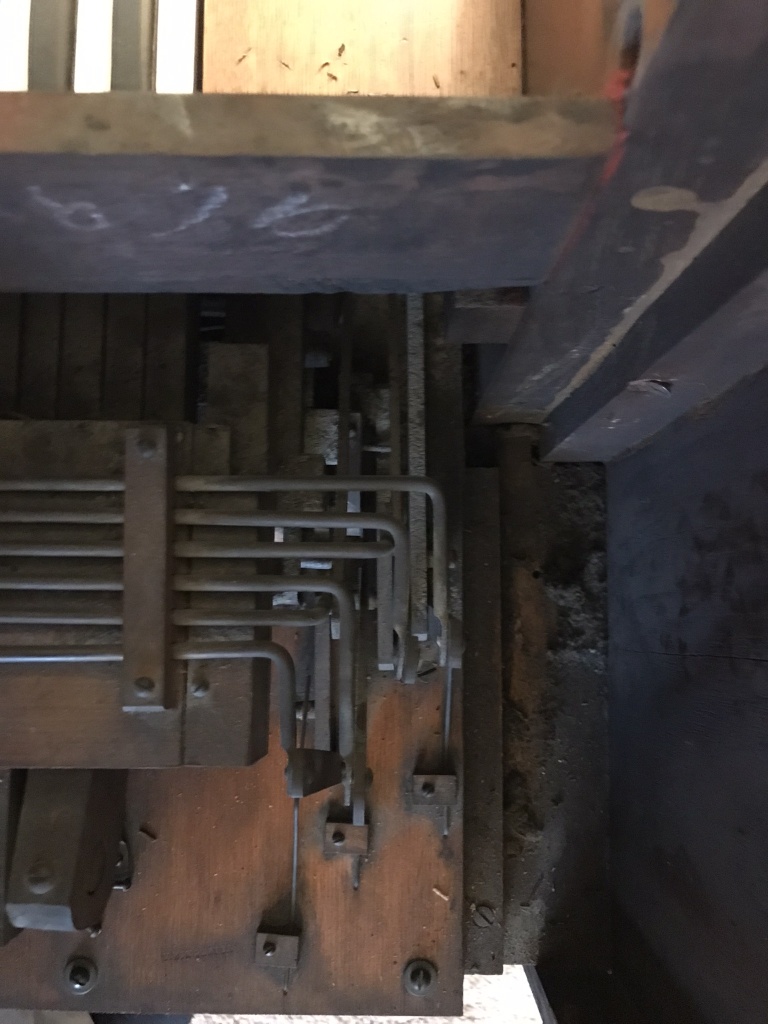
The bass stop linkages. The writing near the top says something like “1876”, which could be a date, though it would contradict the back panel label. I’d tend to believe the inside writing, though.
At this point, it was a matter of removing the various sub-assemblies. The goal is to restore each sub-assembly individually, then put them back together at the end. The main thing is to be patient, take lots of pictures to help with re-assembly, and label things so you don’t mix them up. Everything should be labeled. Even if they look interchangeable, they’re probably not.
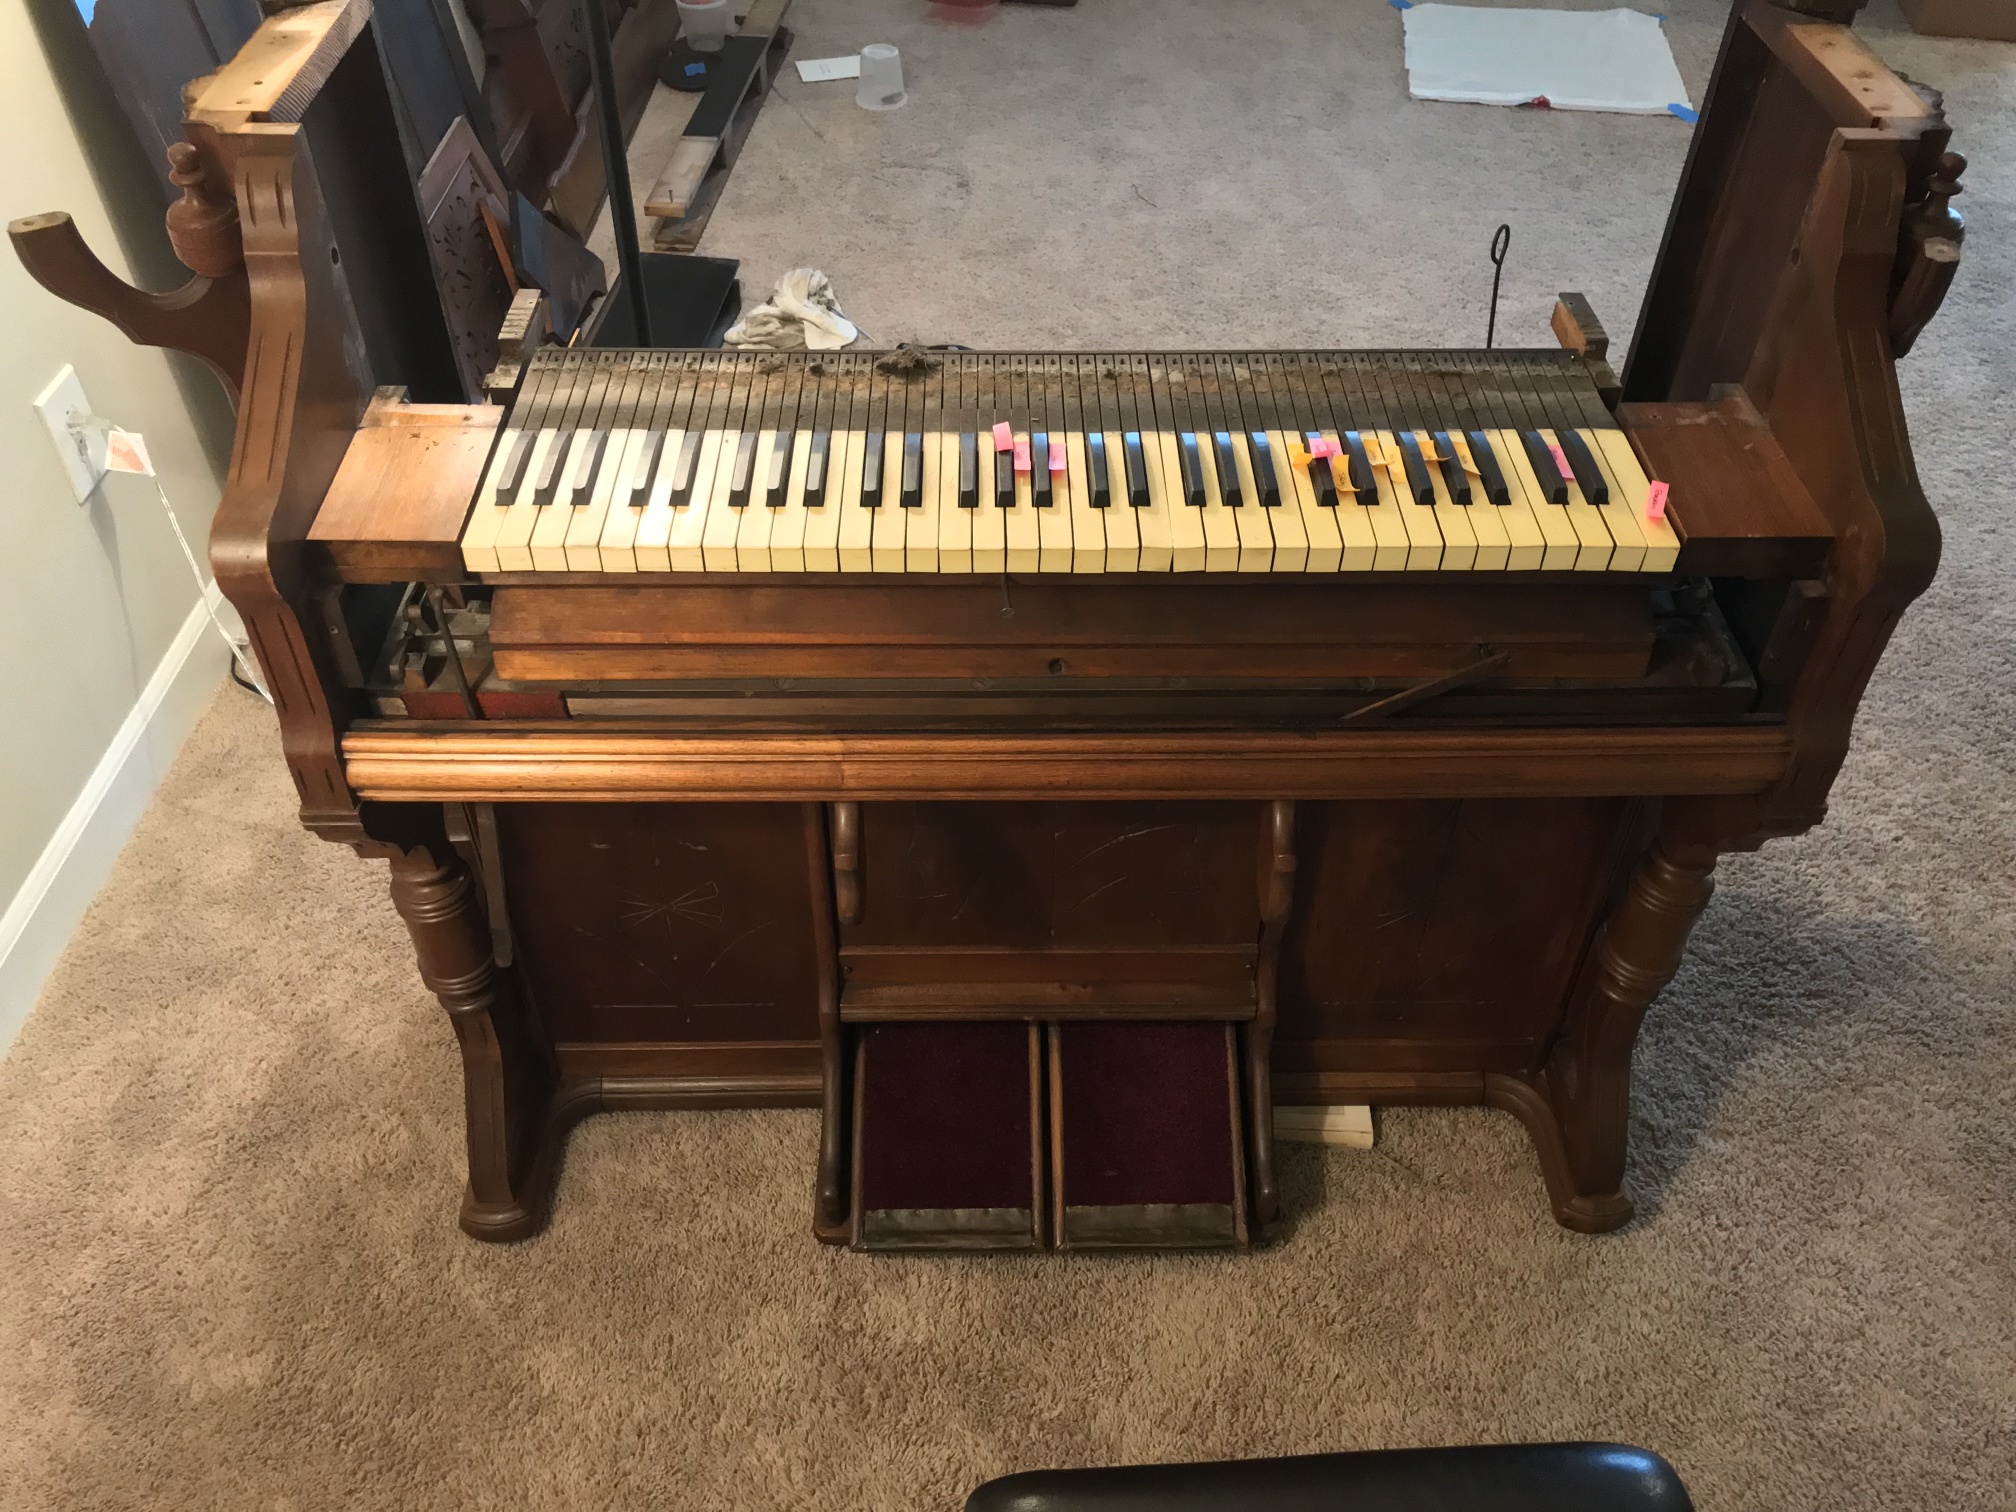
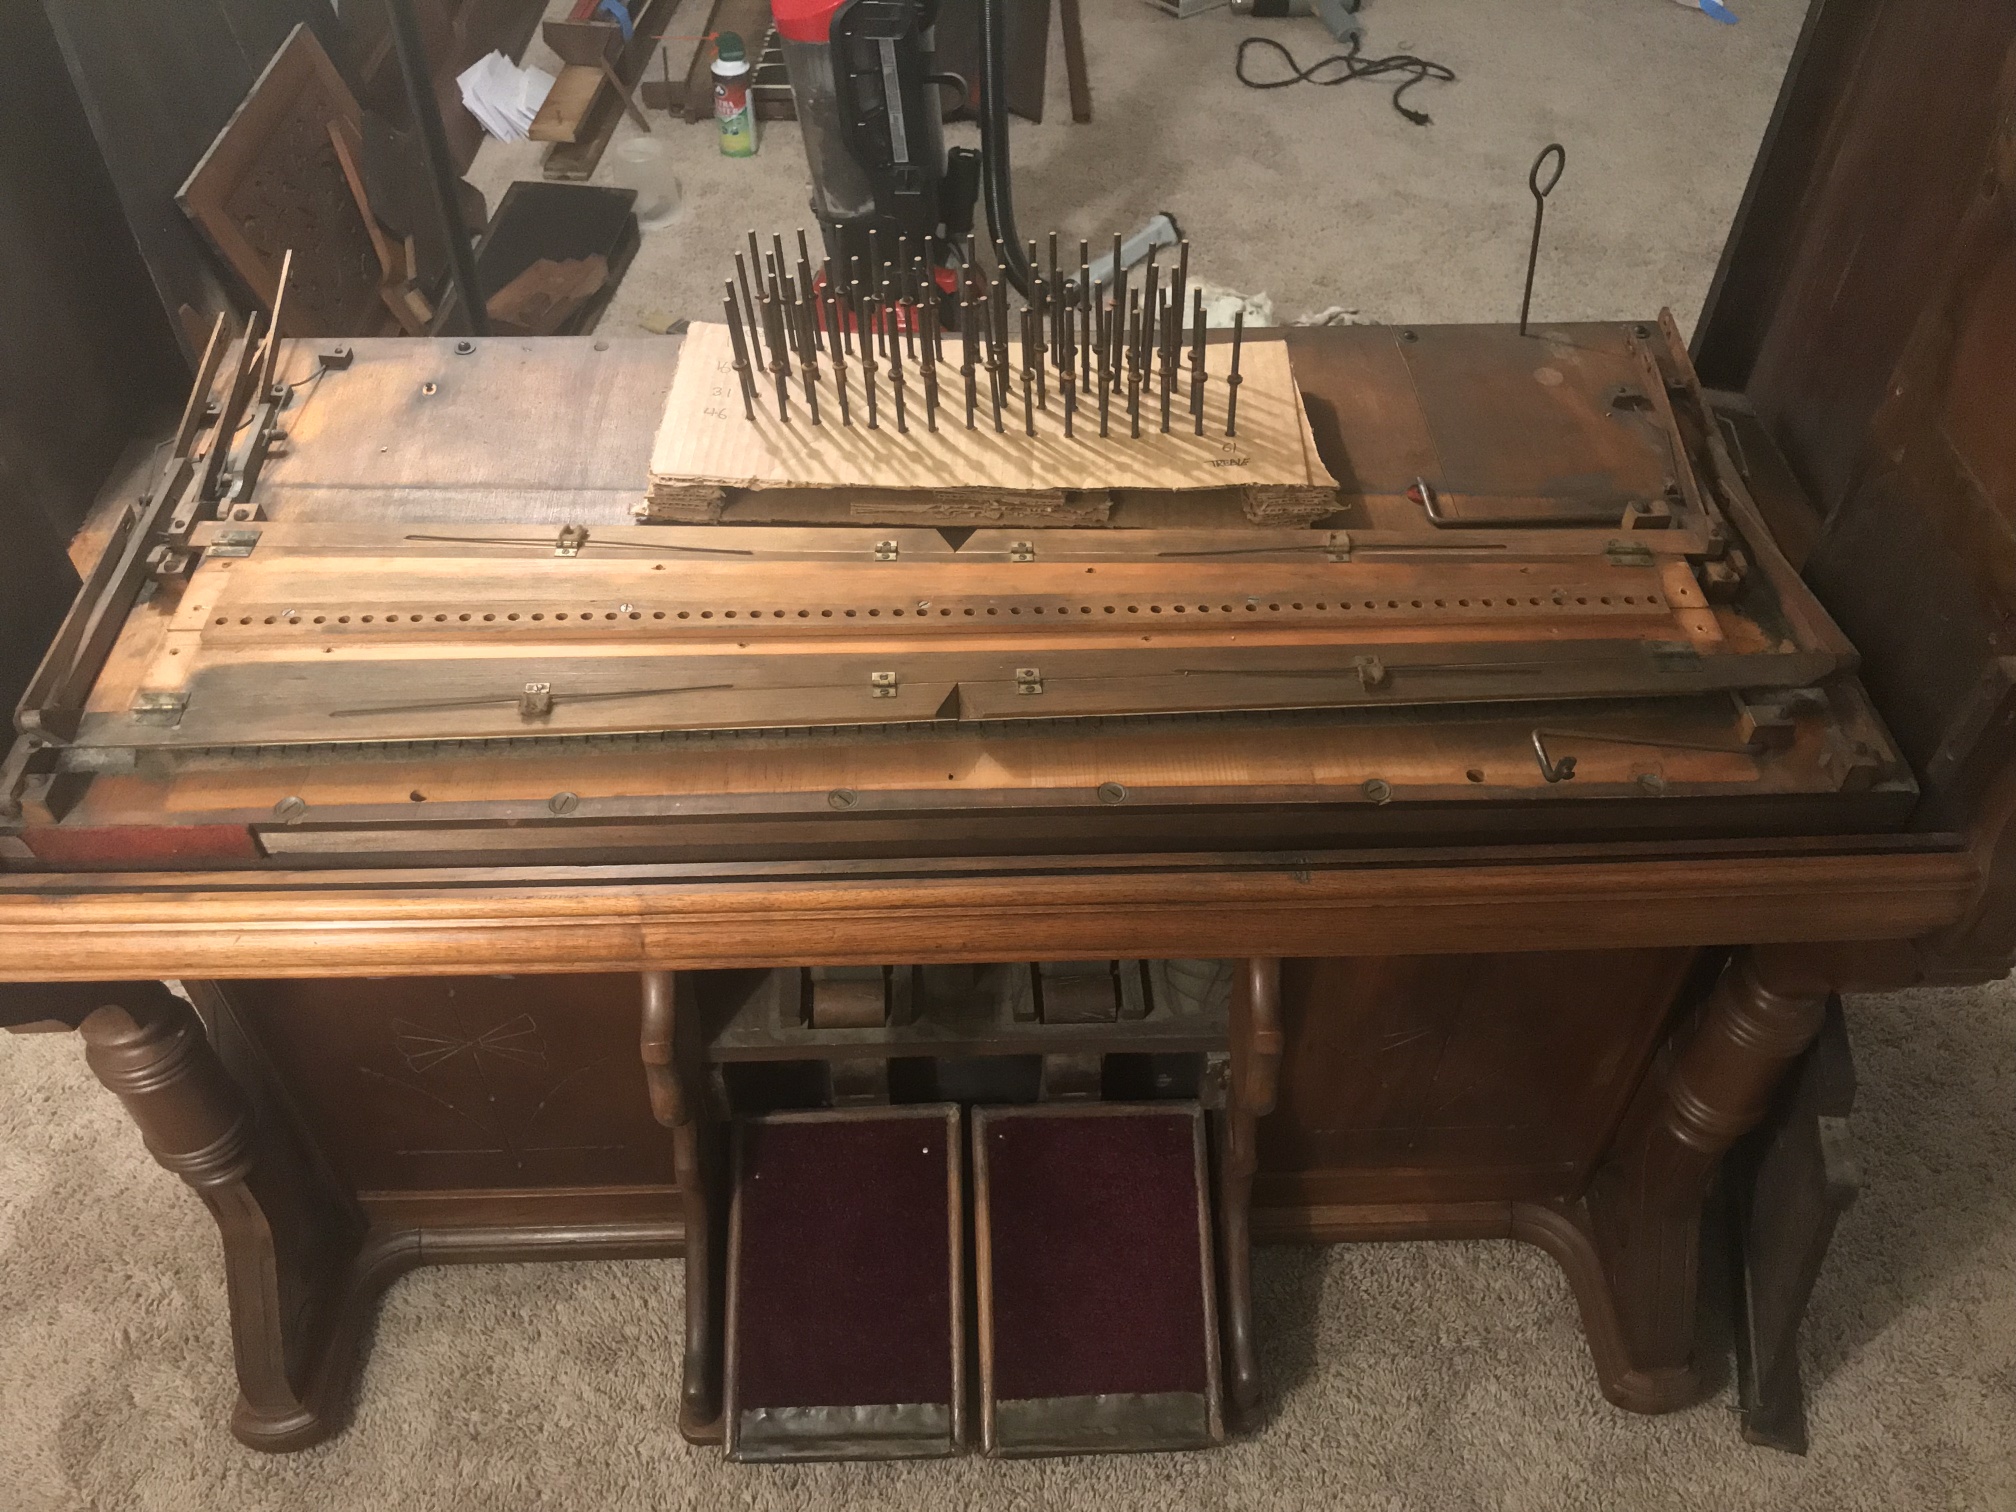
With the stop action removed, you can see the keys. I’ve labeled the sticky ones in orange and the dead ones in pink. An important screw is hidden under the center key.
An unusual set of couplers. They don’t work, I suspect there’s a good reason the metal ones became standard. You can just see the tops of the pitmans between the swell shades.
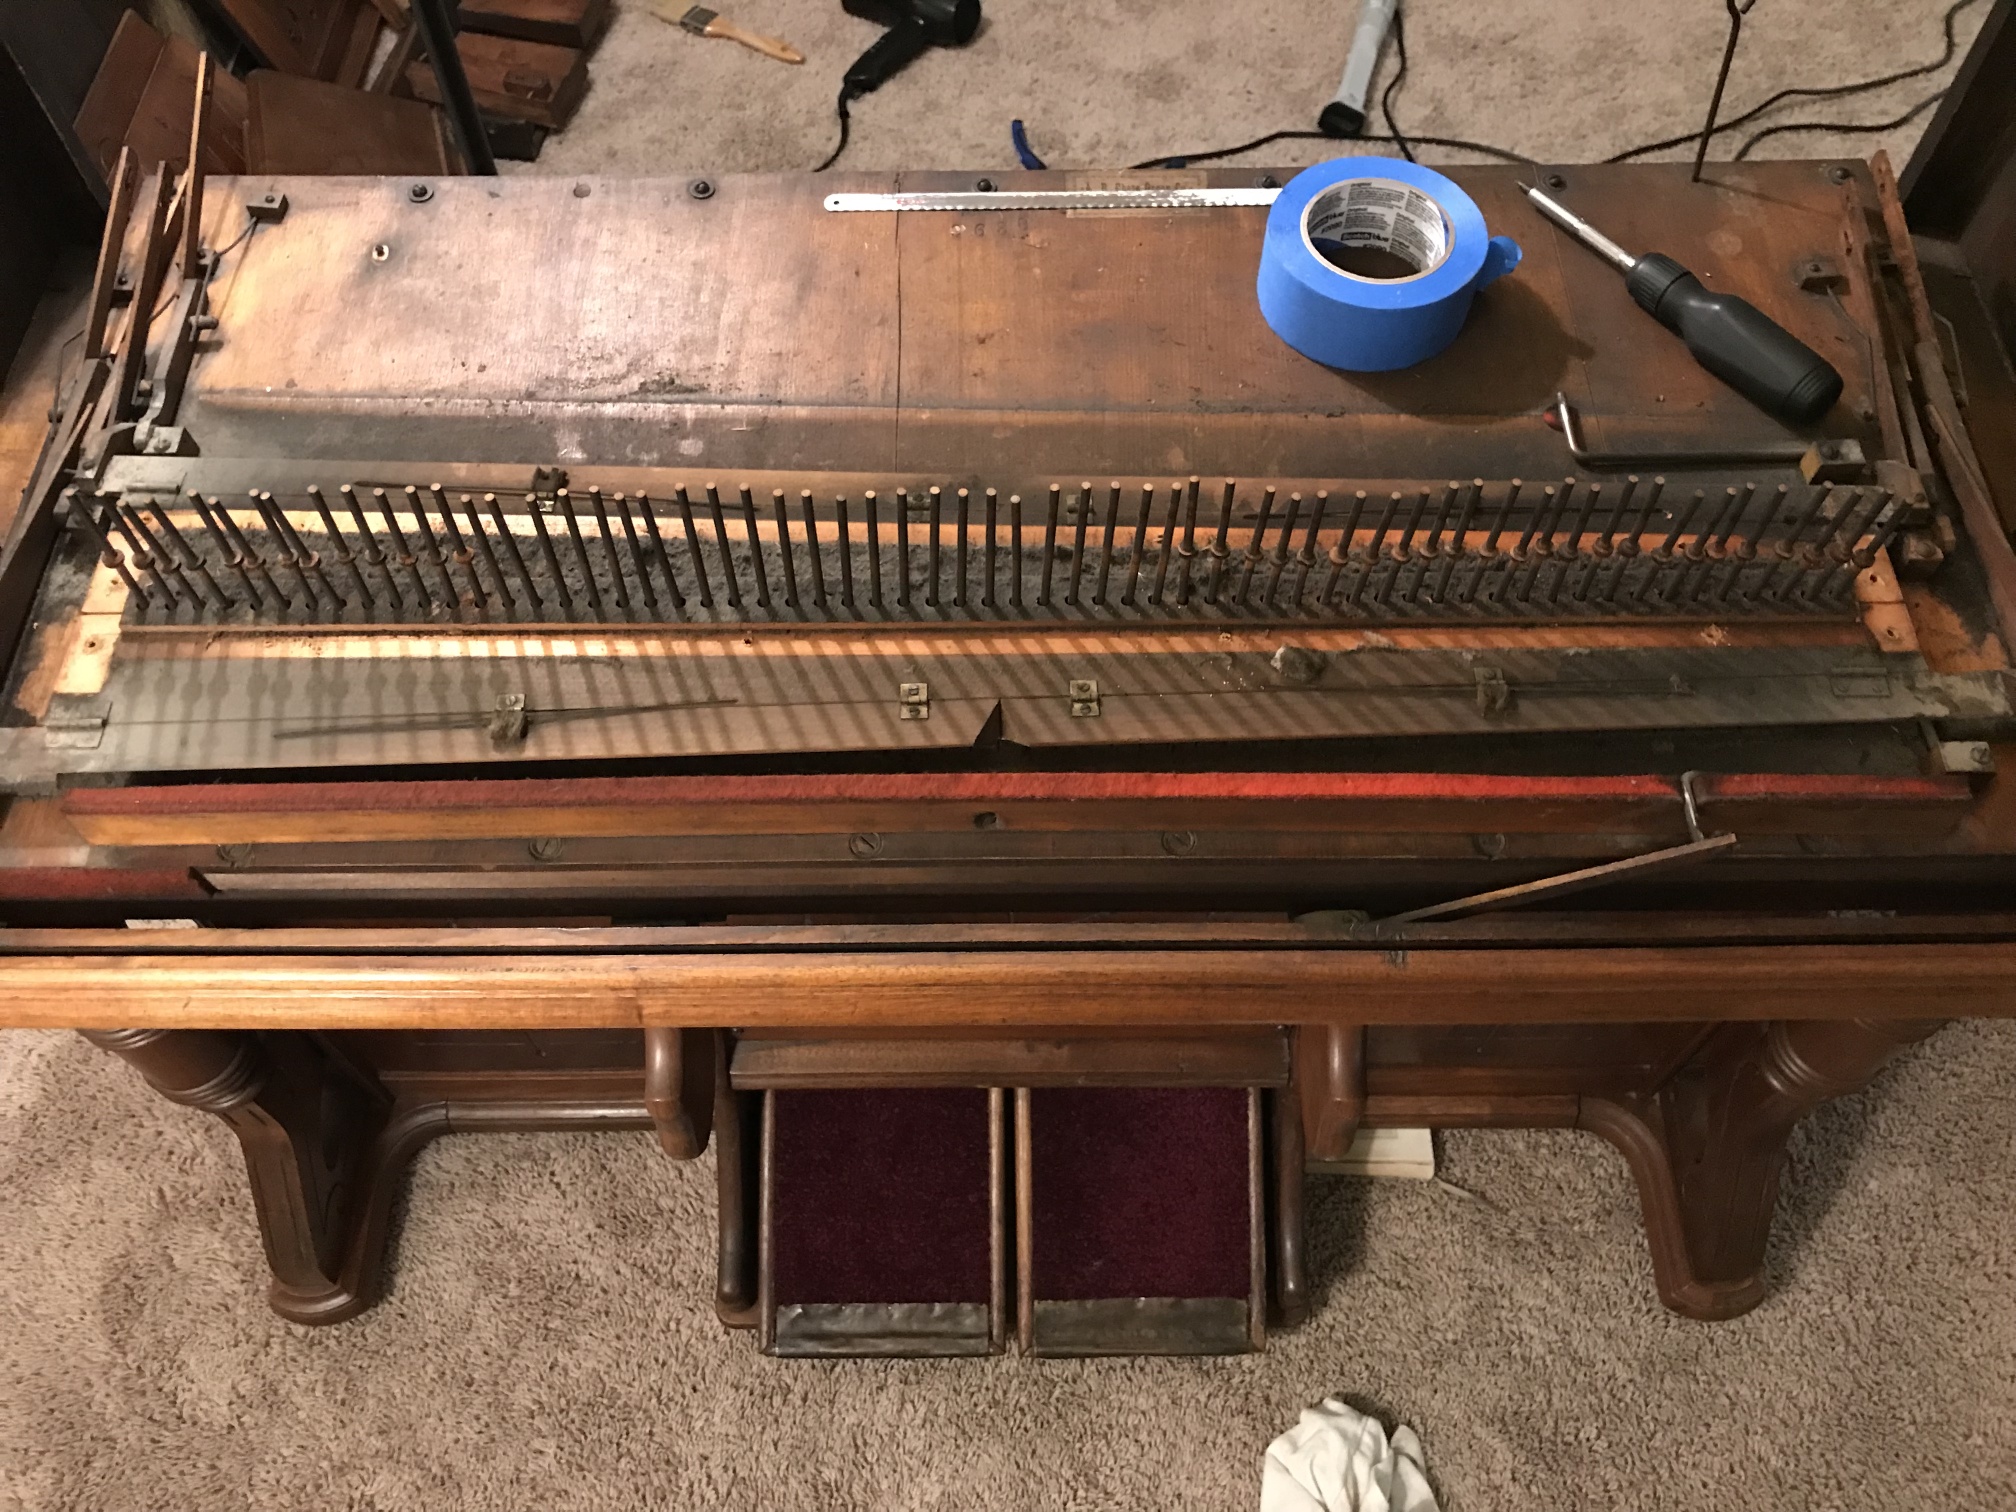
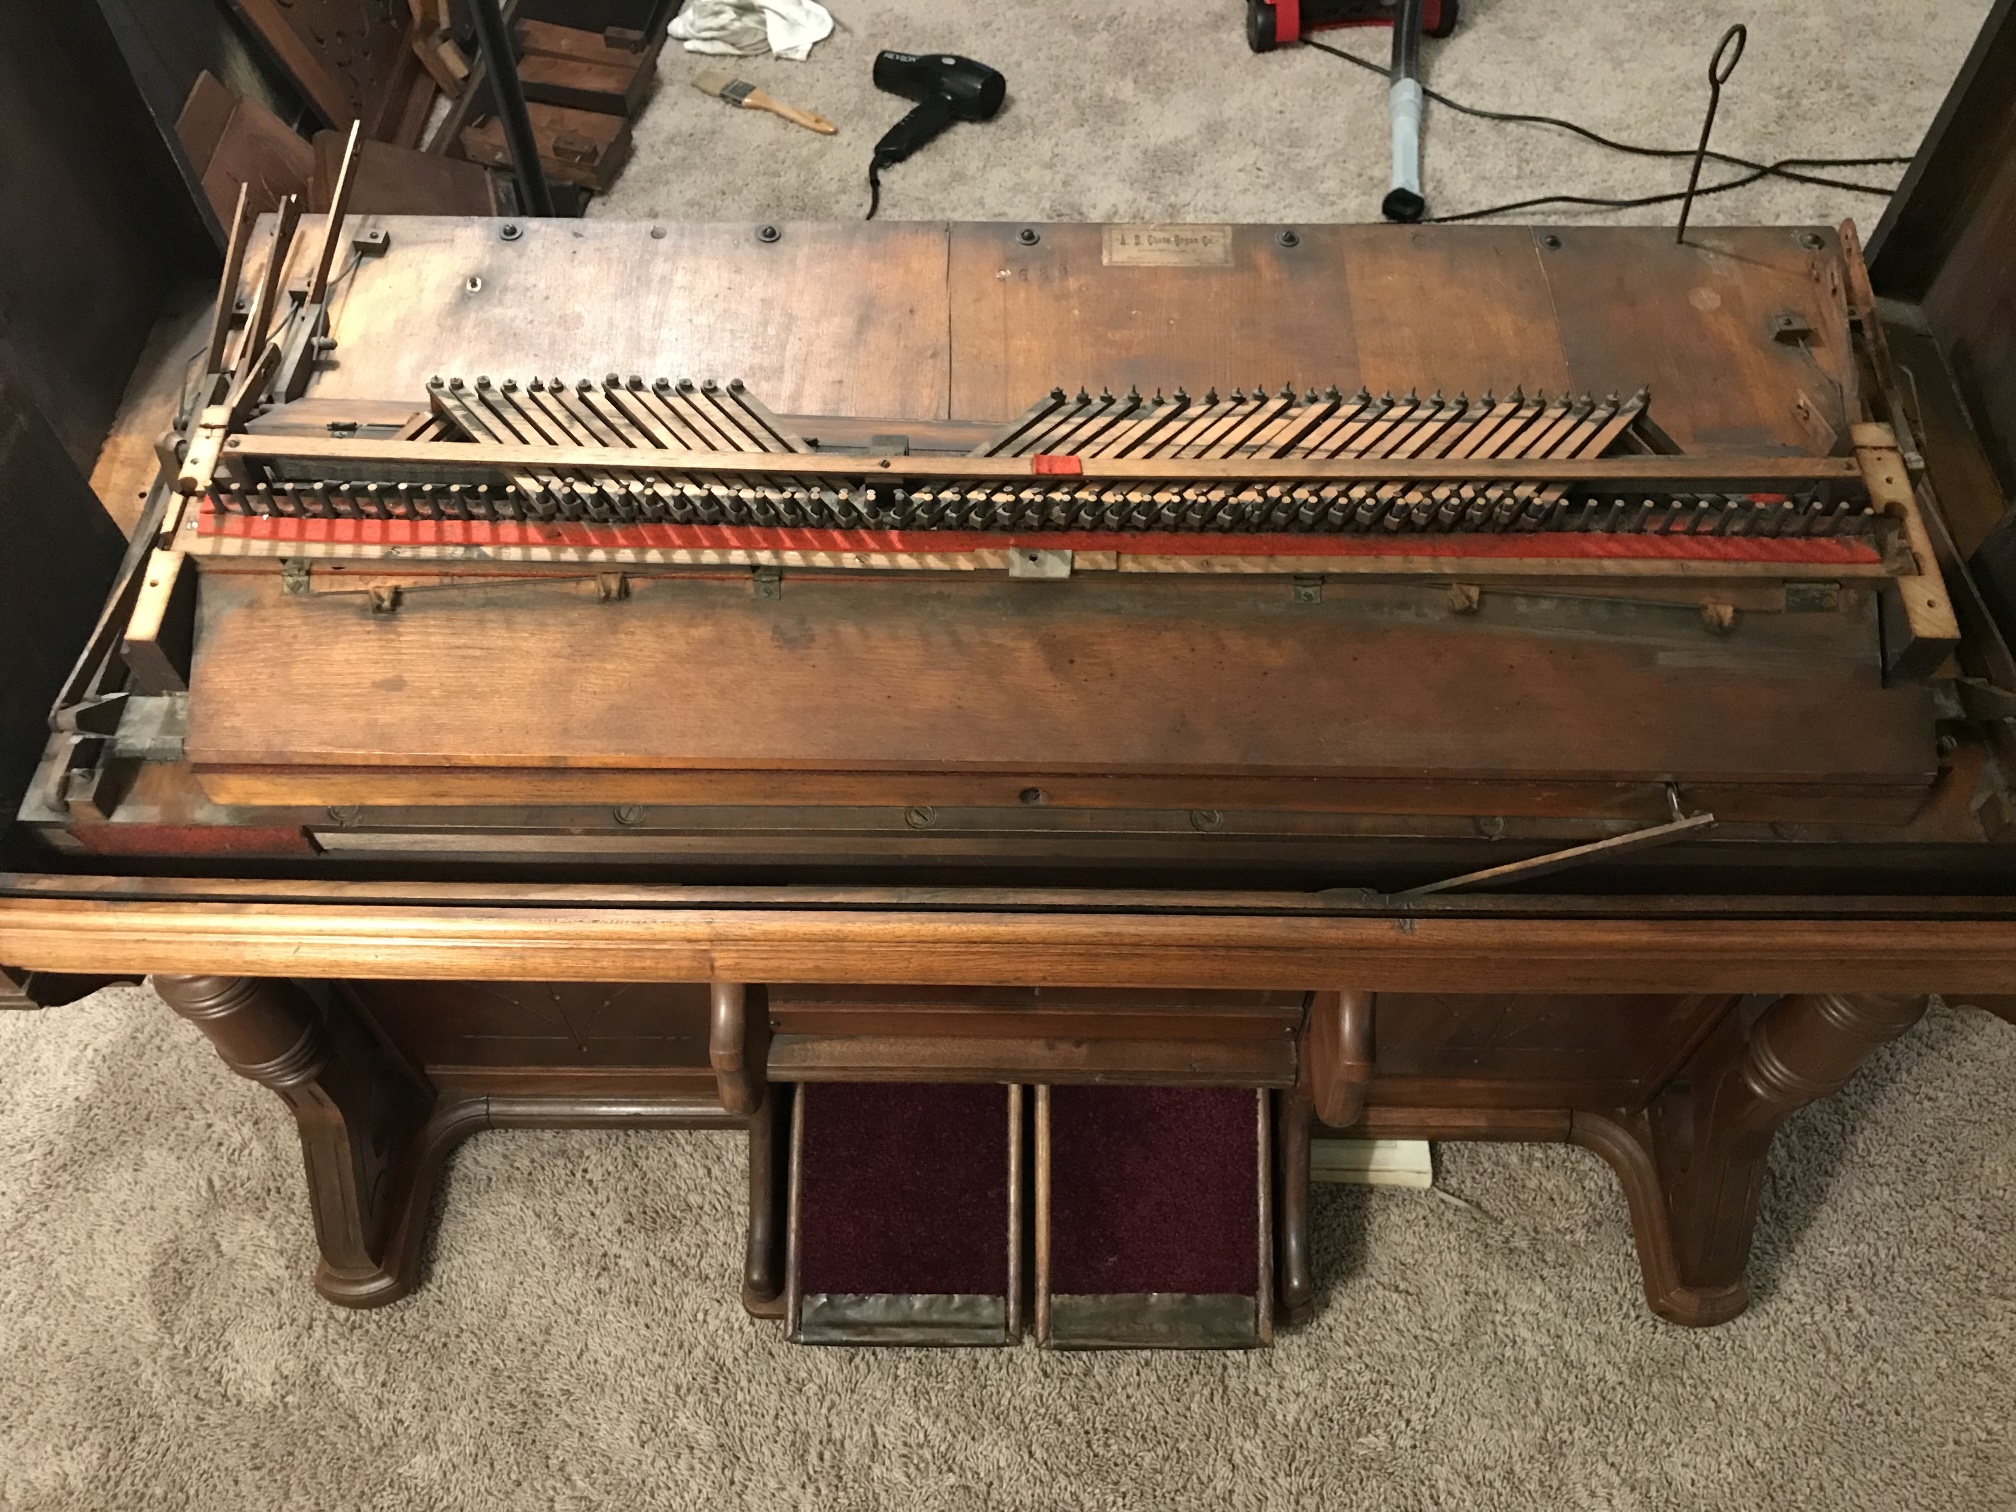
Underneath the swell shades is the reed bed. There are two sets of 61 reeds, covered by four mutes. A hacksaw was necessary to cut a small nail holding the shades in place.
I’ve moved the pitmans to a cardboard holder, making sure not to mix them up.
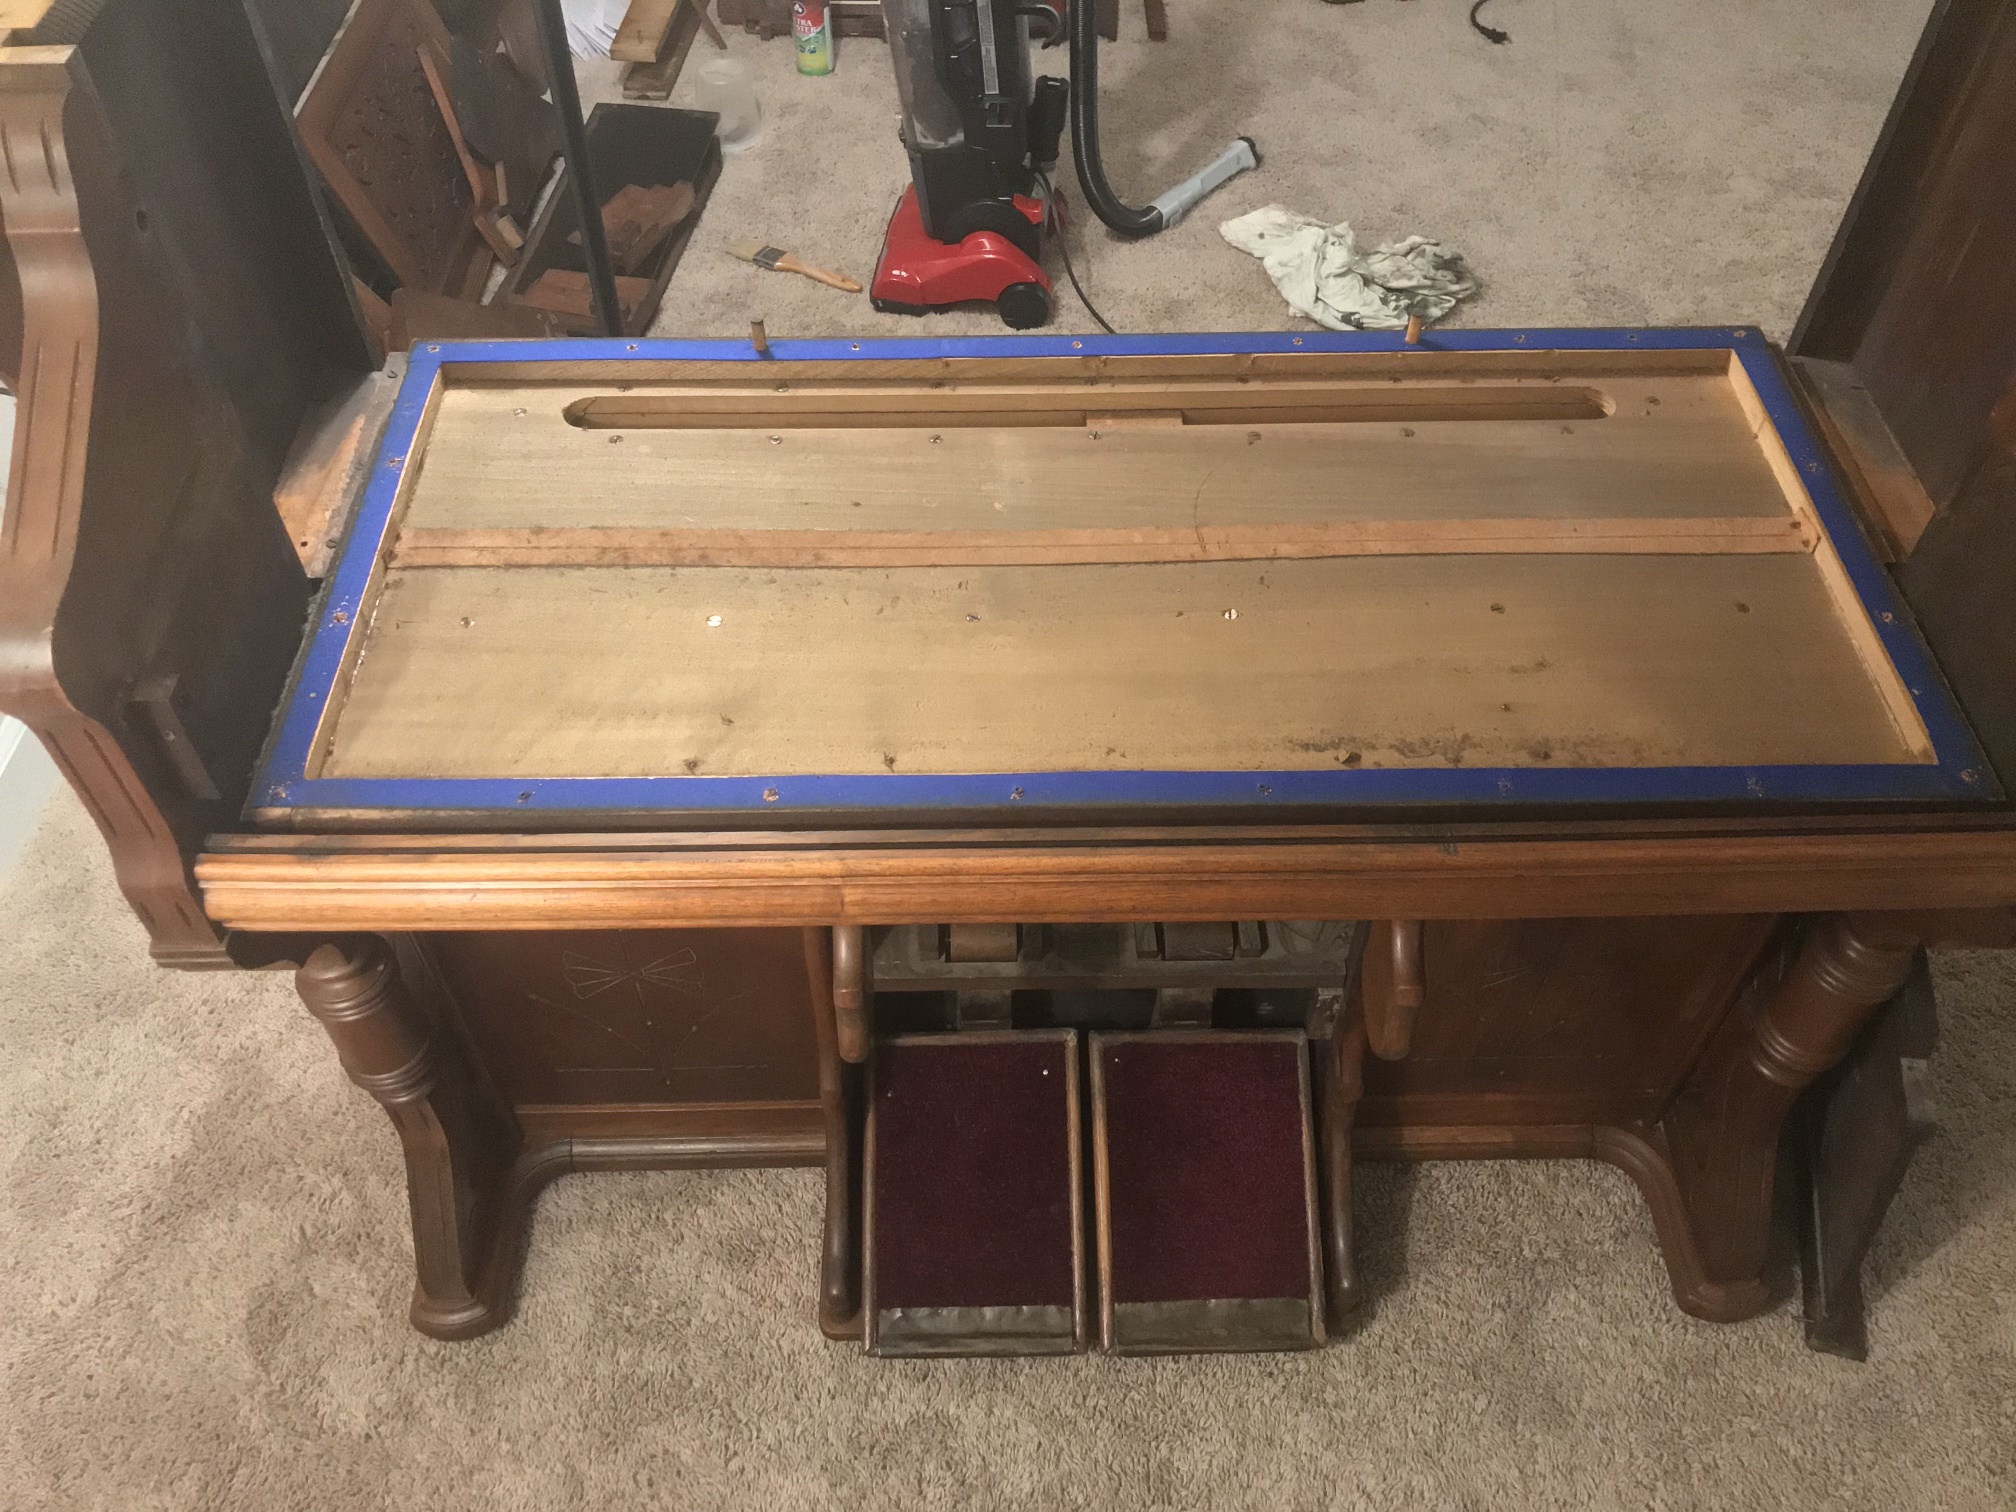
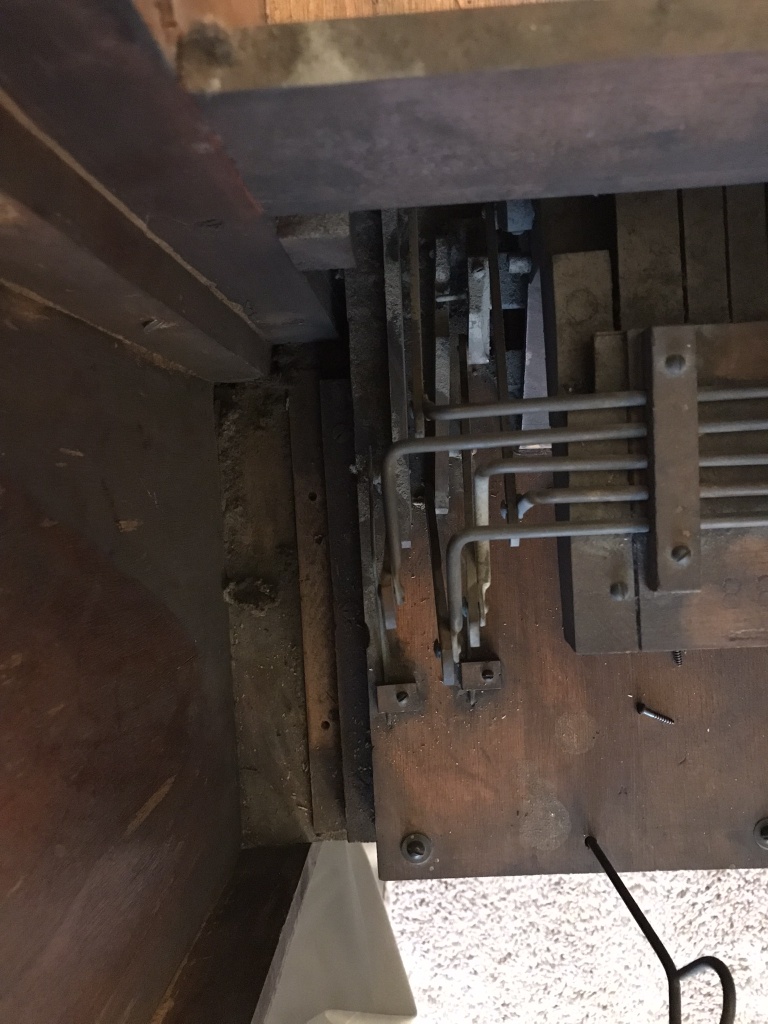
The foundation board is made of two boards, and the gap sealed with ancient leather.
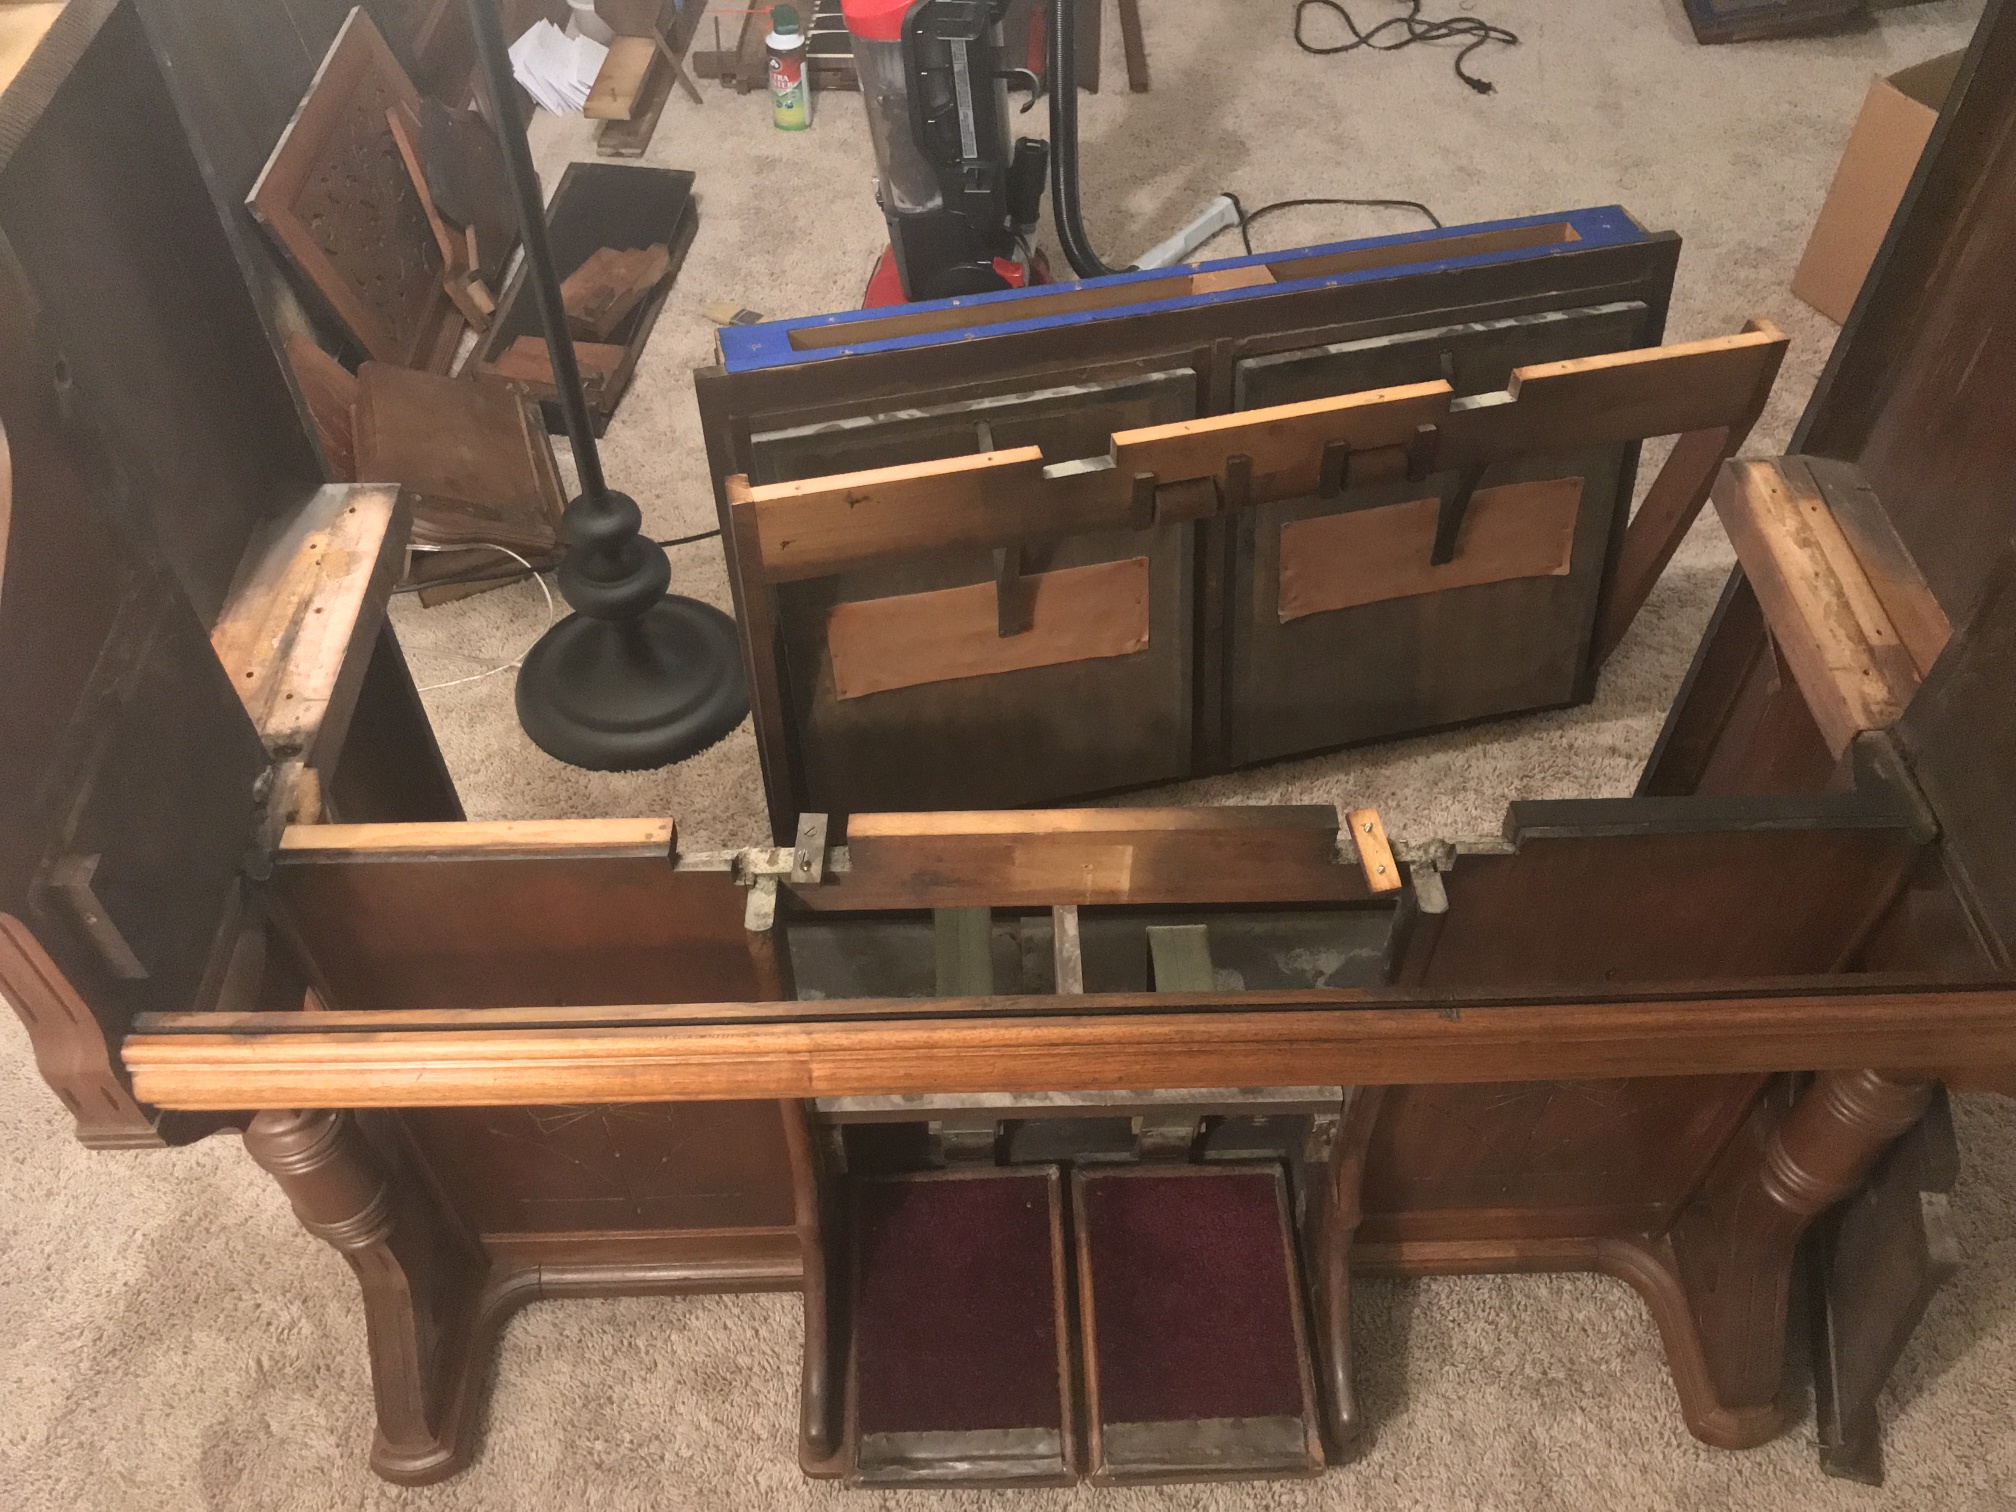
At last! The reservoir and exhausters are out. Notice the pile of organ parts in the background.
These pictures give the impression that you could take an organ apart in a few hours. In fact, all this disassembly work took several afternoons to finish. But in the end, all the organ sub-assemblies were out, lying all over my living room carpet. With luck, this will give me the motivation to finish!