Now that the reed organ was disassembled, it was time to begin the actual restoration. All the guides will tell you to begin with the reservoir and exhausters, which makes a lot of sense, as these are typically the first thing you put back during re-assembly. However, I didn’t have any bellows cloth on hand. Also, I was hesitant to start with something so important.
So instead, I started with the foundation, a great flat thing that lies on top of the reservoir. I changed all the felts and replaced the felt gasket with a leather one. A razor knife cut the felt without trouble, but the leather was tricky. It’s pretty tough stuff and has non-zero curvature. My hide also had a large hole in an inconvenient spot.
With the foundation successfully restored, I felt more confident but still had no bellows cloth. The stop action seemed like a good next step. It was extremely dirty, but simple and in good working order. I assumed it would just be a matter of cleaning the wood, polishing the metal levels, and replacing every felt in sight—and it kind of was.
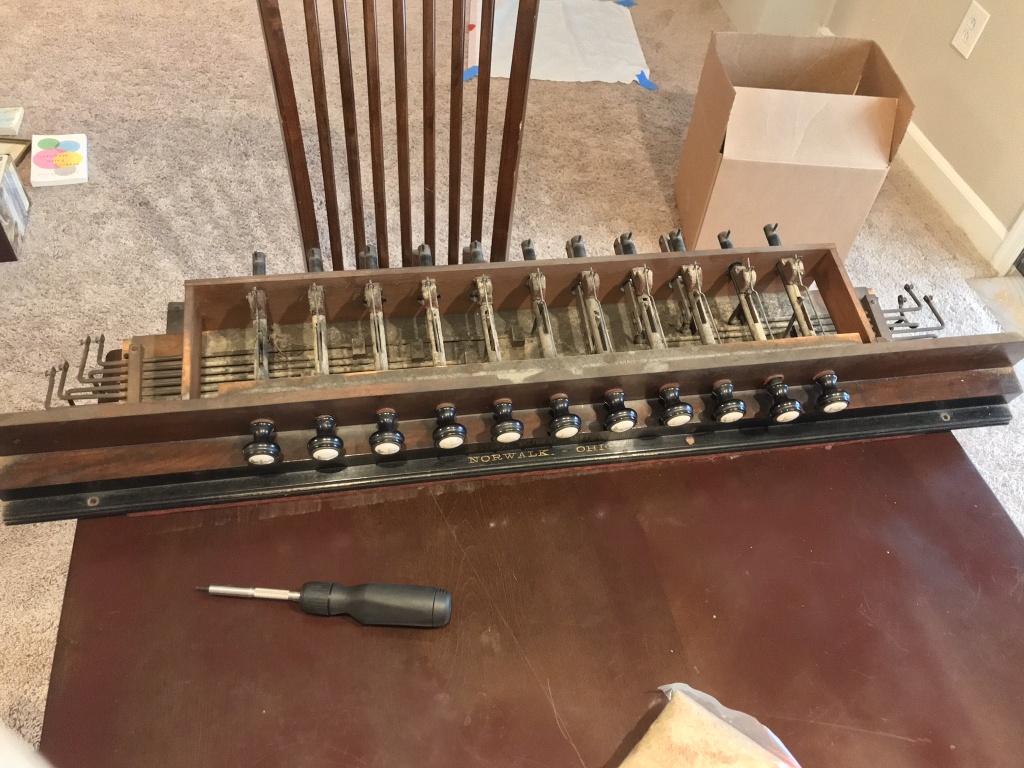
The stop action straight out of the organ.
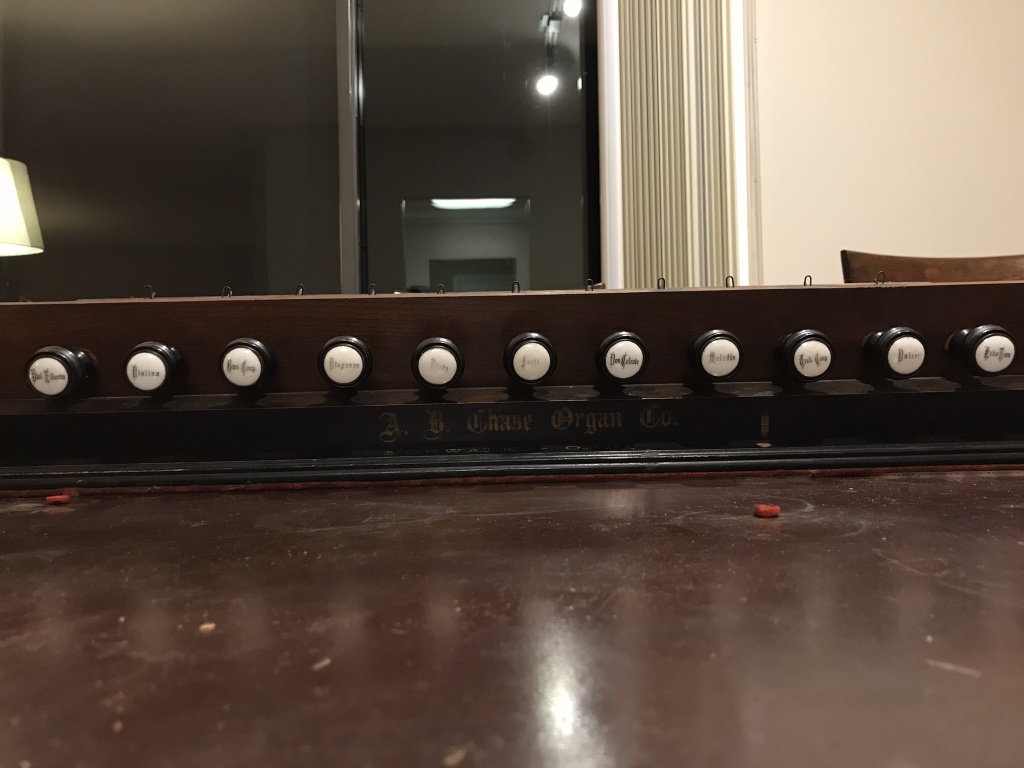
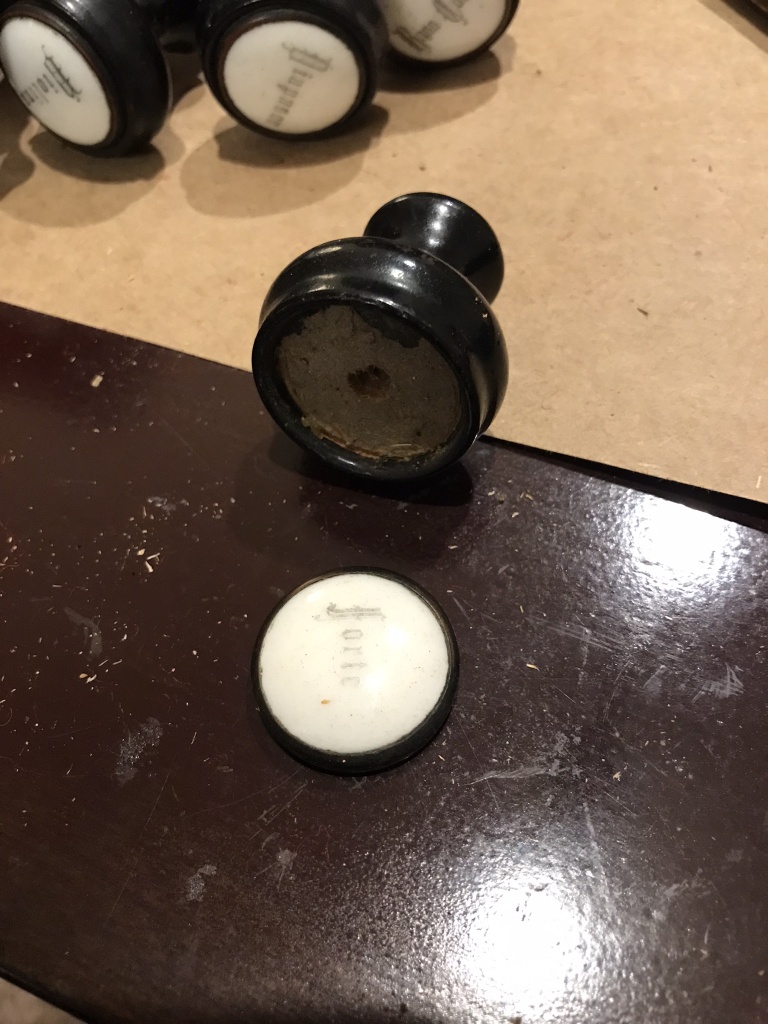
The stop faces are very faded but still legible. I don’t plan to replace them.
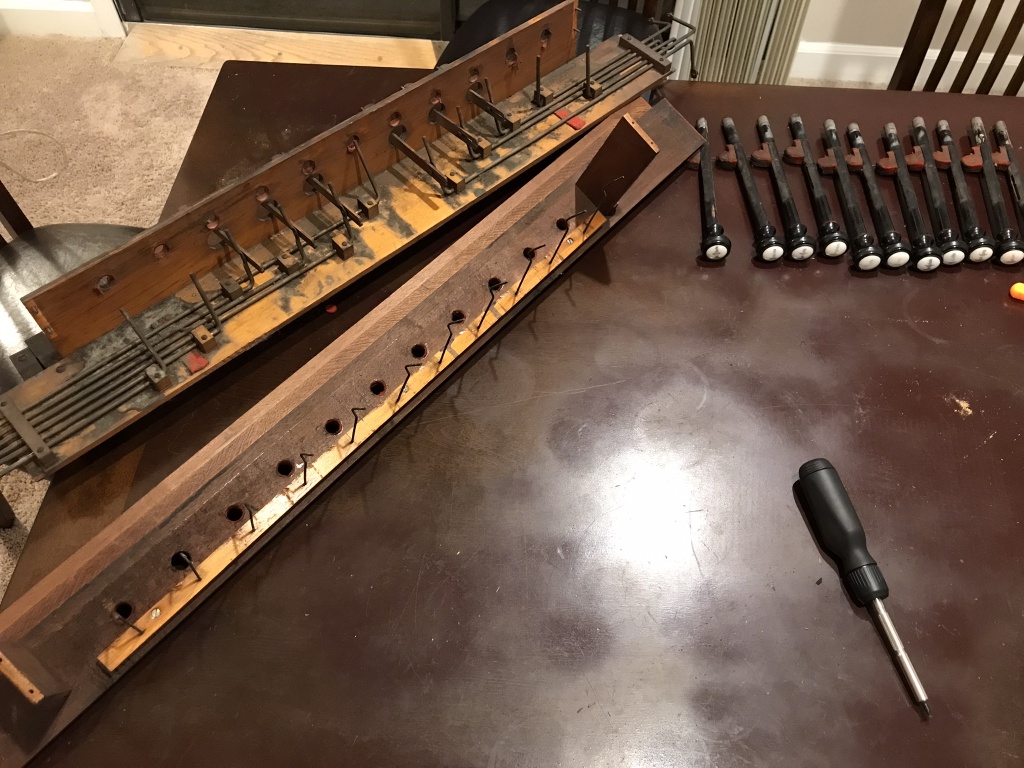
Disassembled for cleaning. This was a lot harder than I expected, notice the (worsened) water damage on the stop ends.
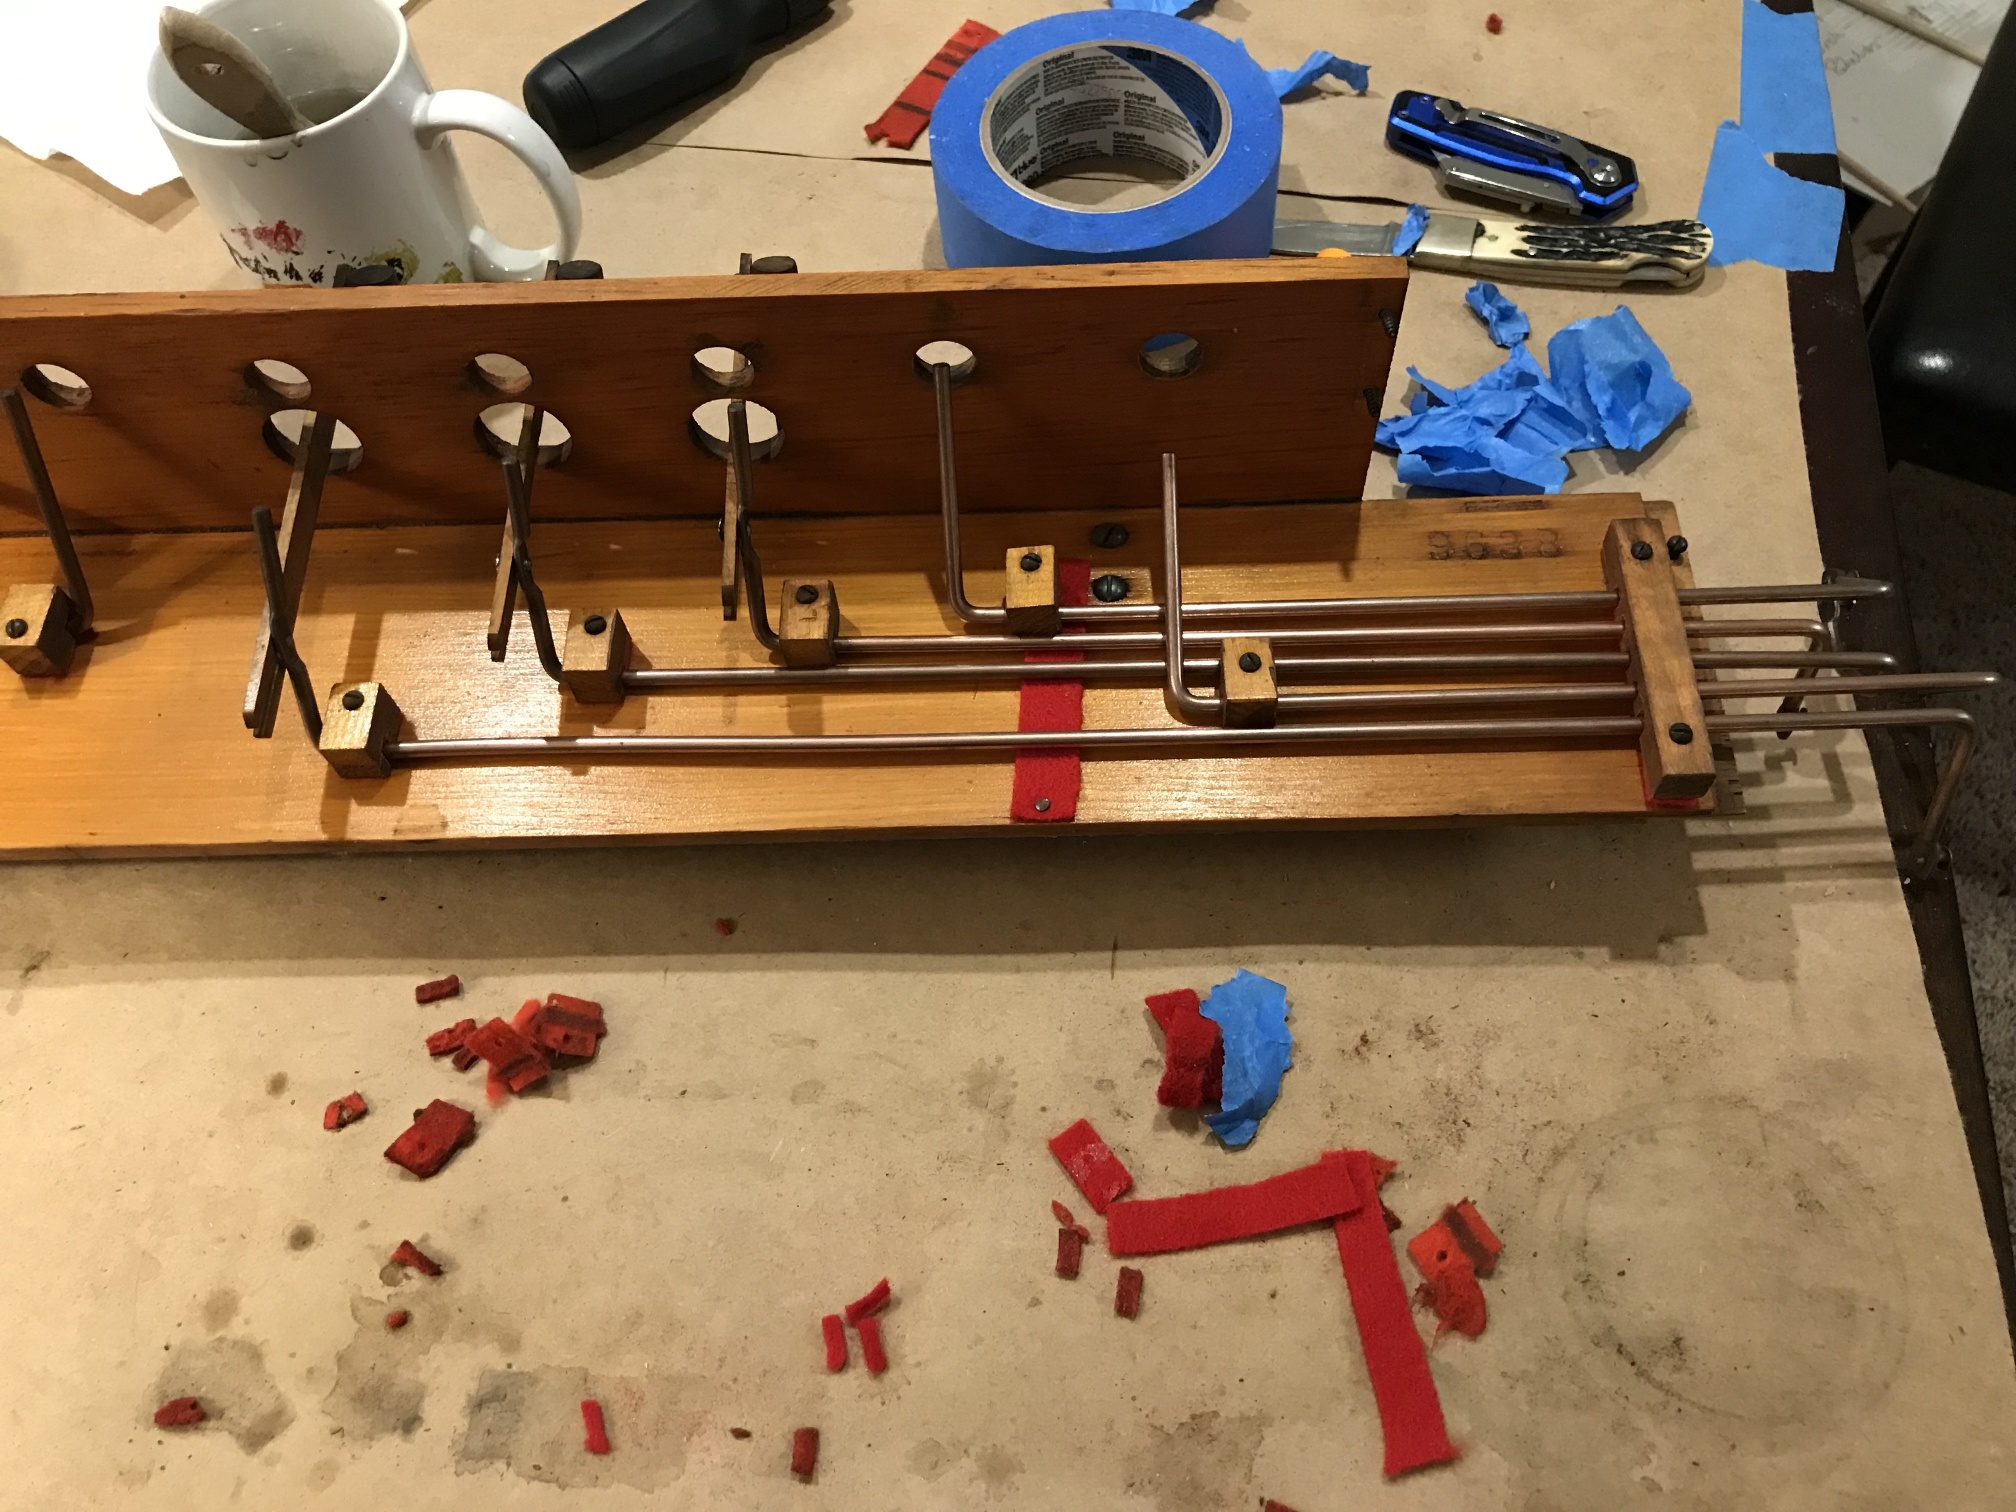
Disassembling the stop action was unexpectedly difficult. The whole thing was held together by a few screws and by the stops themselves, on one end by the knob and on the other by a small metal pin. A pair of pliers wasn’t enough to remove the pins, but I noticed some water damage. And indeed, a minute of boiling water was enough to convince the pins to reluctantly leave their holes. The water also totally ruined any lacquer it touched, which I’m not happy about.
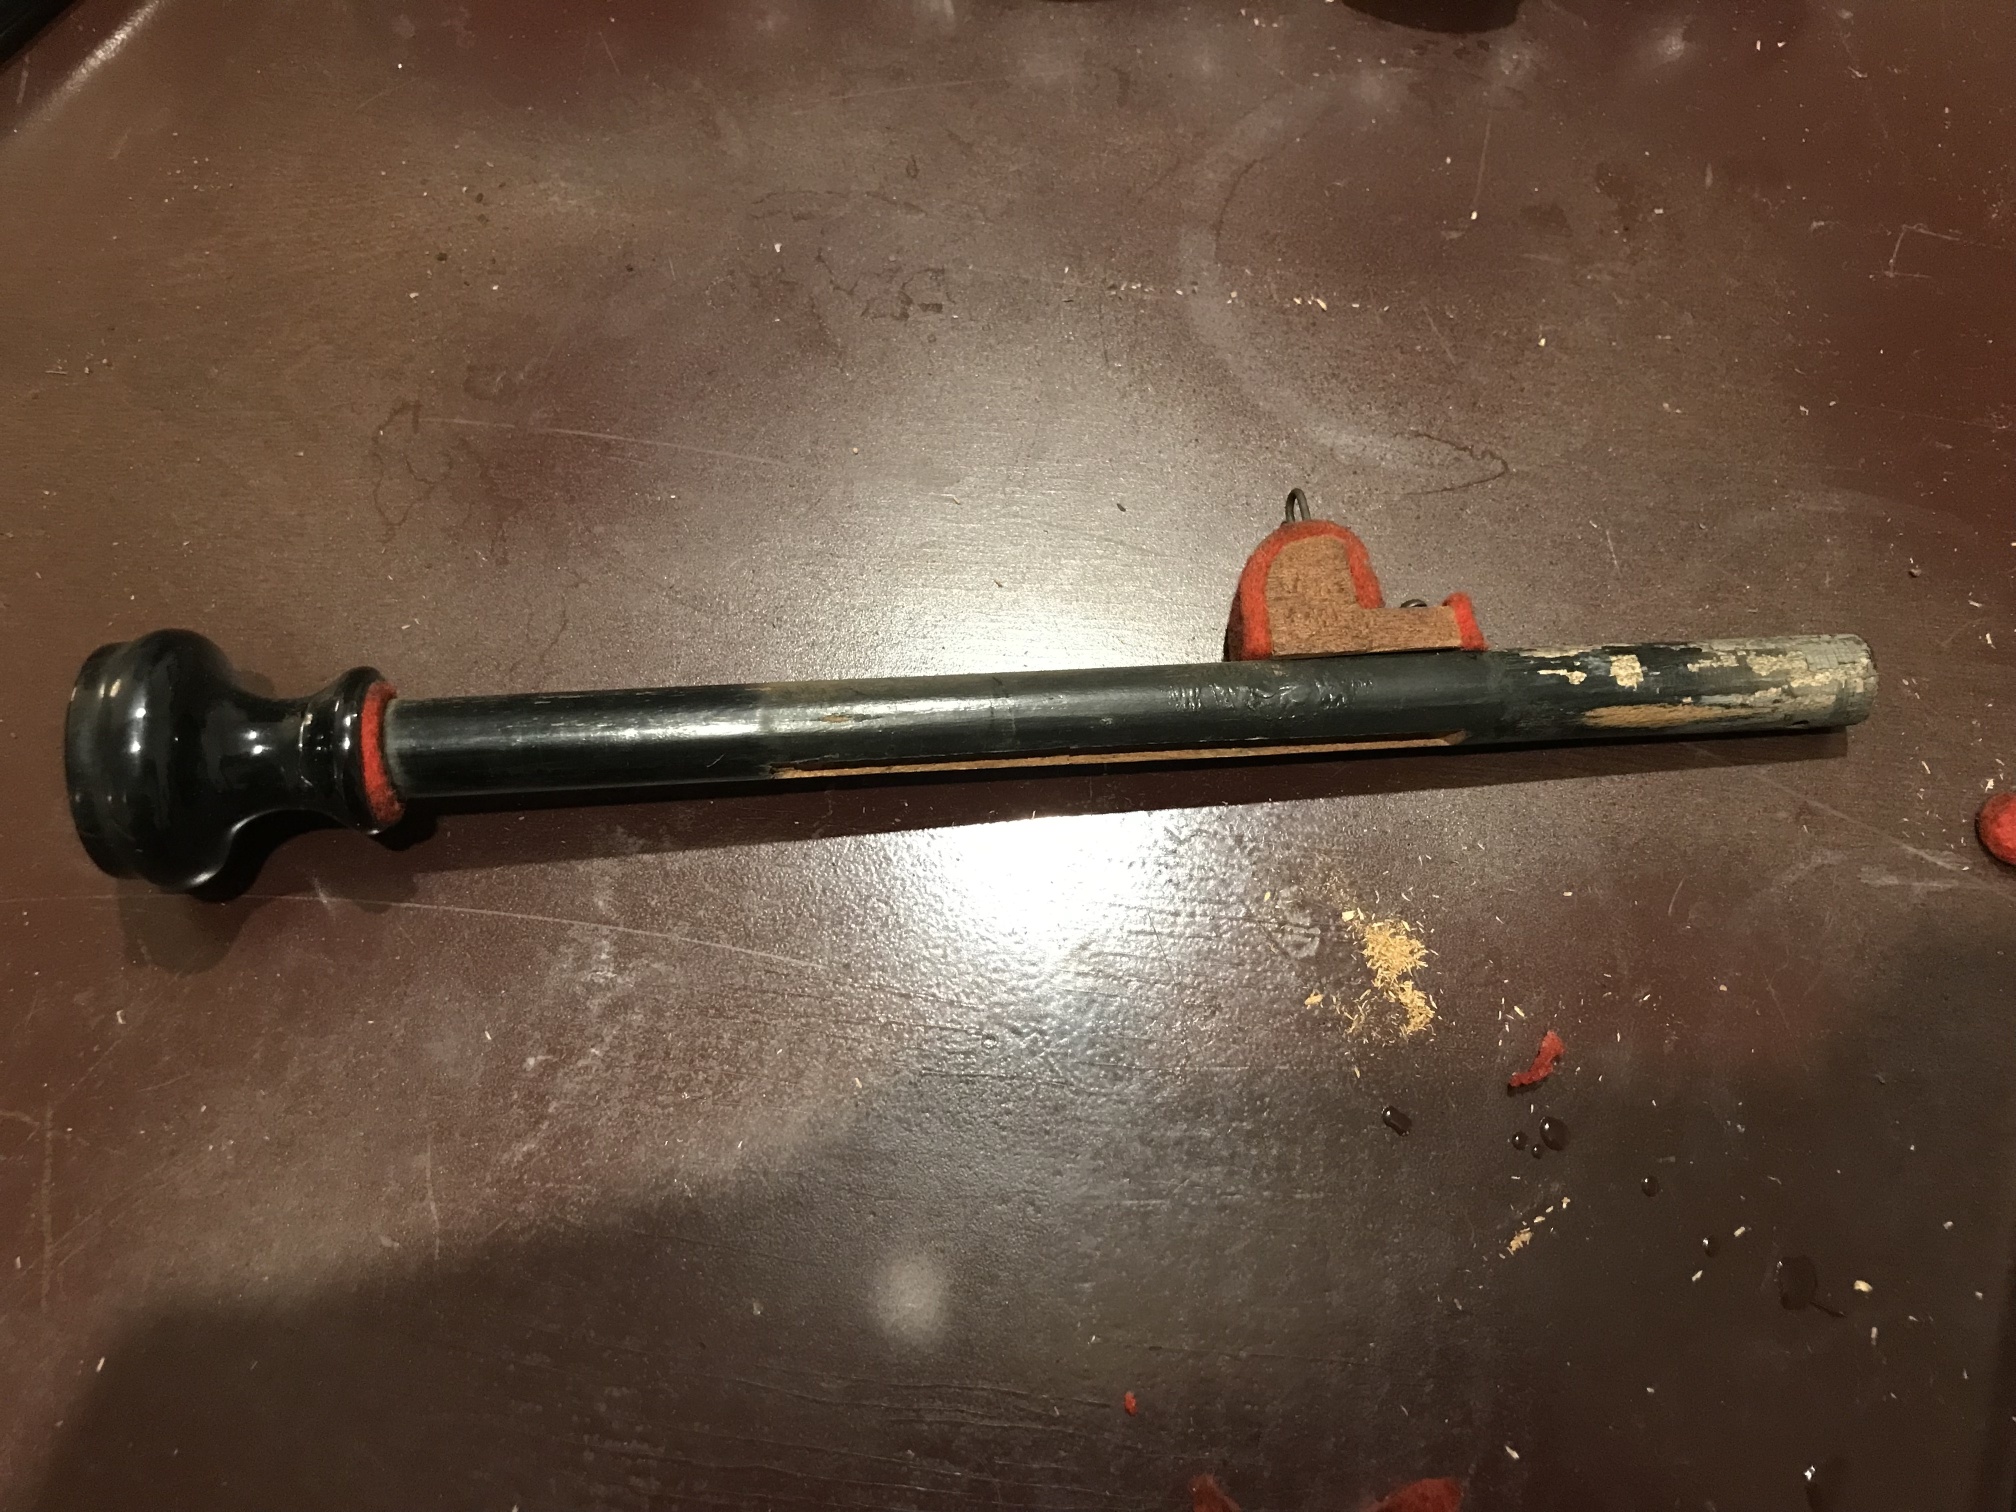
An unrestored stop. The felt is much more worn and dirty than it looks in the picture.
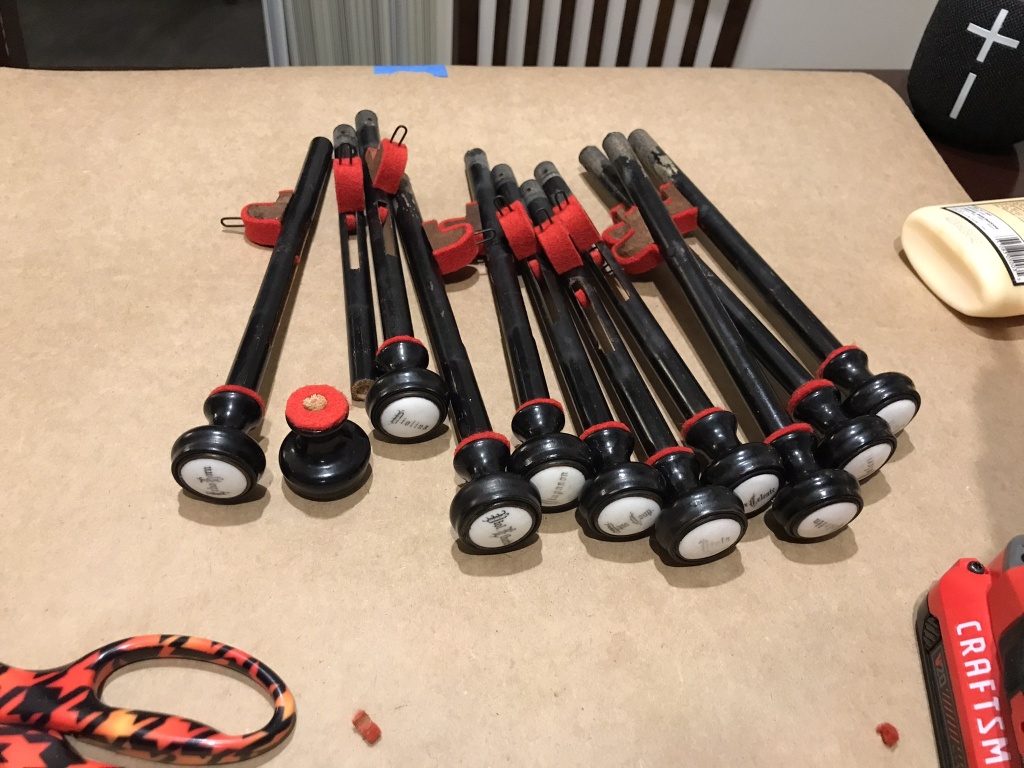
The stops with new felts. I accidentally broke four of them while trying to remove the knob. I also started trying to protect my table.
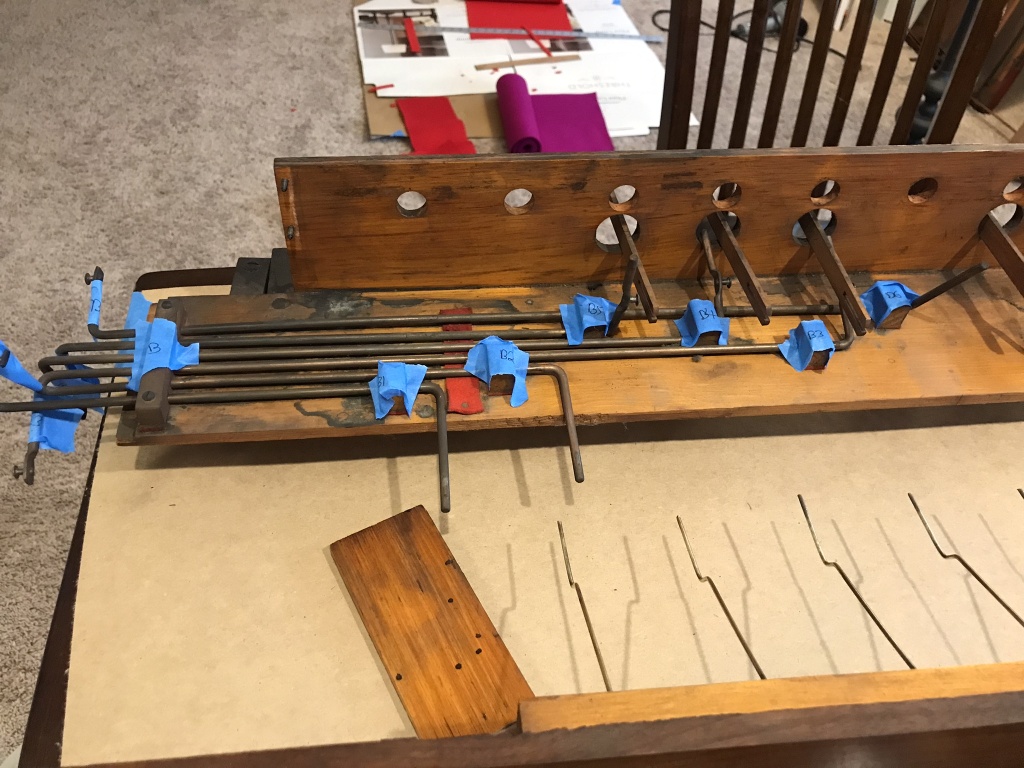
The bass levers before restoration. I’ve already vacuumed most of the dust away.
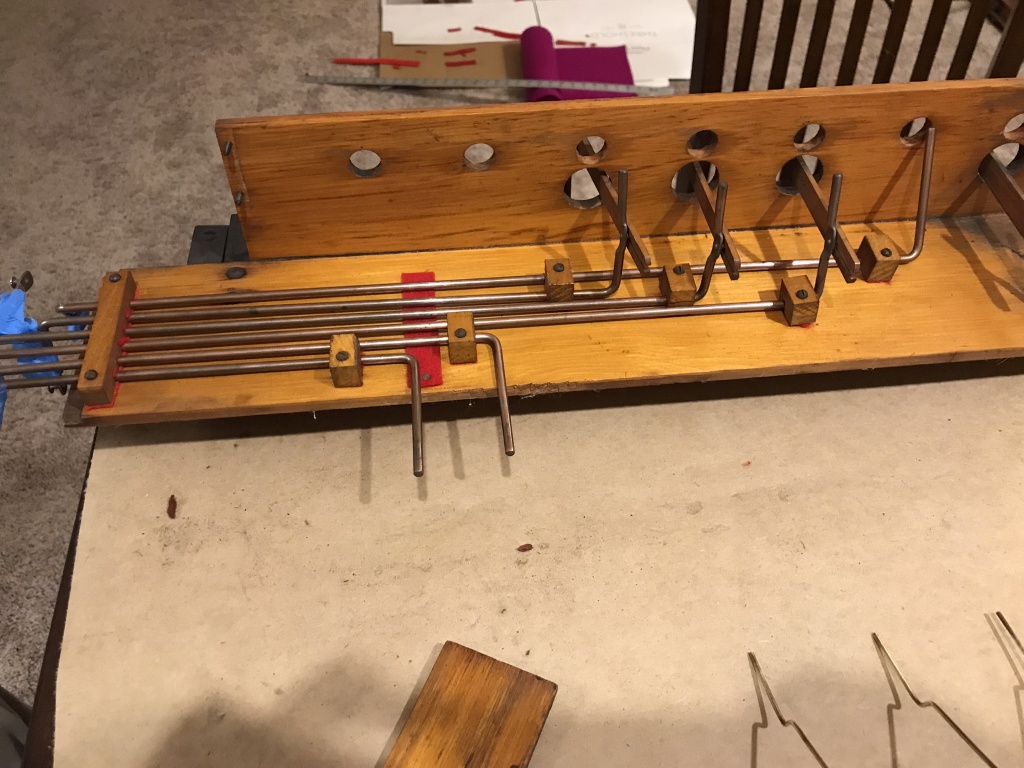
The restored bass levers. The wood is still a bit stained, but it’s clean.
The treble side, before.
And after.
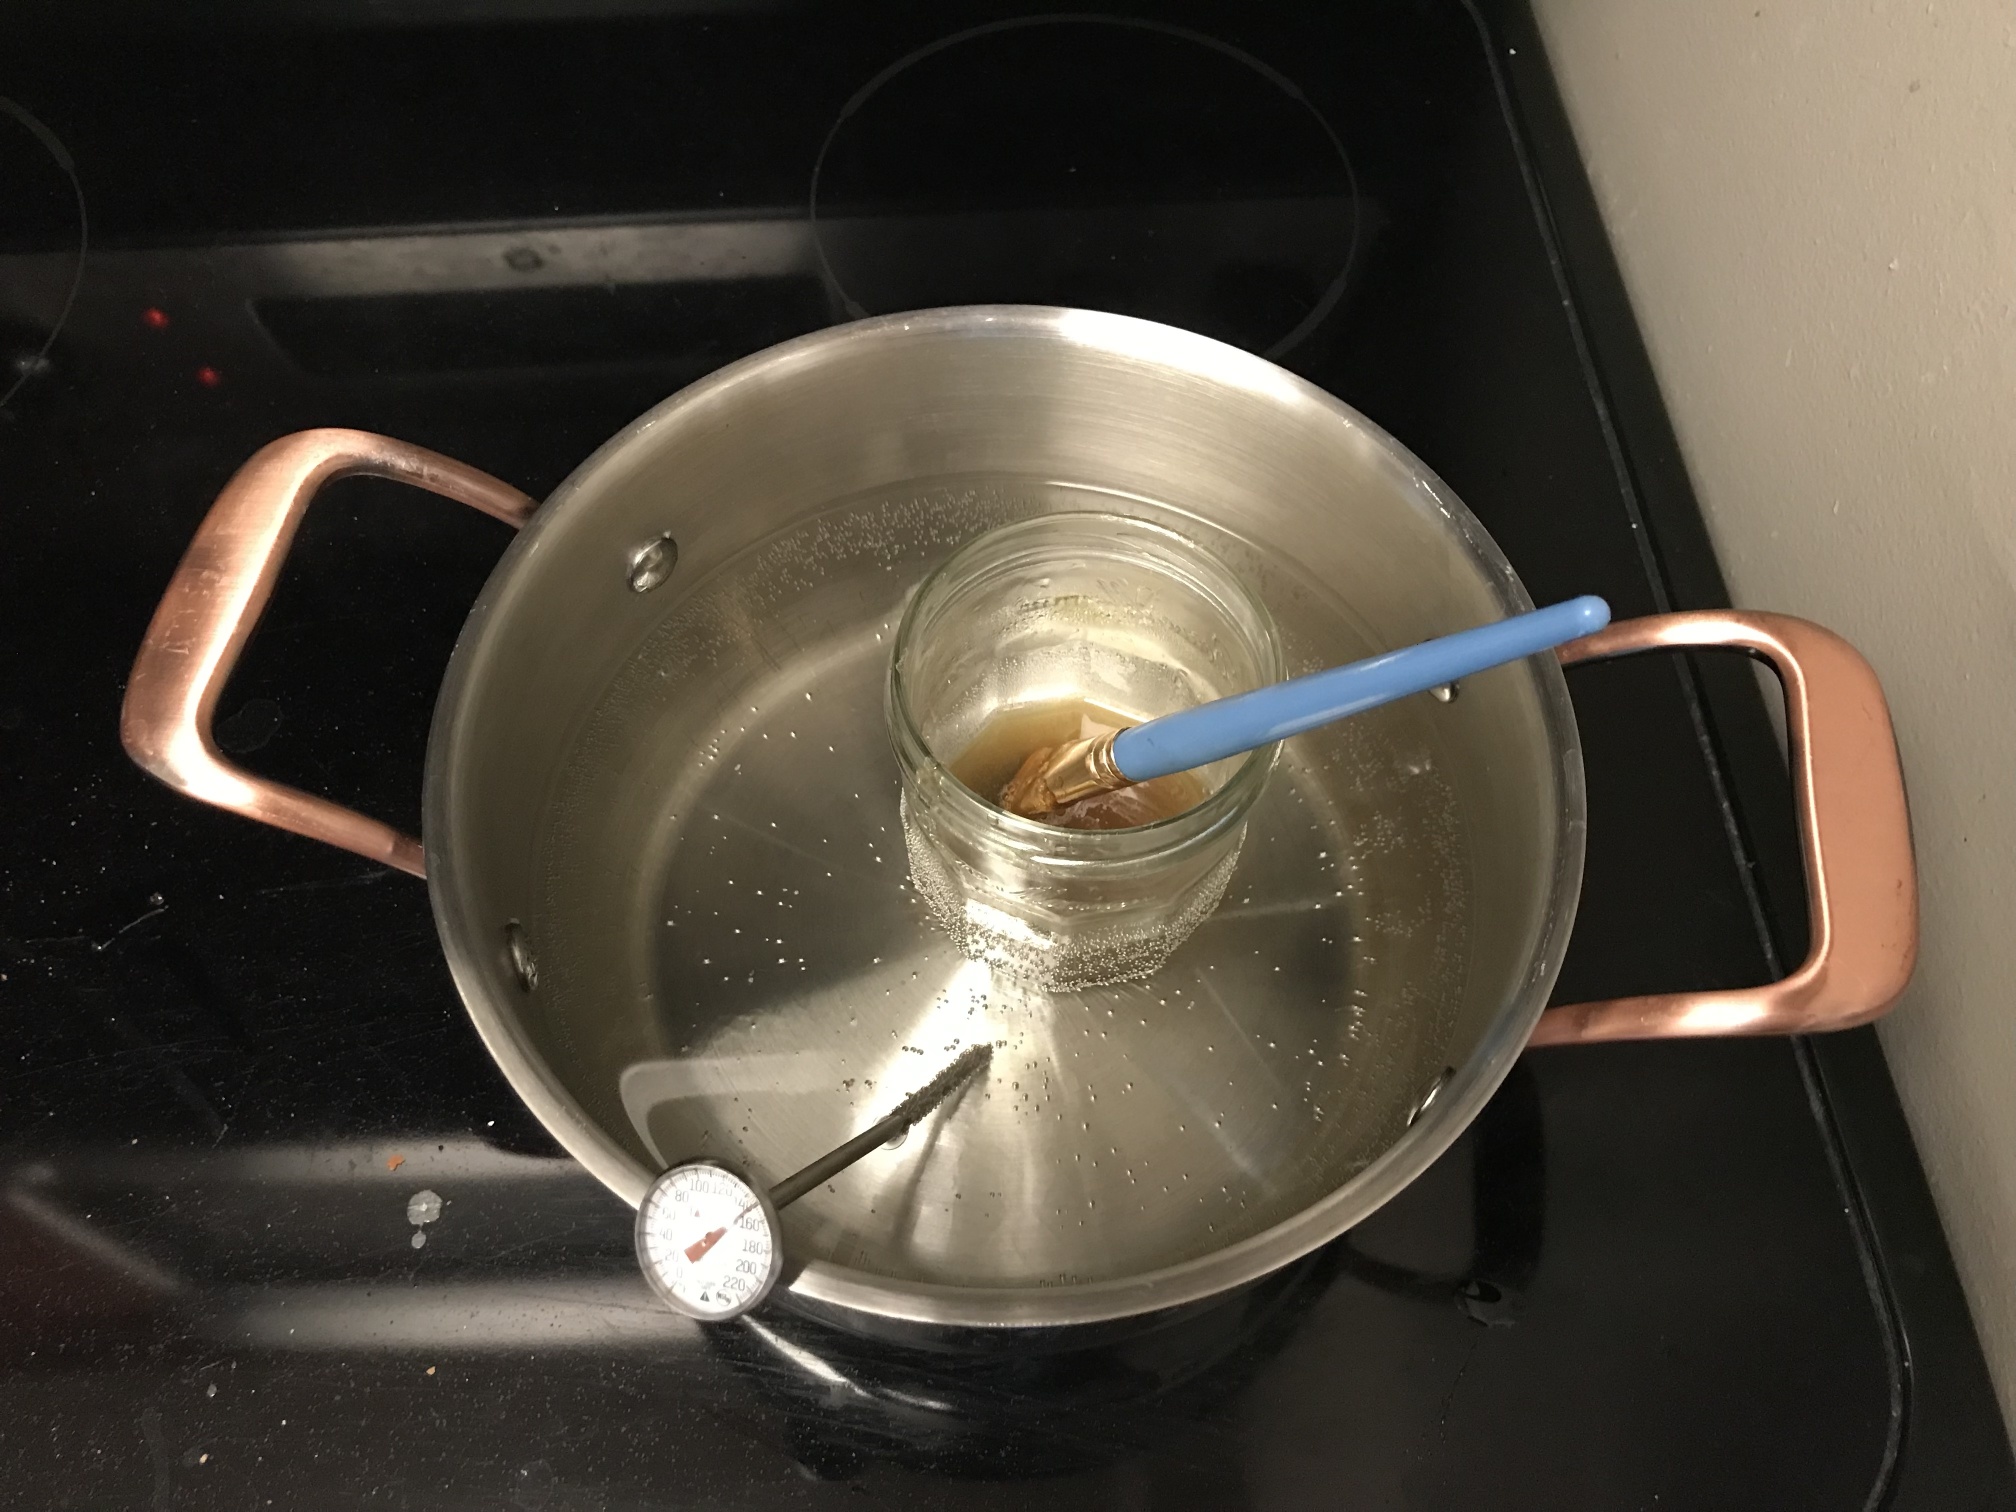
A rare glimpse behind the scenes! My sophisticated glue pot setup.
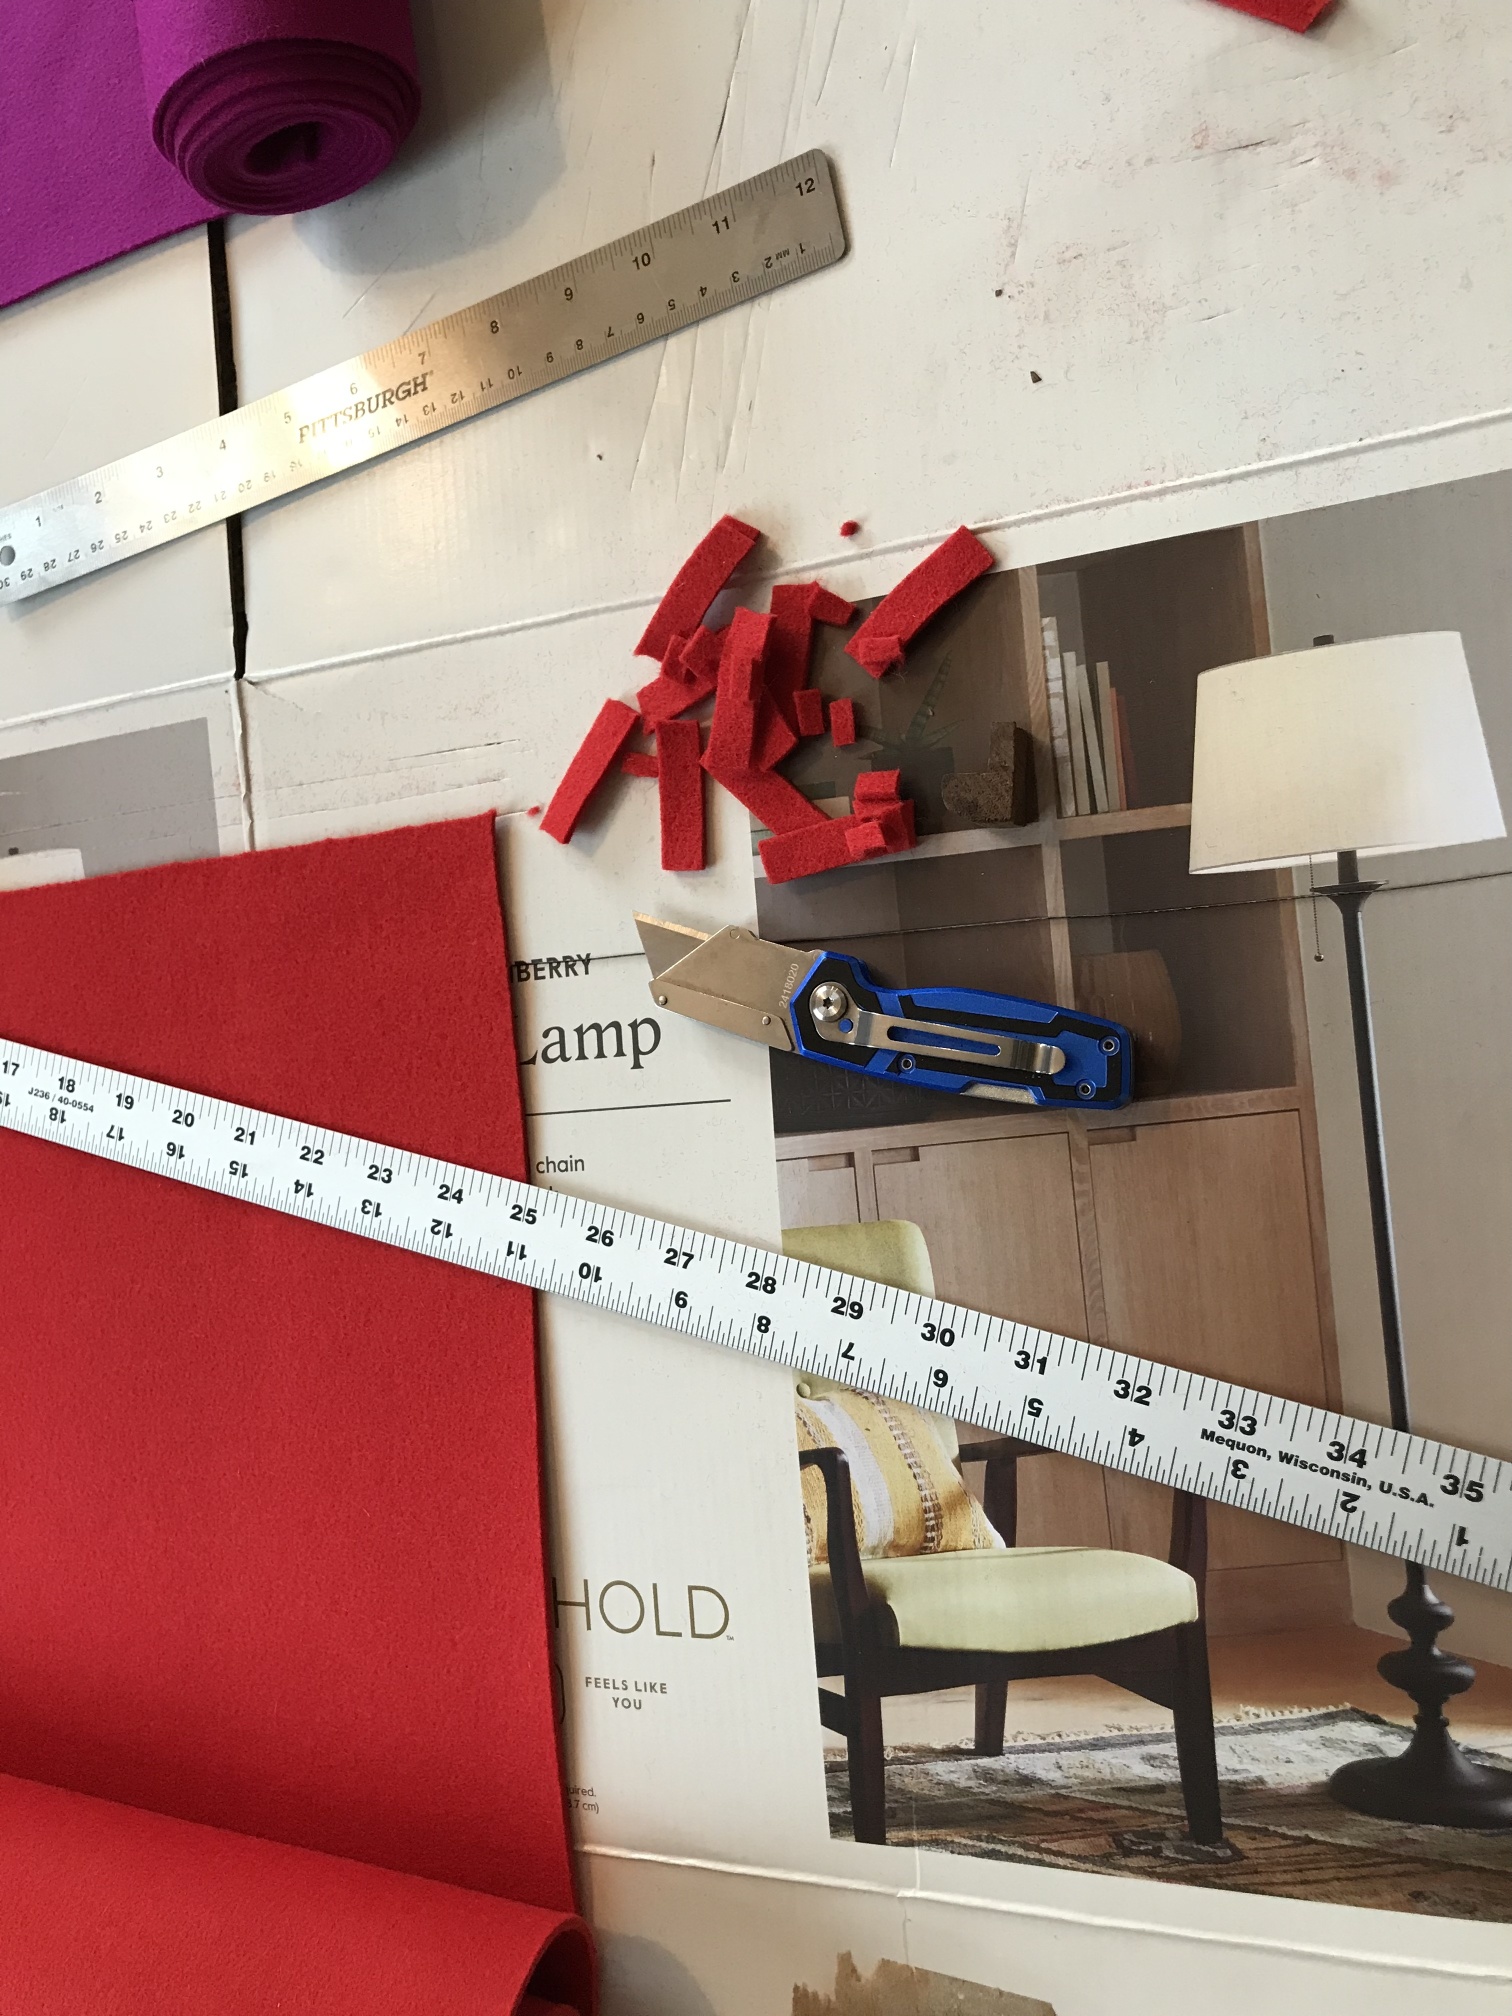
And my equally sophisticated felt cutting setup.
After putting everything back together, I felt ready to move on to the next sub-assembly. But in the back of my mind, I was dissatisfied. The stop motion felt scratchier than I liked and the knobs protruded slightly unevenly. I initially ignored it, but a week later, I redid the front panel felts and removed the felts on the rear of the knobs. Unfortunately, while doing this, I broke two more of the knob pegs. But in the end, it looks much better.
Whoops, drilled a bit too deep... and too greedily.
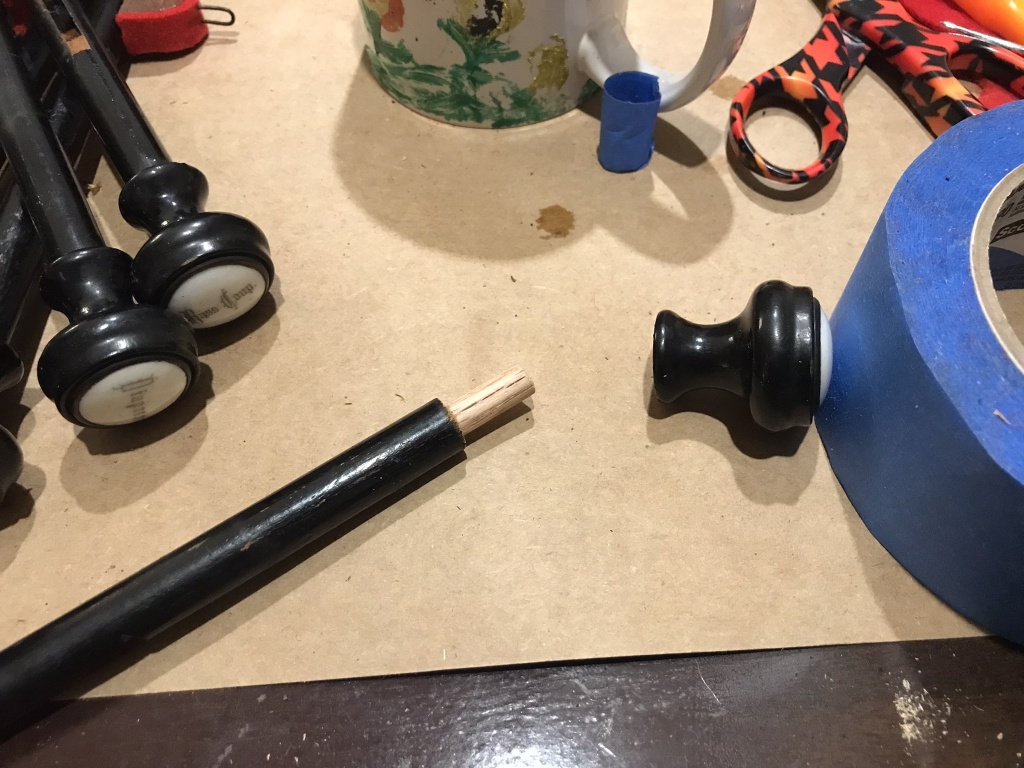
Drilling the holes freehand was tricky, but it mostly worked out.
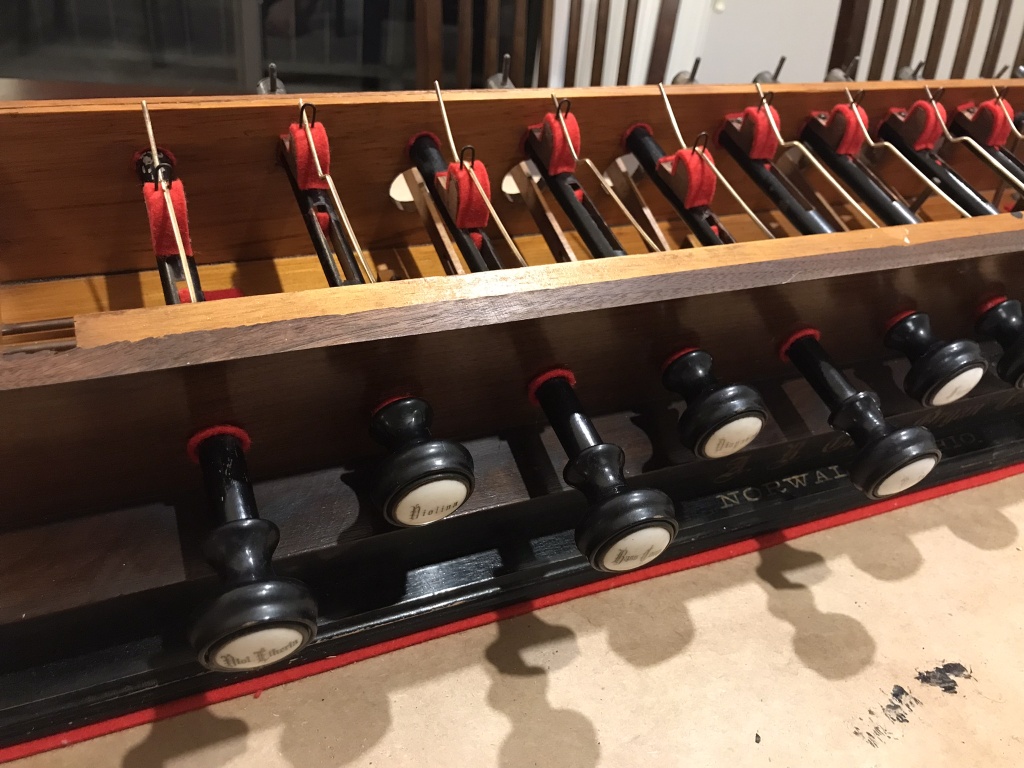
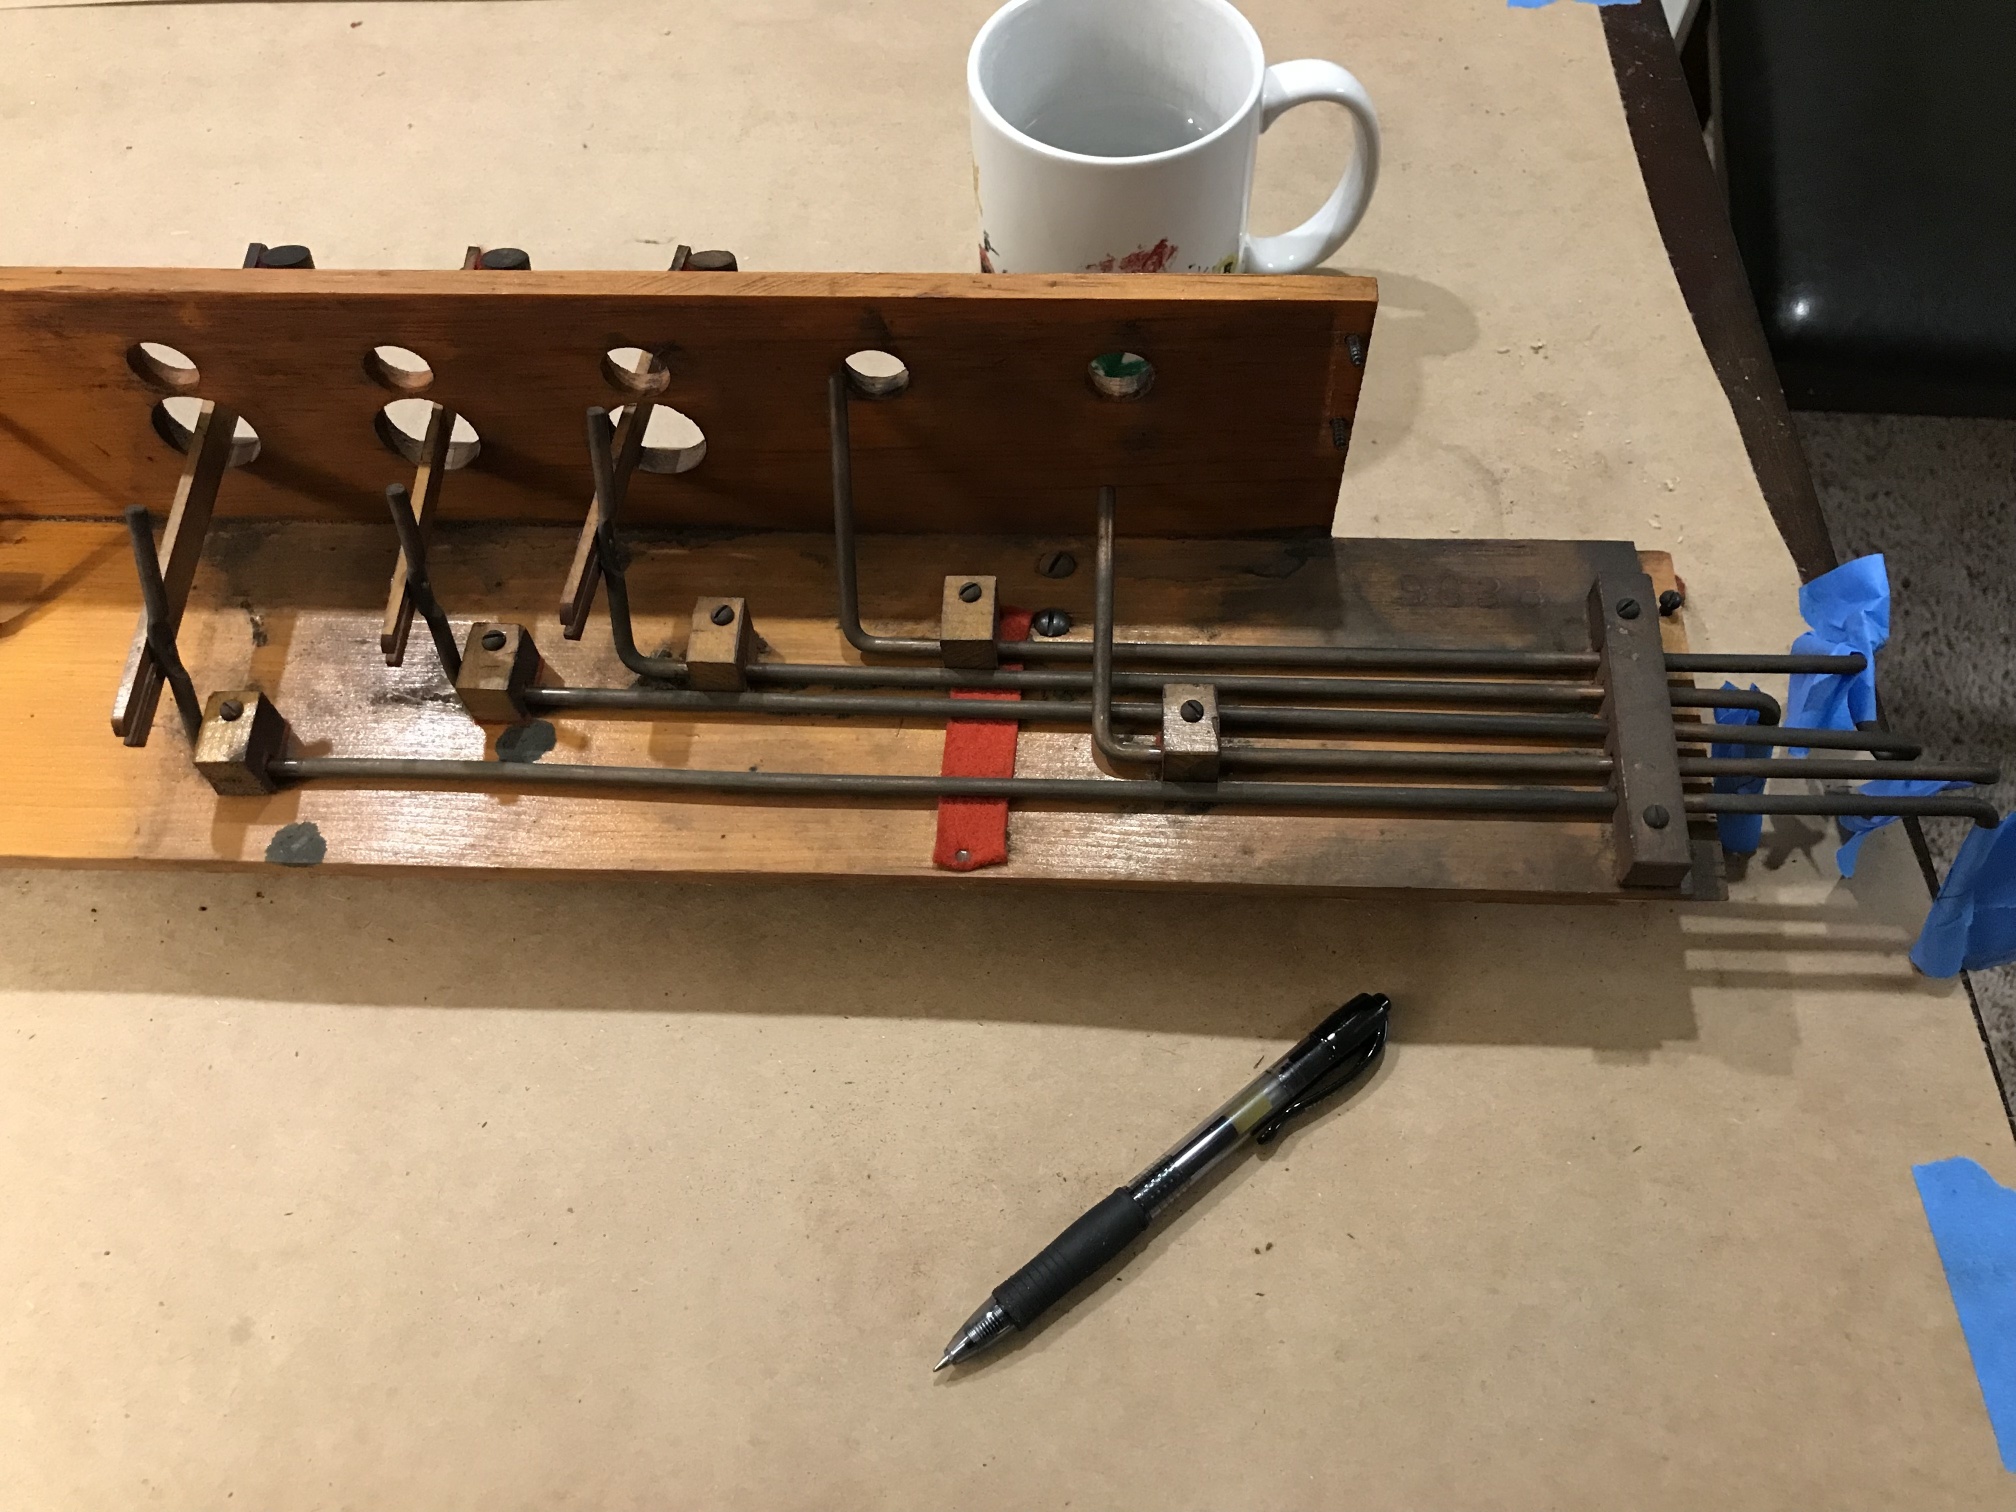
The restored stop action in all its glory.