A lot of strange things can happen to a reed organ over the course of a century. But you can be pretty sure of one thing—that the reservoir will leak. Before starting the repair on my organ, by pumping furiously, it was just possible to coax a few burbling notes from the reeds. The instant I slowed even a little, though, the meager pressure evaporated. If you’re a runner, you might not think anything of pedaling nonstop for a half hour or so. But that sort of thing isn’t great for the exhausters, pedal straps, rollers, or anything else.
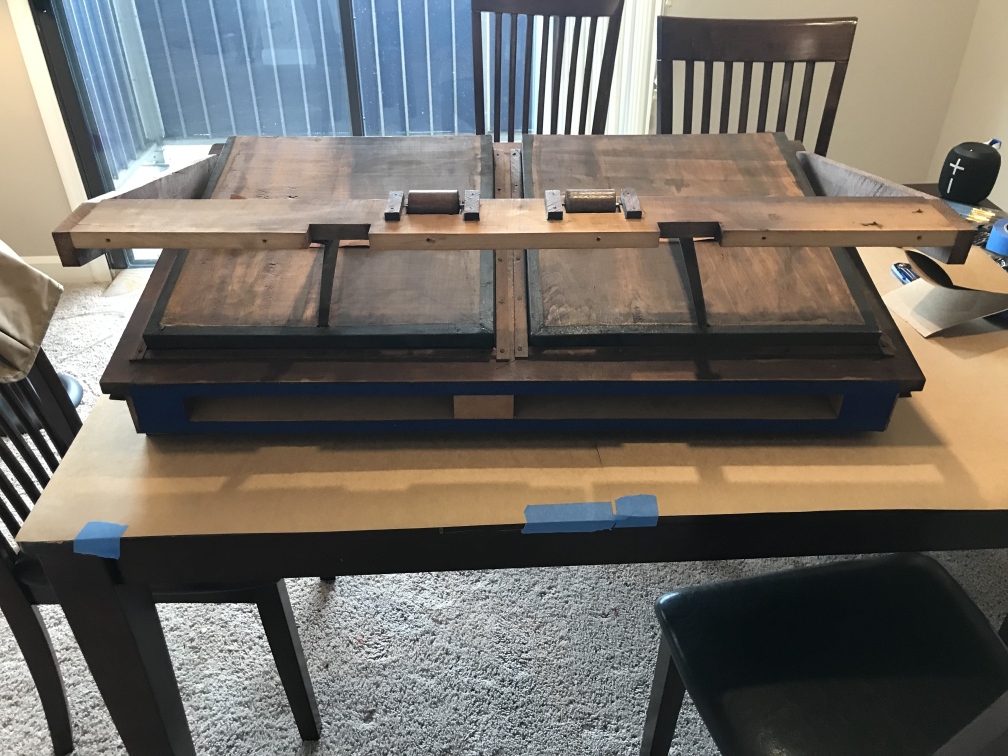
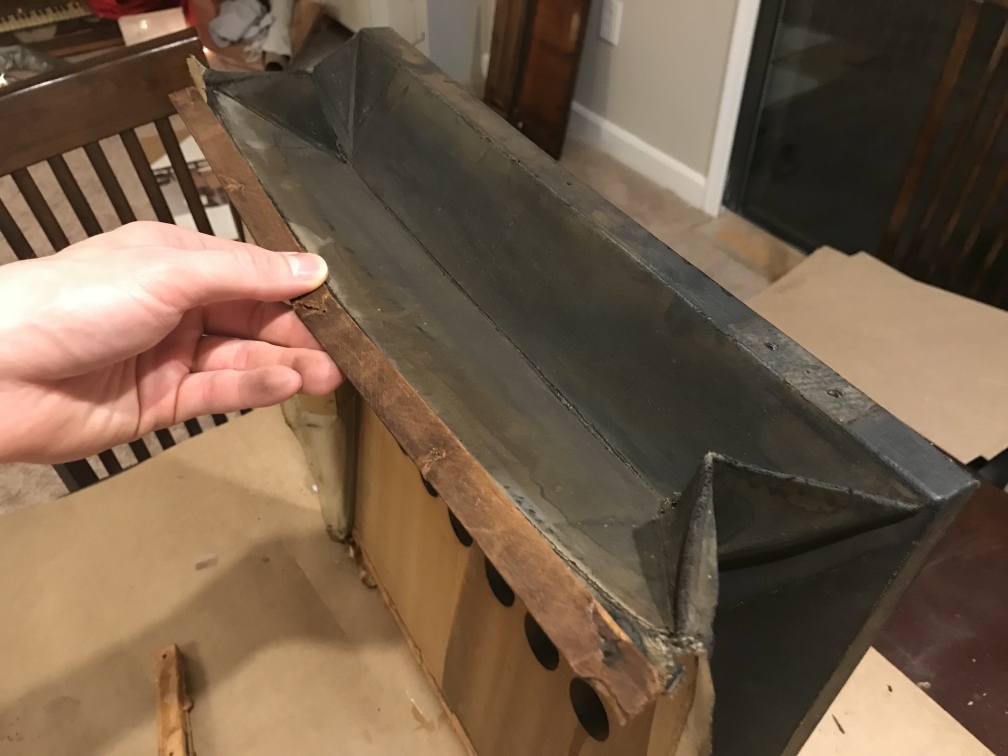
The reservoir, by the way, is a triangular box that holds negative pressure. One end is hinged, and the other is usually sealed with rubber-covered bellows cloth1. Large springs hold the reservoir open against external pressure, allowing it to gradually collapse as air is pumped out. That’s a job for the exhausters, a pair of bellows-looking contraptions fastened to the broadside of the reservoir.
I’d been dreading this part of the repair, but it went reasonably well.
Notice the blue felt gasket. I replaced it with goat leather, which provides a much better seal.
Another view. The front flap valves are kind of thin but very supple. They were one of the few parts that had already been replaced.
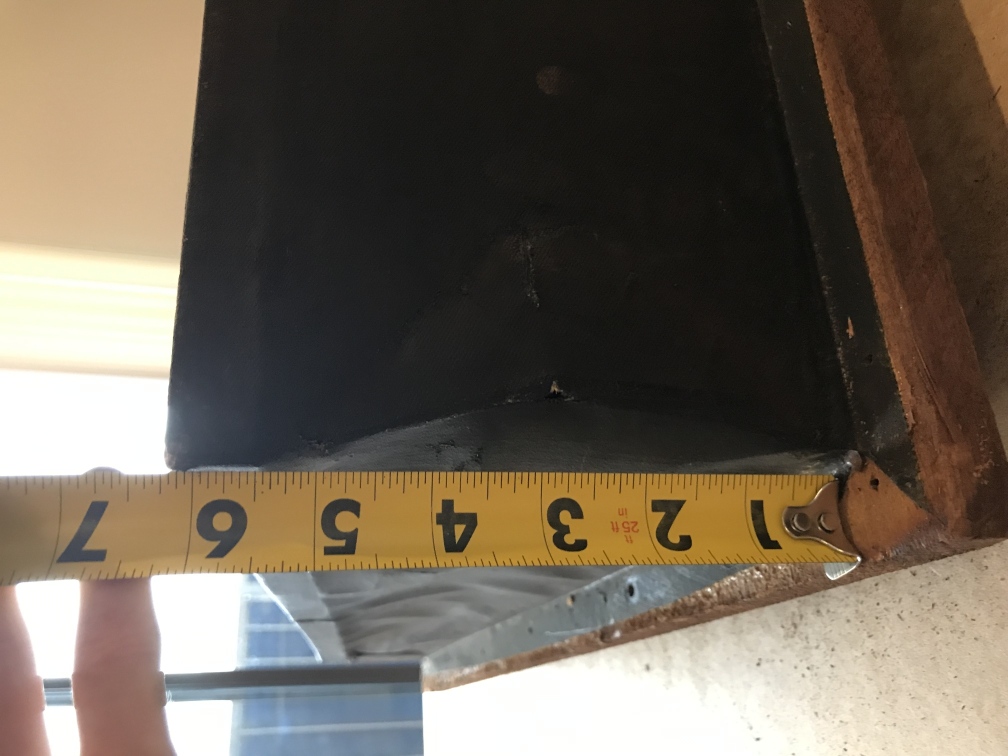
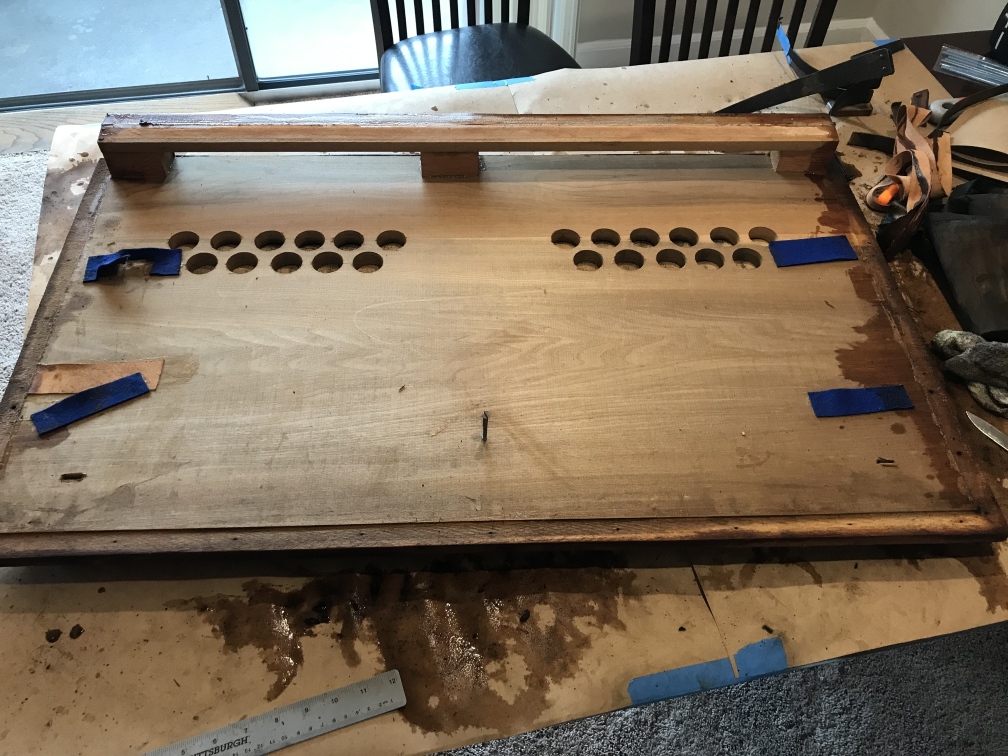
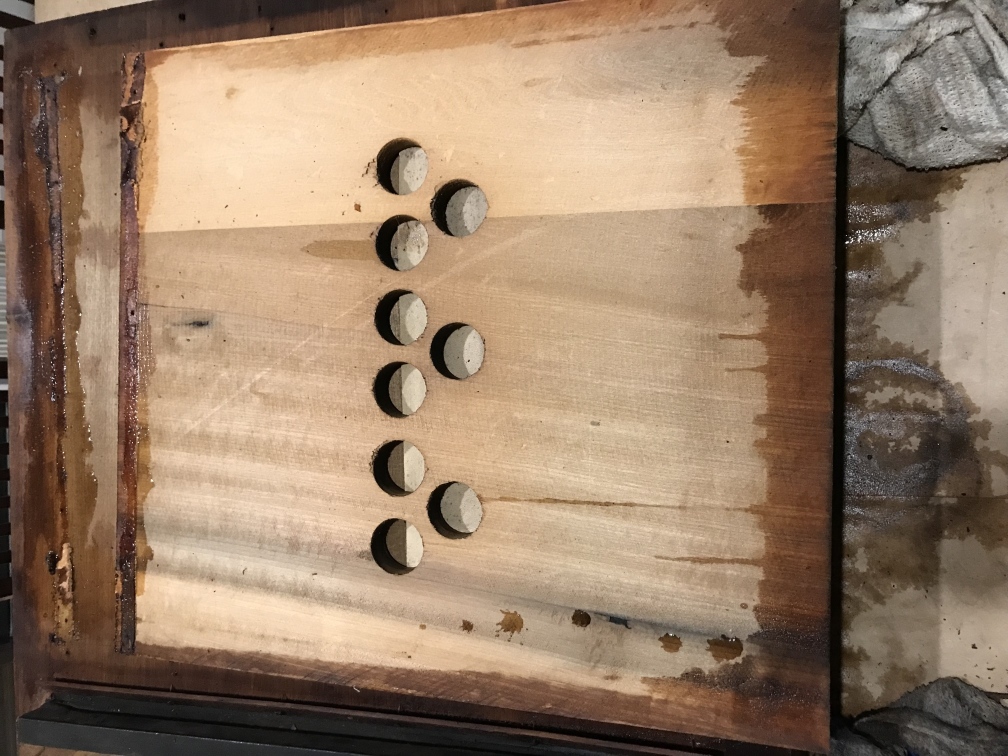
Whatever you do, don’t forget to measure the original reservoir opening! There isn’t a lot of margin for error here, and an overly-generous reservoir will clunk against the case every time it opens.
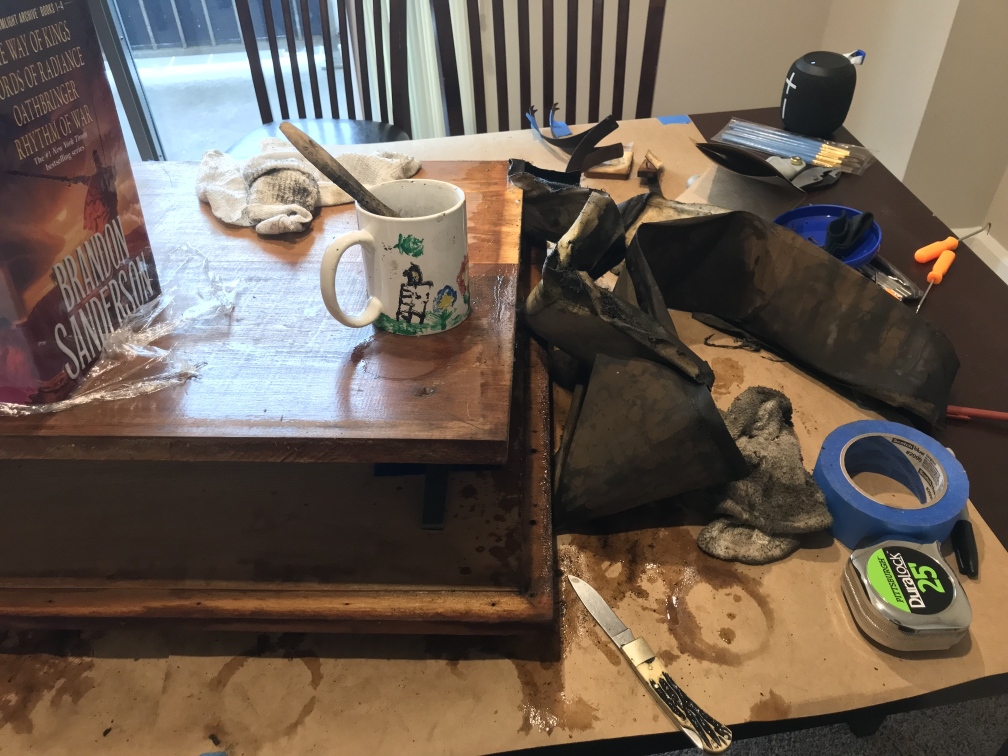
At first, I used a lot of hot water. This is very messy—as you can see—and can open seams in the boards. I found that careful use of a hot air gun, a little hot water, and some firm pulling is far more effective. Hot water is still necessary to remove the old glue, but gentle scrubbing helps a lot.
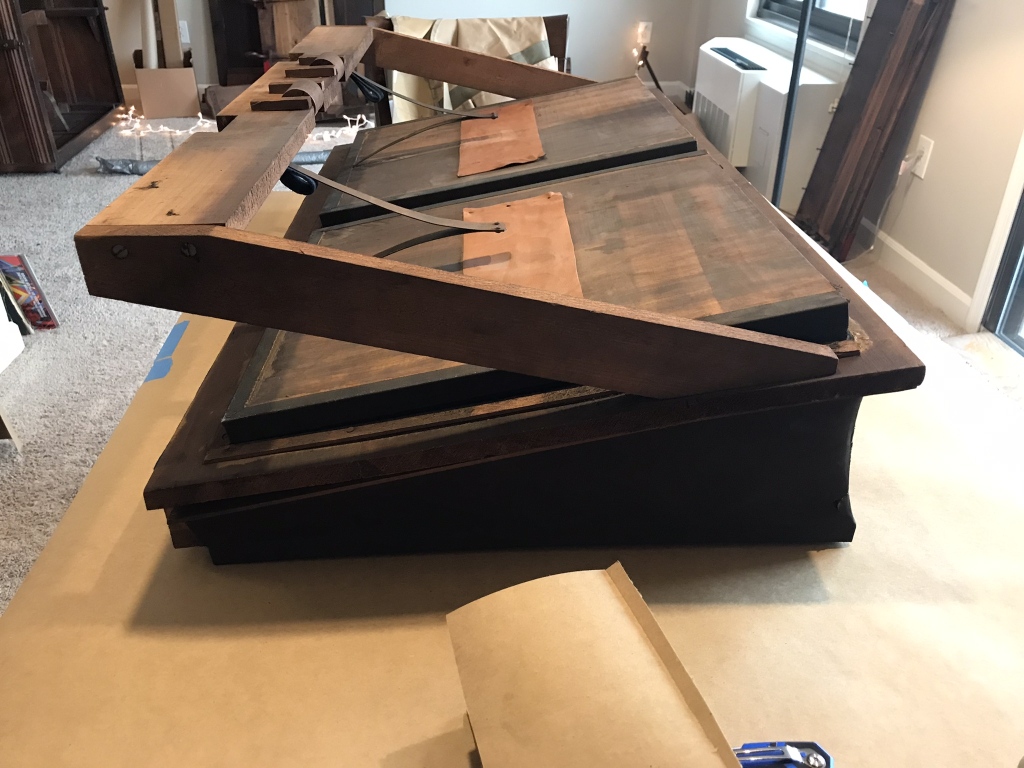
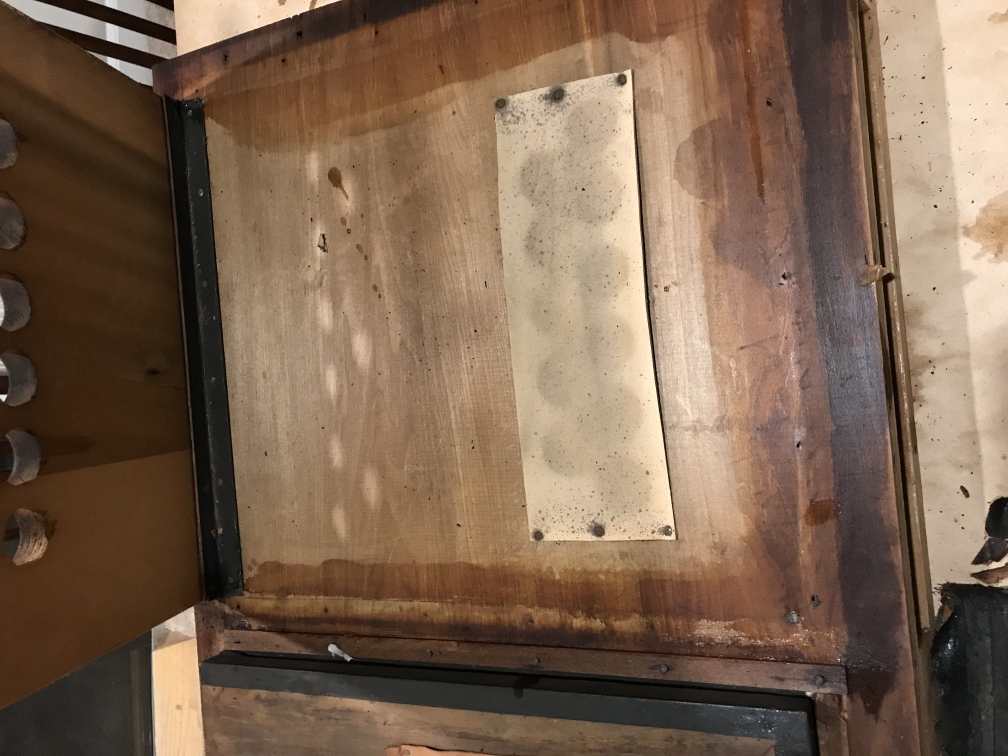
At last! Notice the leather patch. There’s no evidence of an earlier repair to the reservoir, so I think it came from the factory. Also, the bass-side leaf spring had snapped, gouging through the felt and into the wood. Each time the reservoir closed, it dug deeper. But the wood hadn’t cracked and seemed sound, so I left it alone.
With new felts and a leather patch. Concerningly, the old leaf springs had dug deeply into the wood. Even worse, the replacement springs were tipped with sharp points, which would tear the wood. I tried to repair the damage, but this was probably overkill, since I also blunted the springs with bolt cutters and metal files.
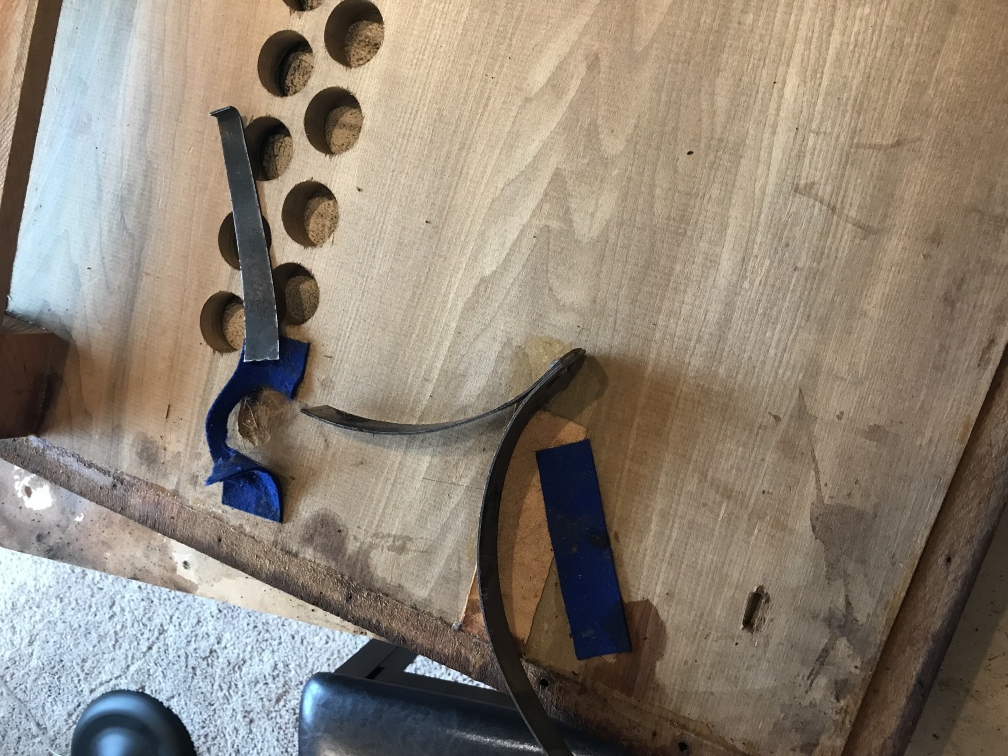
A closer look at the spring damage. The treble-side spring looked fine, but I figured I should replace them both for the sake of balance. Not sure what I’m going to do with the spring, though.
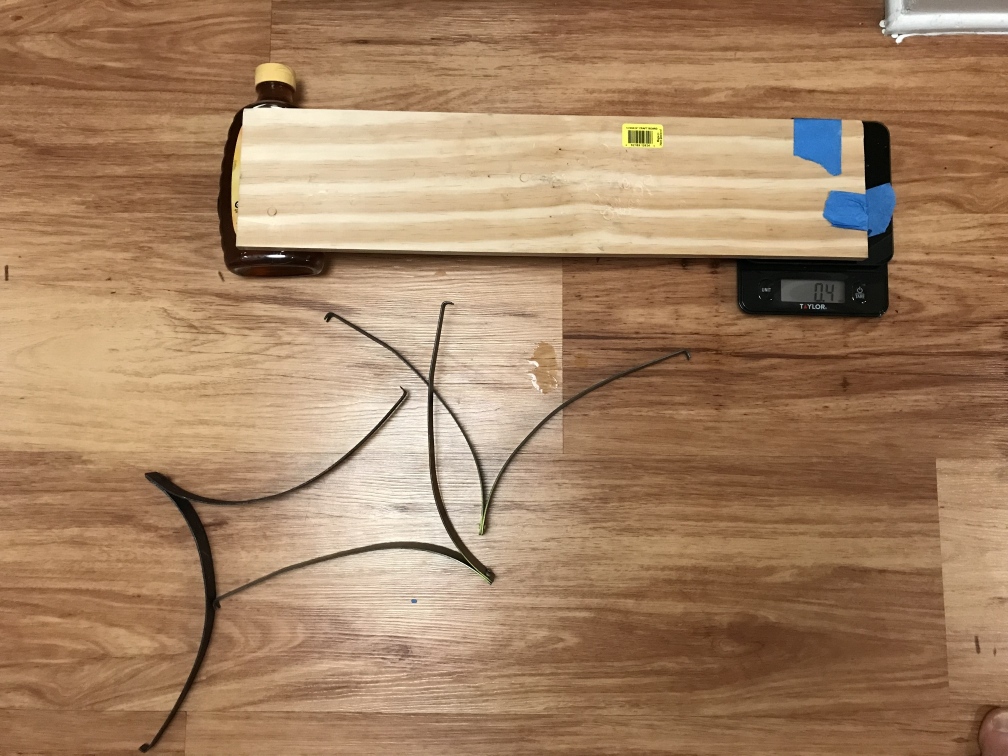
PHYS 161 paying off! (The scales max out at 11 lbs.) The original springs were 16 lbs, but the replacements were 20 lbs. I’m not sure, maybe that’s close enough, but I bent them until they matched the originals.
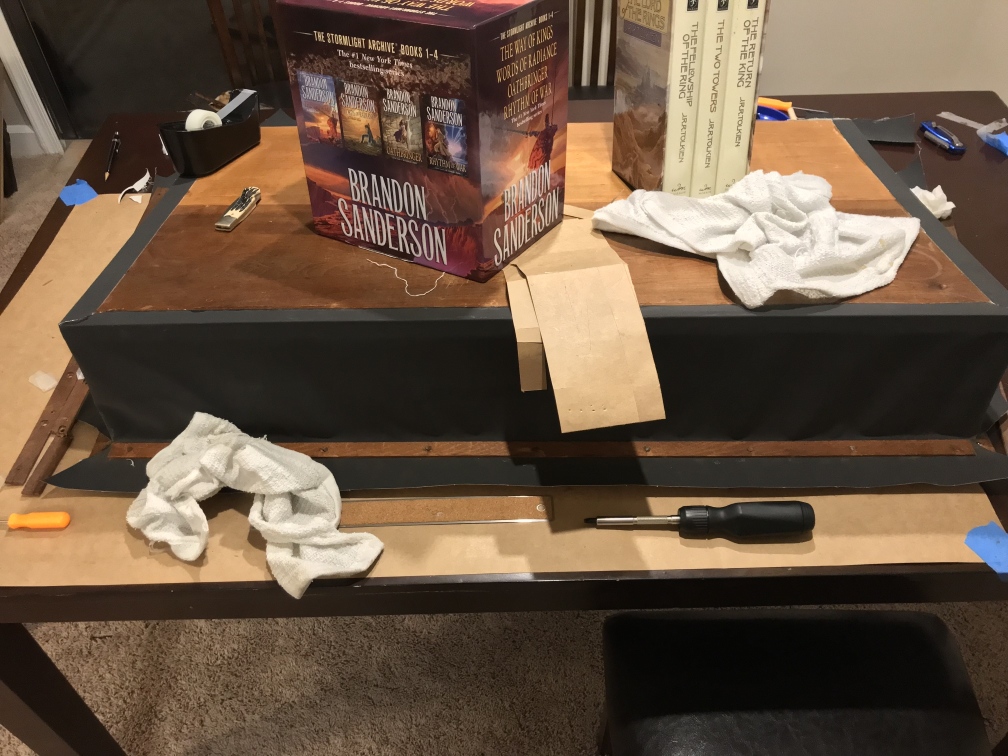
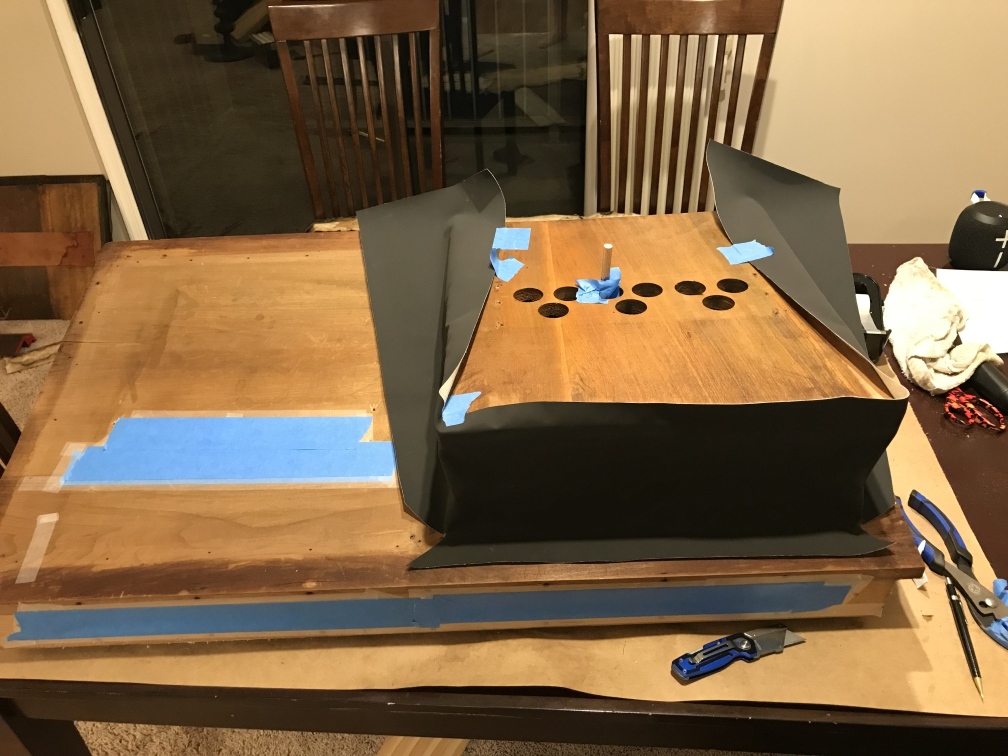
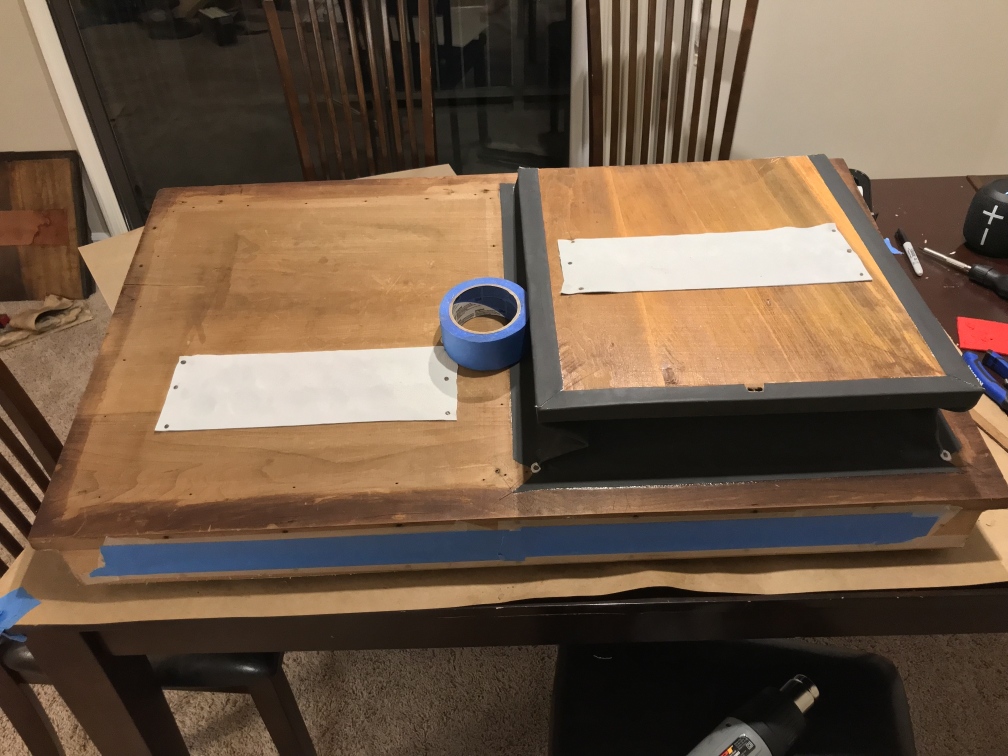
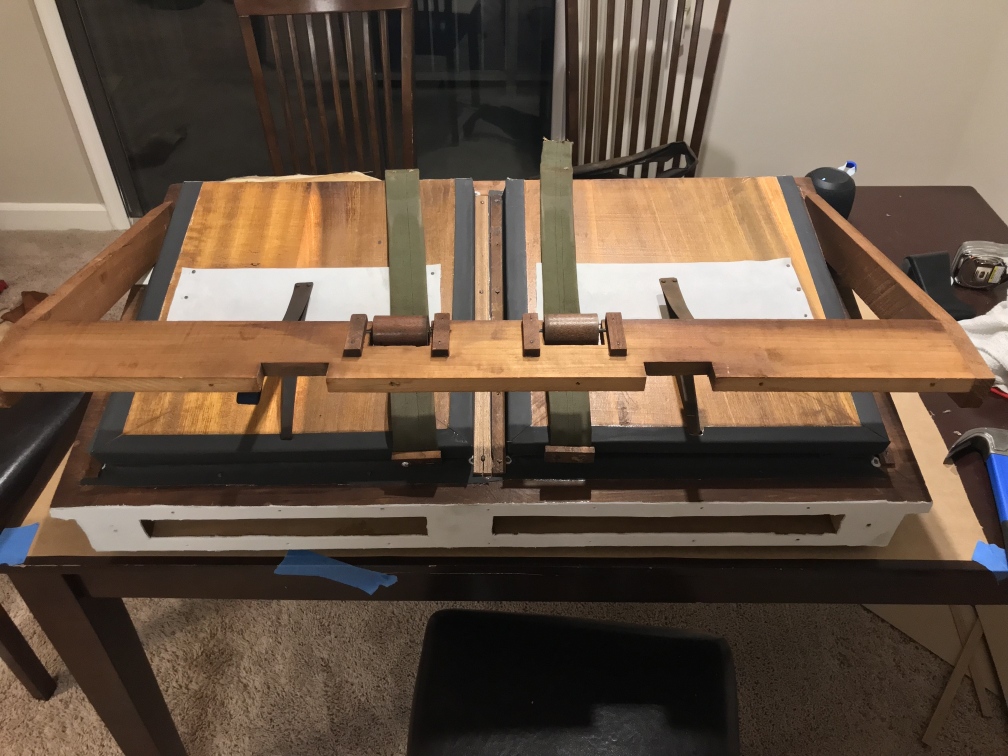
Wrapping the reservoir. The books are to reduce the force of the springs. The strategy is to start at the back, let it dry overnight, then replace the springs and do the sides. The place where the hinge meets the cloth is tricky, I might have to replace it in a few years.
It’s not a perfect repair—ideally the rubber cloth would be under equal tension everywhere, and the rear hinge seals aren’t great—but a tremendous improvement. This main thing is to work quickly, rehearse everything a few times, and give the glue time to set.
But actually, the reservoir was a just a warm up for the exhausters. They are much smaller than the reservoir, but with the added complication that their rubber cloth covering is backed by cardboard stiffeners called “ribs”. These have to be cut and placed pretty precisely, or they’ll end up rubbing the board or stretching the cloth.
The old treble-side exhauster. It actually doesn’t look too bad, the rubber cloth is worn and stained but still holds some air. The cardboard ribs ensure the rubber cloth folds consistently and easily.
Revealing the hinge and the inner flap valve. The leather was very dry and stiff, I think it was original.
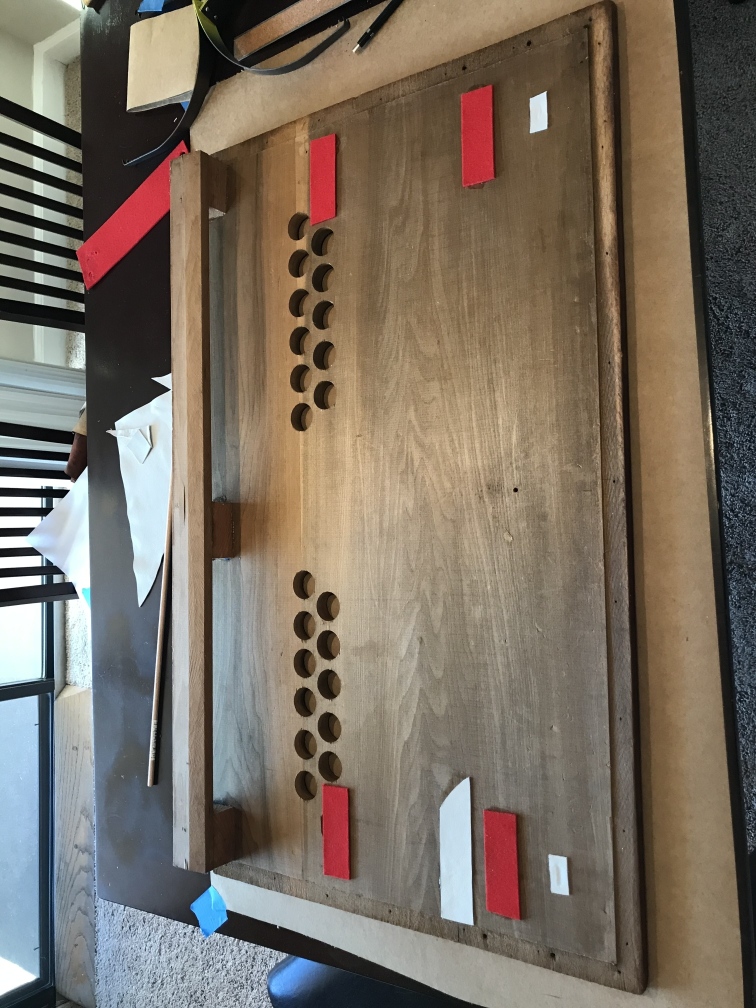
I was still using too much water.

Old vs new. By the end, I was getting pretty good at making them.
Make sure to fasten the inner flap valve before finishing the exhauster! Also, I dunno what’s up with the white balance, that’s what you get for using a phone camera.
Bass side done!
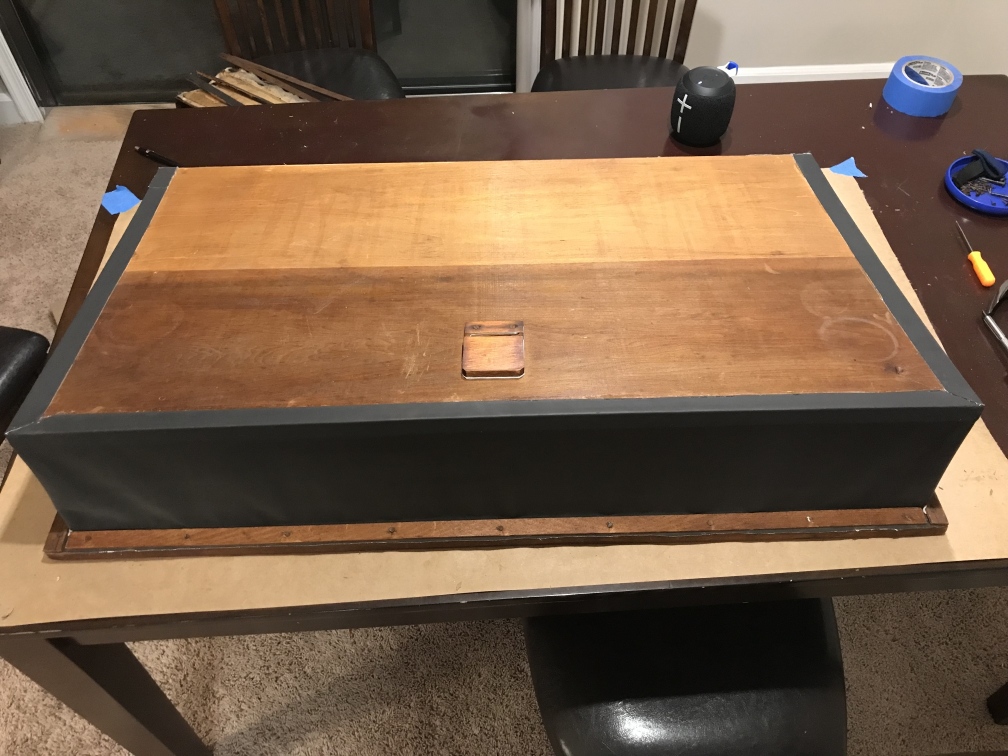
It took a few weeks, but the reservoir and exhausters are done! They’re far from perfect—the treble-side exhauster is too tight and squeaks a bit, and the bass side is a bit leaky—and part of me wanted to tear it apart immediately and give it another try. But I didn’t. There’s a good chance they’ll need replacing in a few years (instead of a few decades) but that’s a problem for future Tom.
The gasket is a single piece of pneumatic-grade goat leather, which is way overkill and expensive, but will definitely not leak.
This is pretty exciting! My reed organ was actually in really good condition, the only things that were seriously broken were the reservoir, a few silent reeds, cracks in the reed pan, a warped mute, and the couplers. But the reeds are probably just dirty2, the reed pan is easily patched, the mute is probably straightforward, and the couplers… well, who knows… but the point is, I’m making progress. Soon I’ll be putting stuff back in the case.
-
Sometimes the reservoir is covered with pneumatic-grade leather instead. But this is more expensive, probably involves a seam somewhere, and (I’ve heard) might age worse than rubber cloth3. ↩
-
Since I write these posts a few weeks after the fact, usually while waiting for replacement parts to arrive, I can confirm that the reeds were just dirty. It’s amazing how a speck of dust can silence the tiny reeds. The reed pan was not as easy as I hoped, but I got it on the second try. ↩
-
By the way, I bought my rubber cloth and replacement springs from stevespianoservice.com, and my leather from Columbia Organ Leathers. You can probably get better prices elsewhere, but hey, organ repair is an expensive hobby, and the stuff seems high quality as far as I can tell. ↩