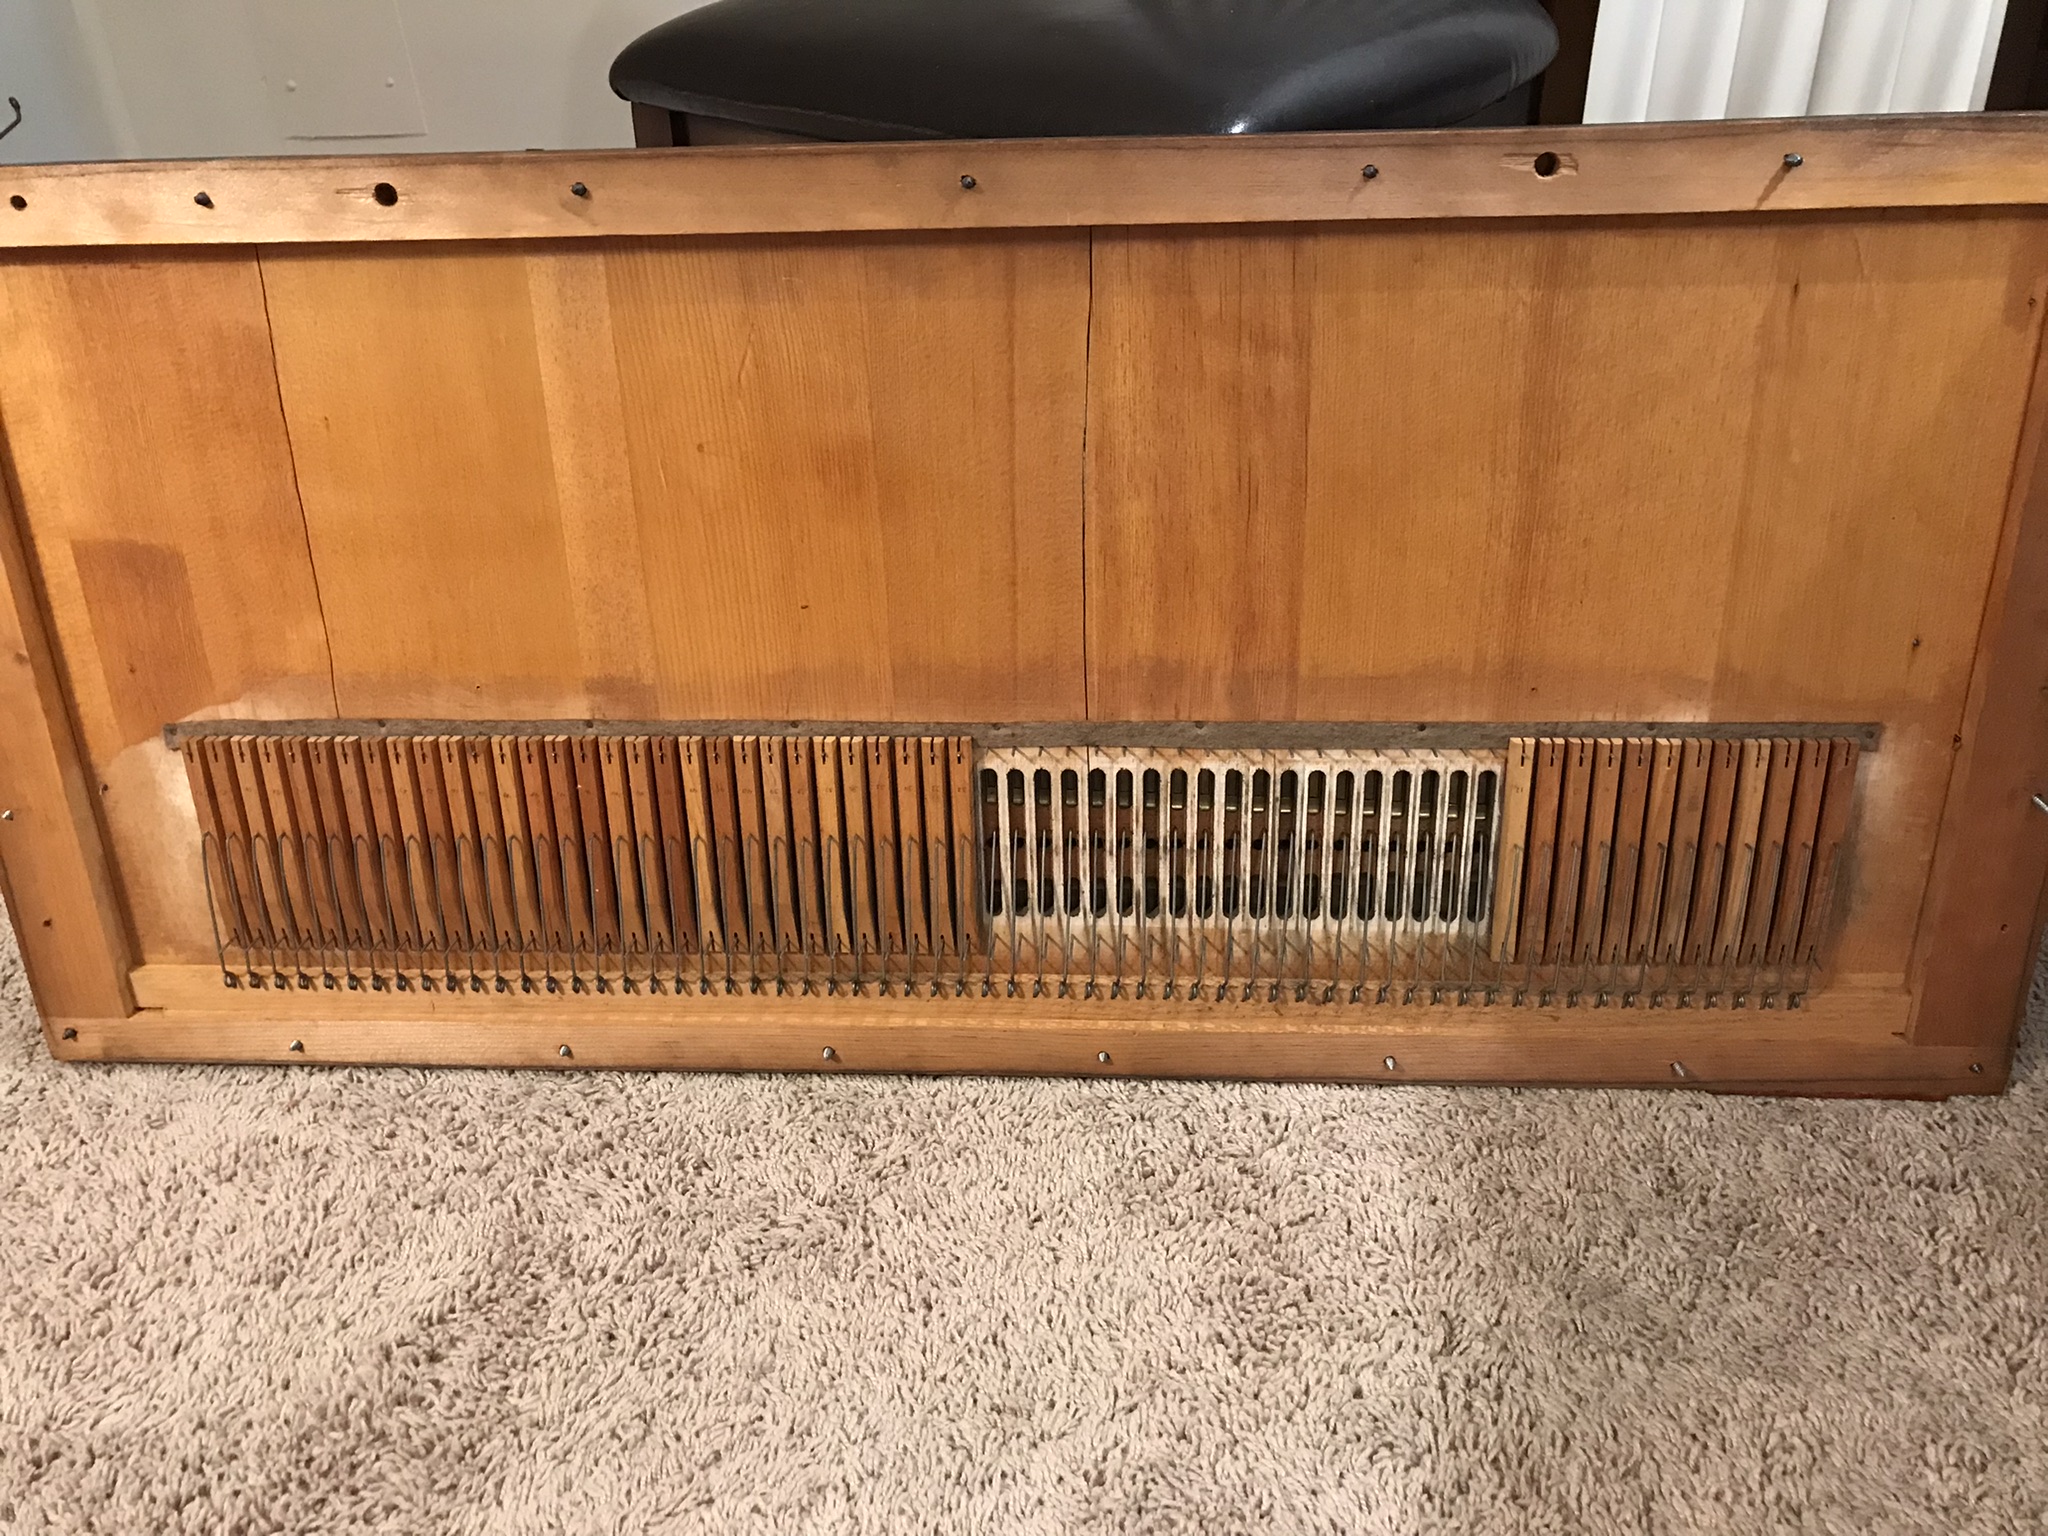
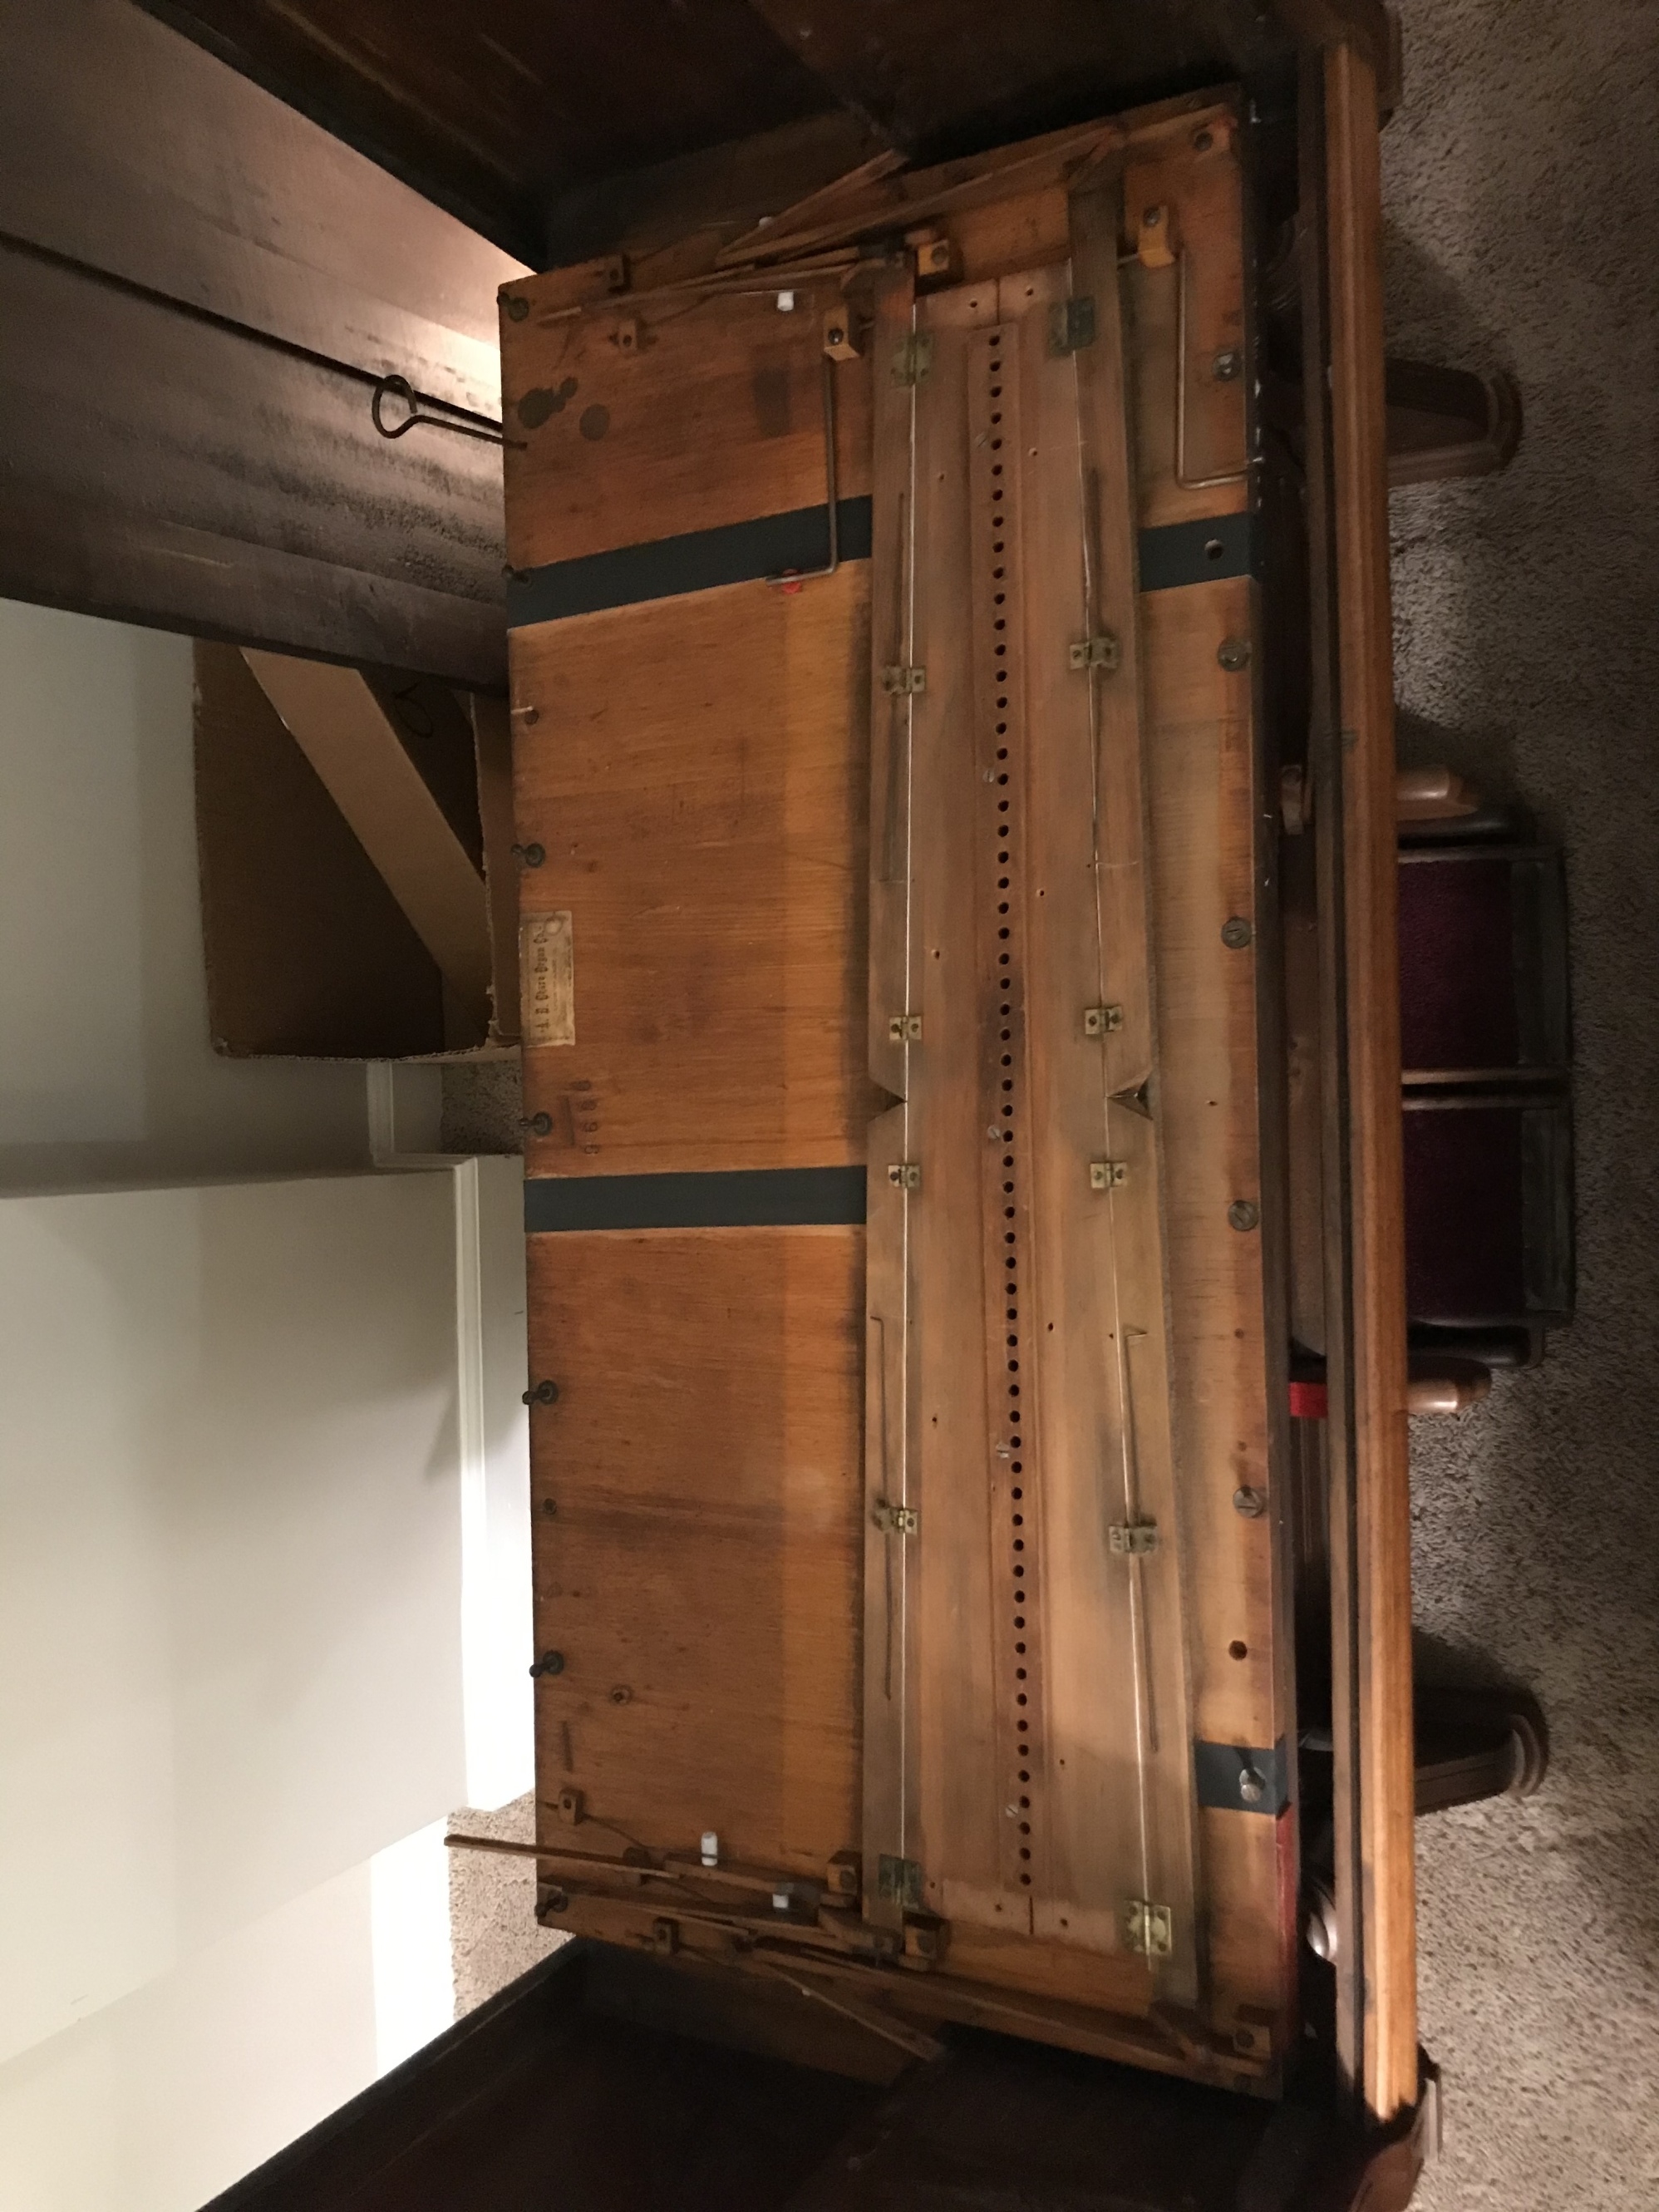
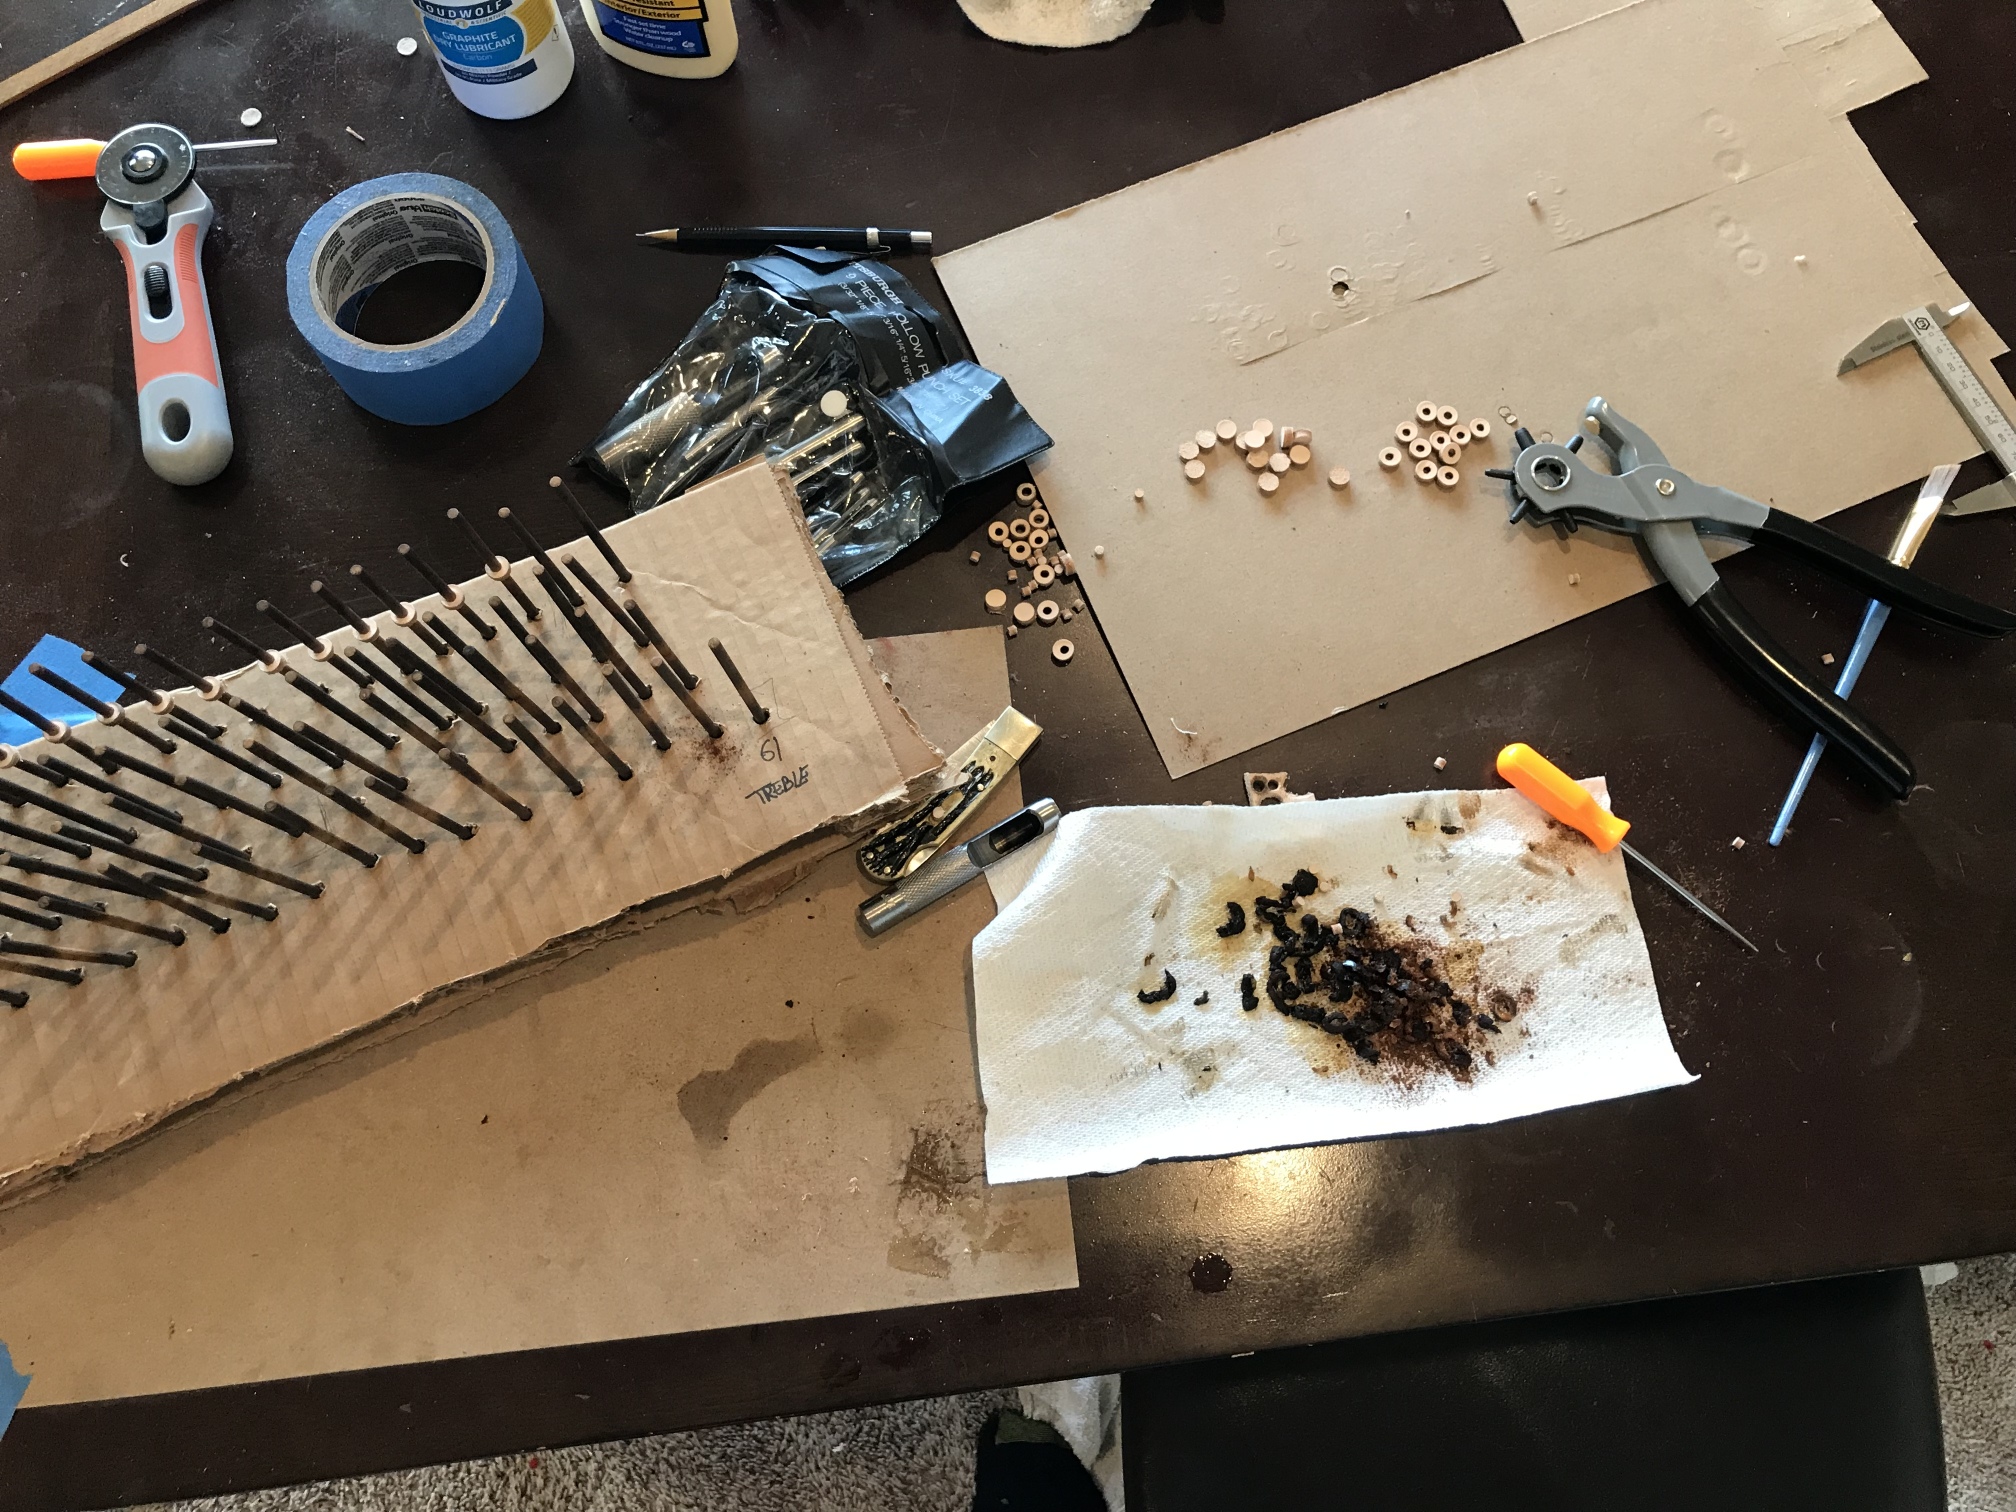
Once more, as winter turns to mild spring, I take pen in hand to recount what has transpired since my last missive. As far as it concerns my reed organ, at least. I’ve spend the last month or so restoring the reed pan and couplers. On the whole, everything went smoothly. Some really nice organs have several ranks of reeds, or have suffered mouse/moth infestations, or have endured water damage. But mine is pretty simple and more old than actually damaged.
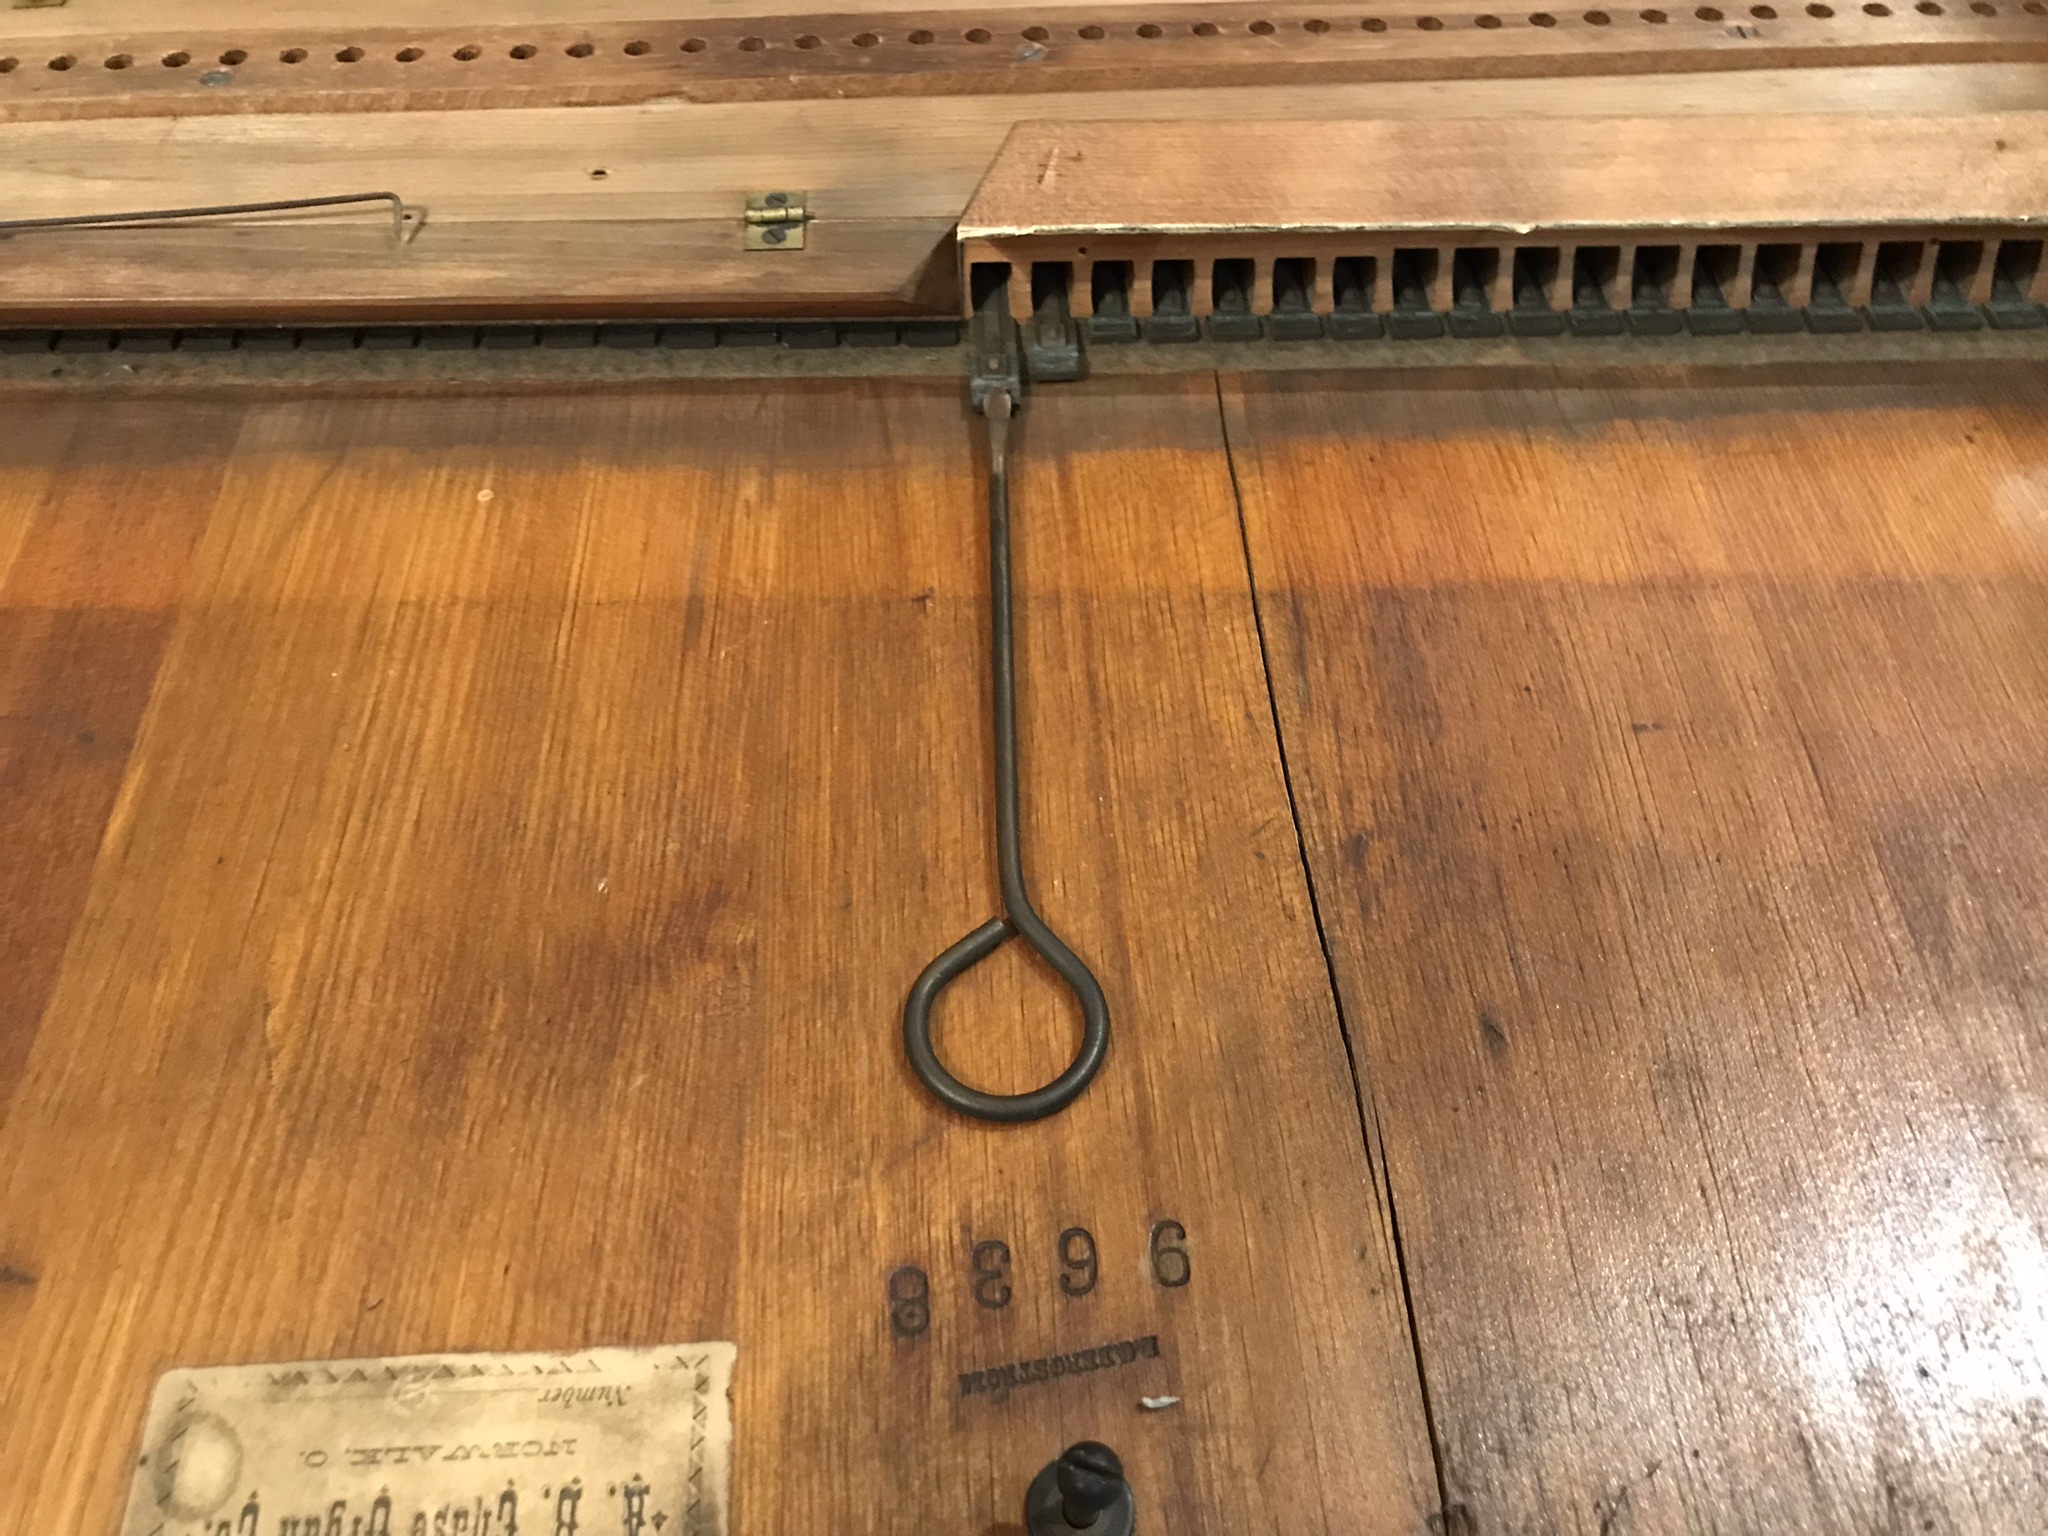
Pulling the reeds for cleaning. I was scared that I’d break a reed cell wall, but everything went perfectly. There were two cracks in the reed pan, which leaked a shocking amount of air.
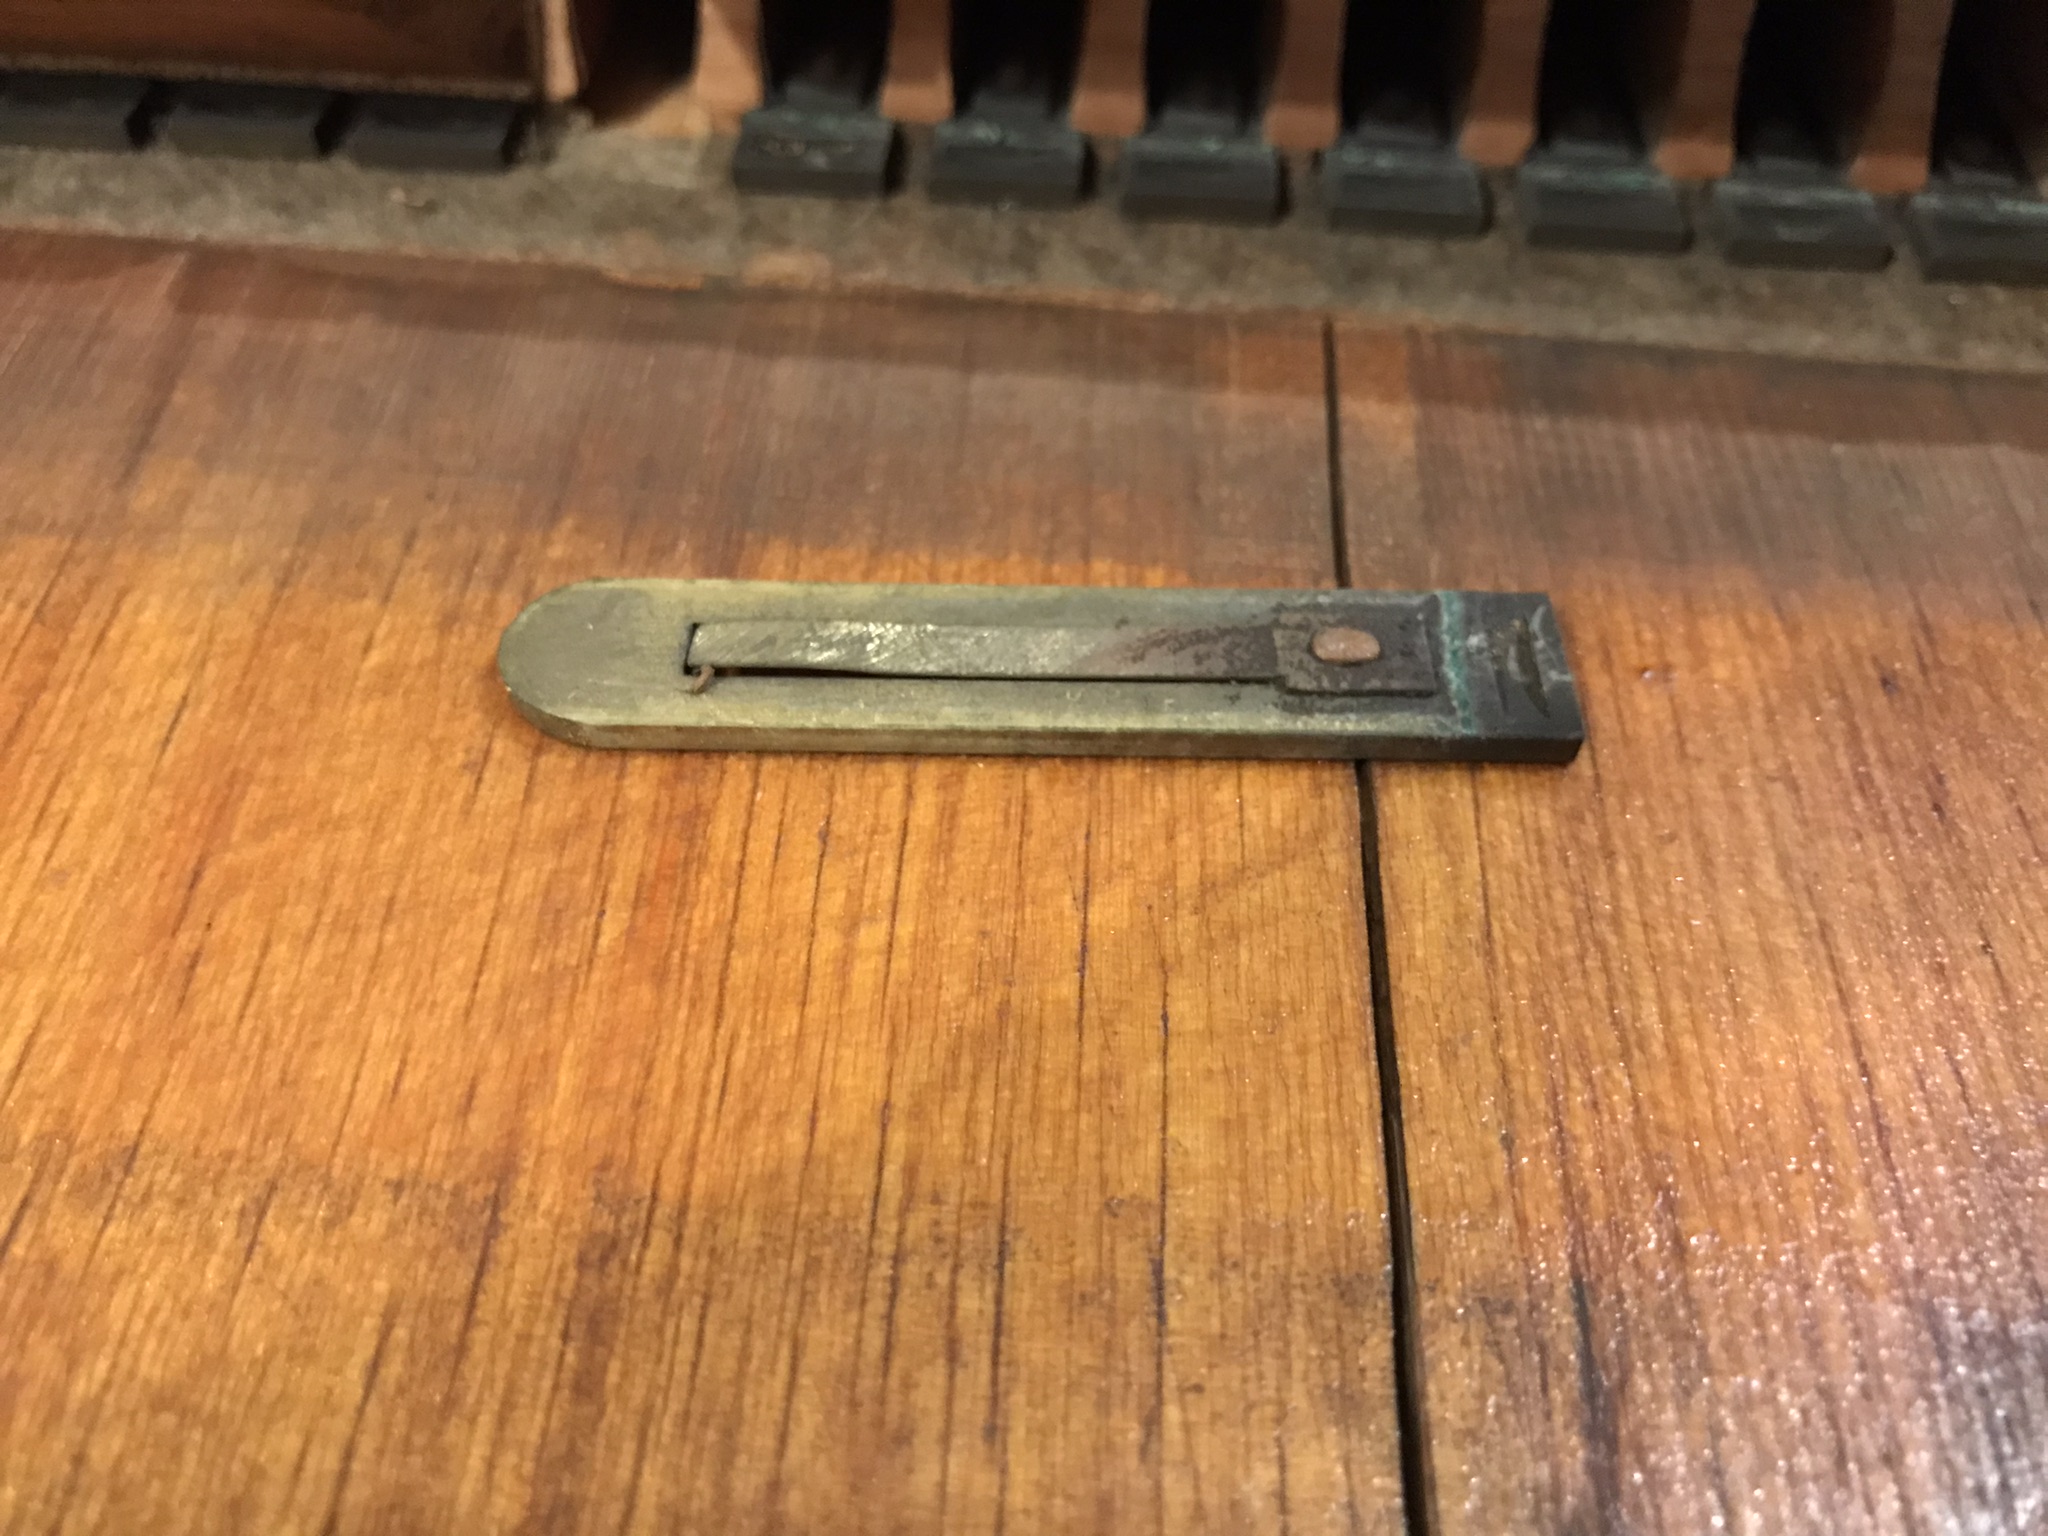
A reed. It’s dirty, but that doesn’t matter anywhere near as much as the wood fragment wedged underneath the tongue. The smallest reeds can be silenced by a literal speck of dust.
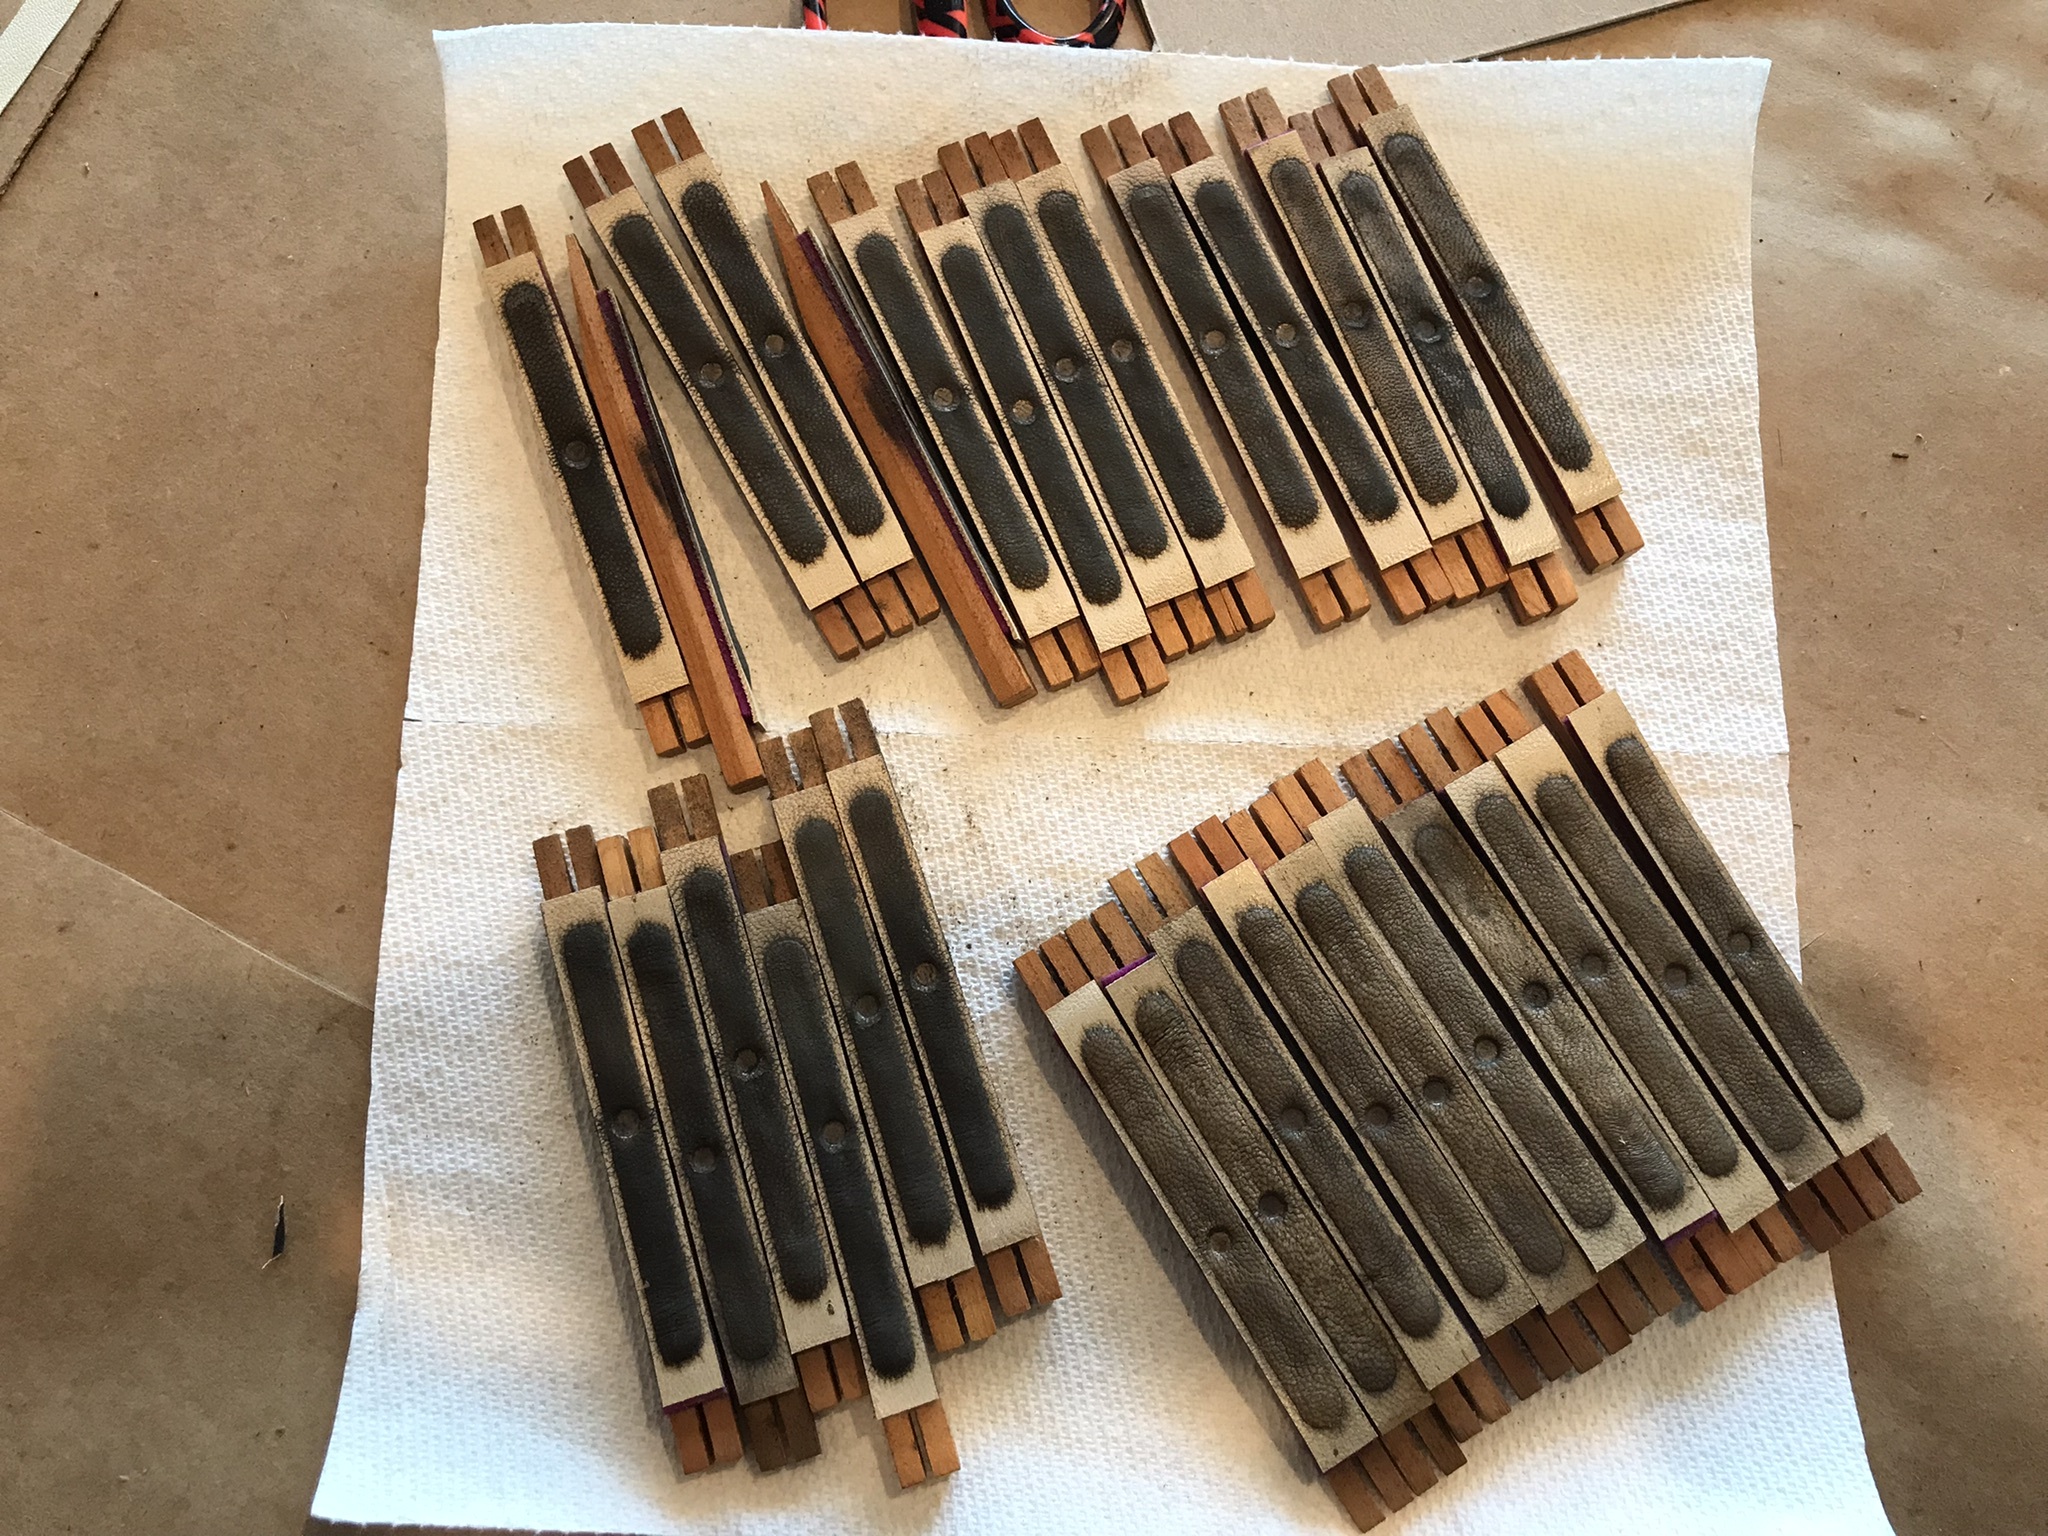
These are pallets, essentially valves for the reeds. They were very dirty but the leather was still soft, so I brushed of the worst of the grime and replaced them.
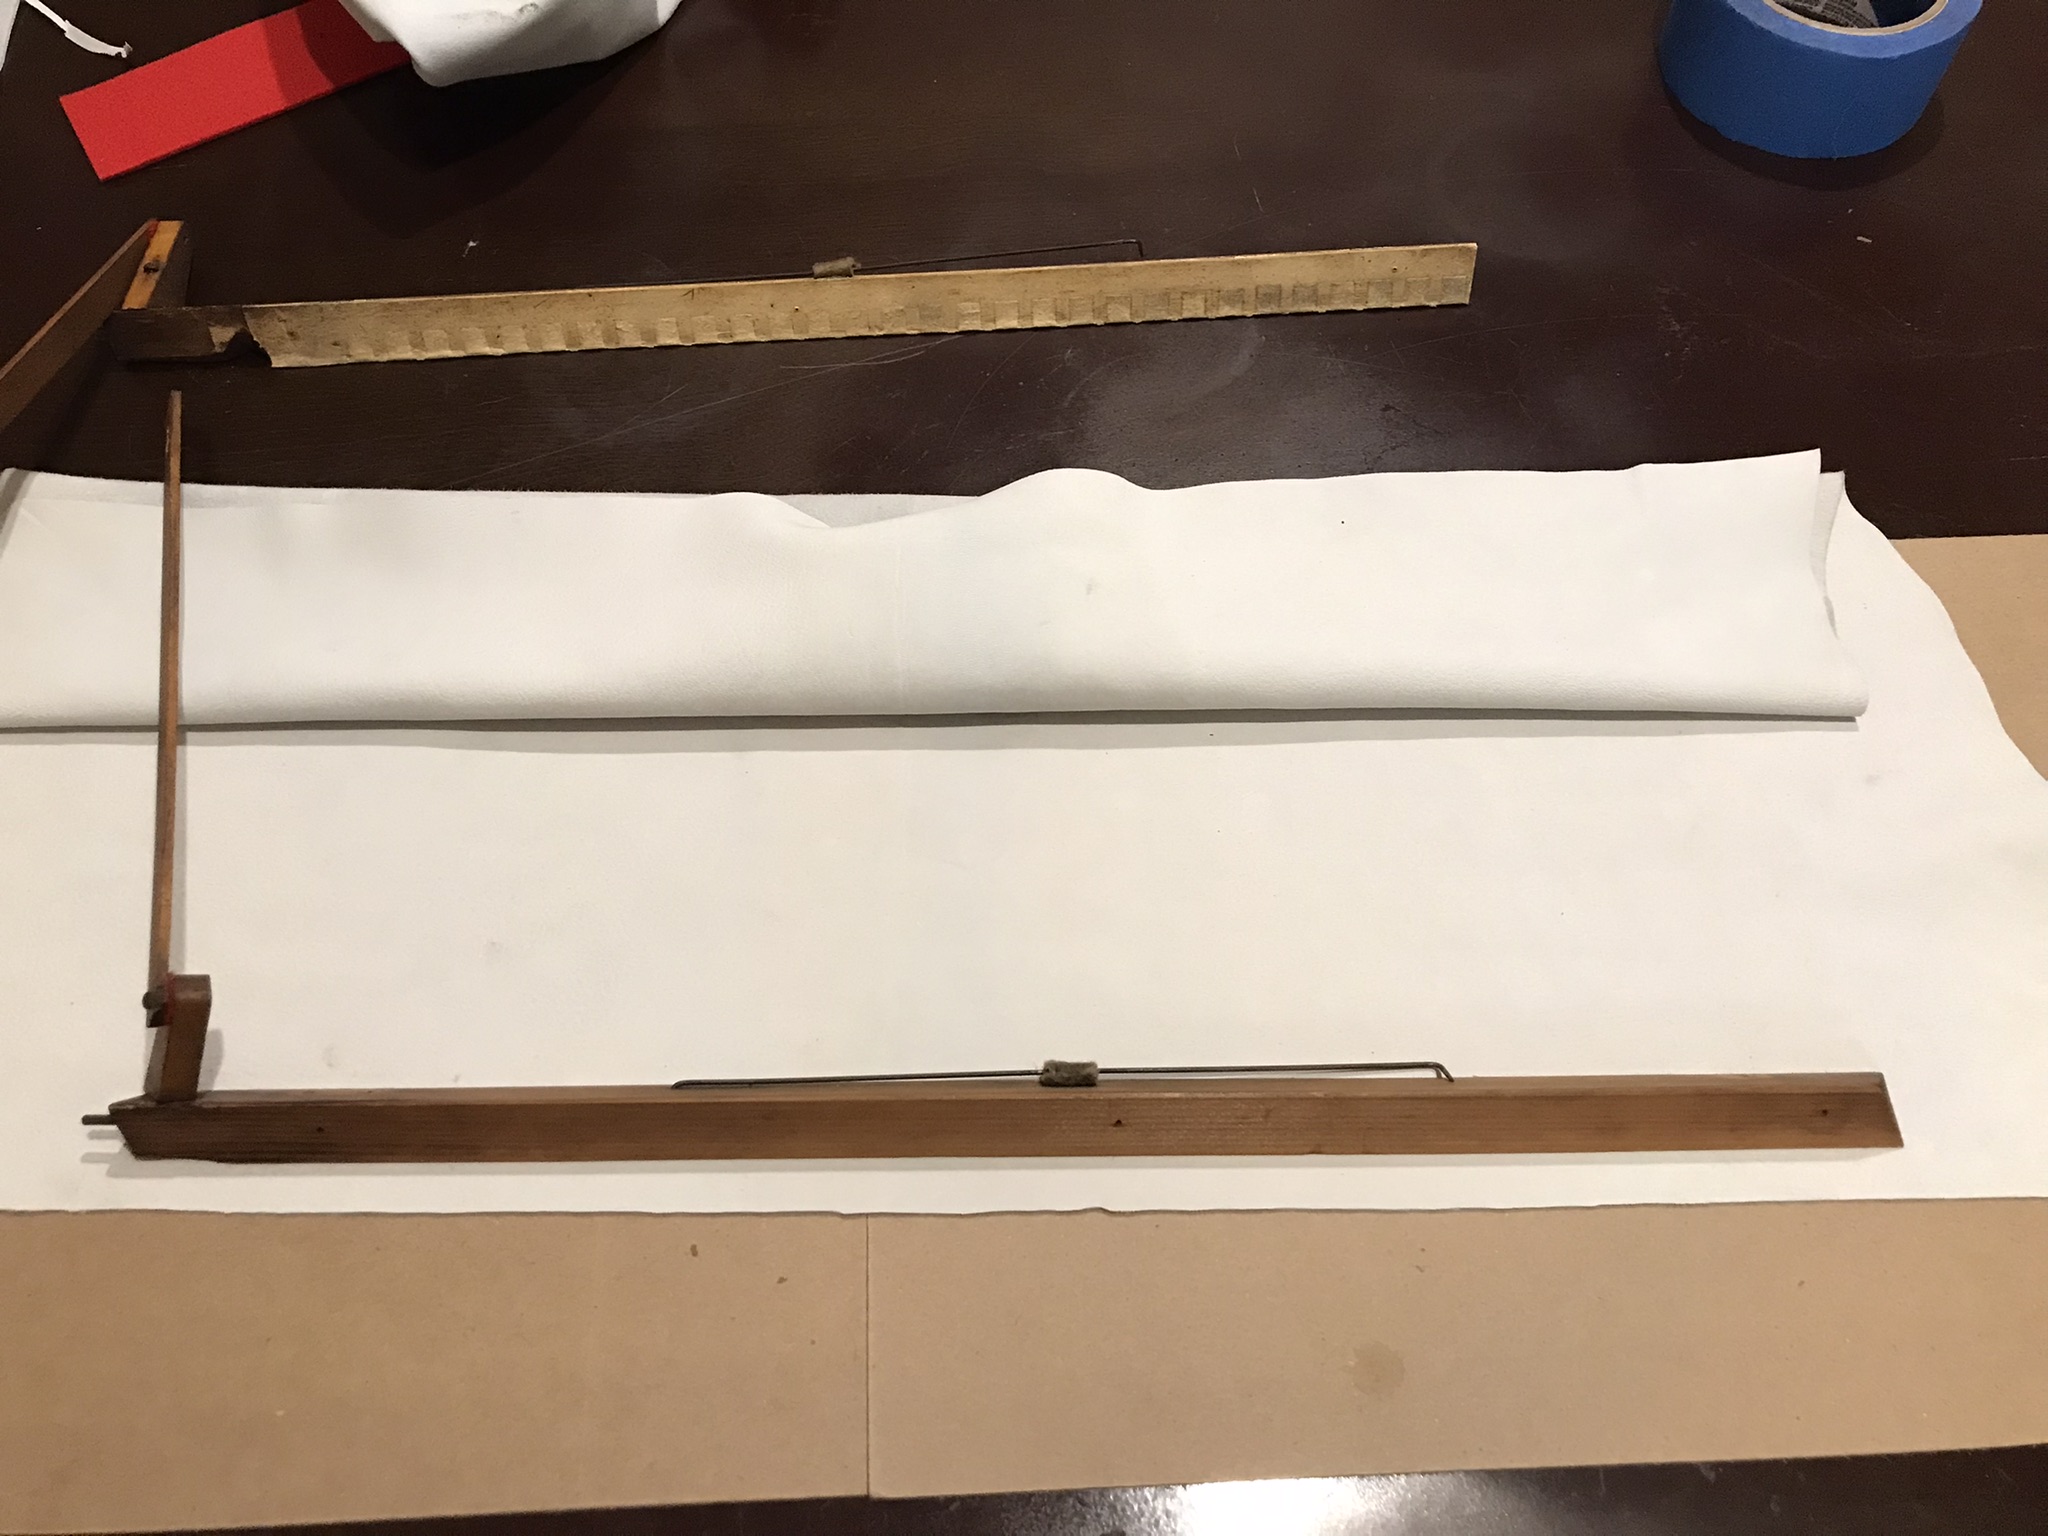
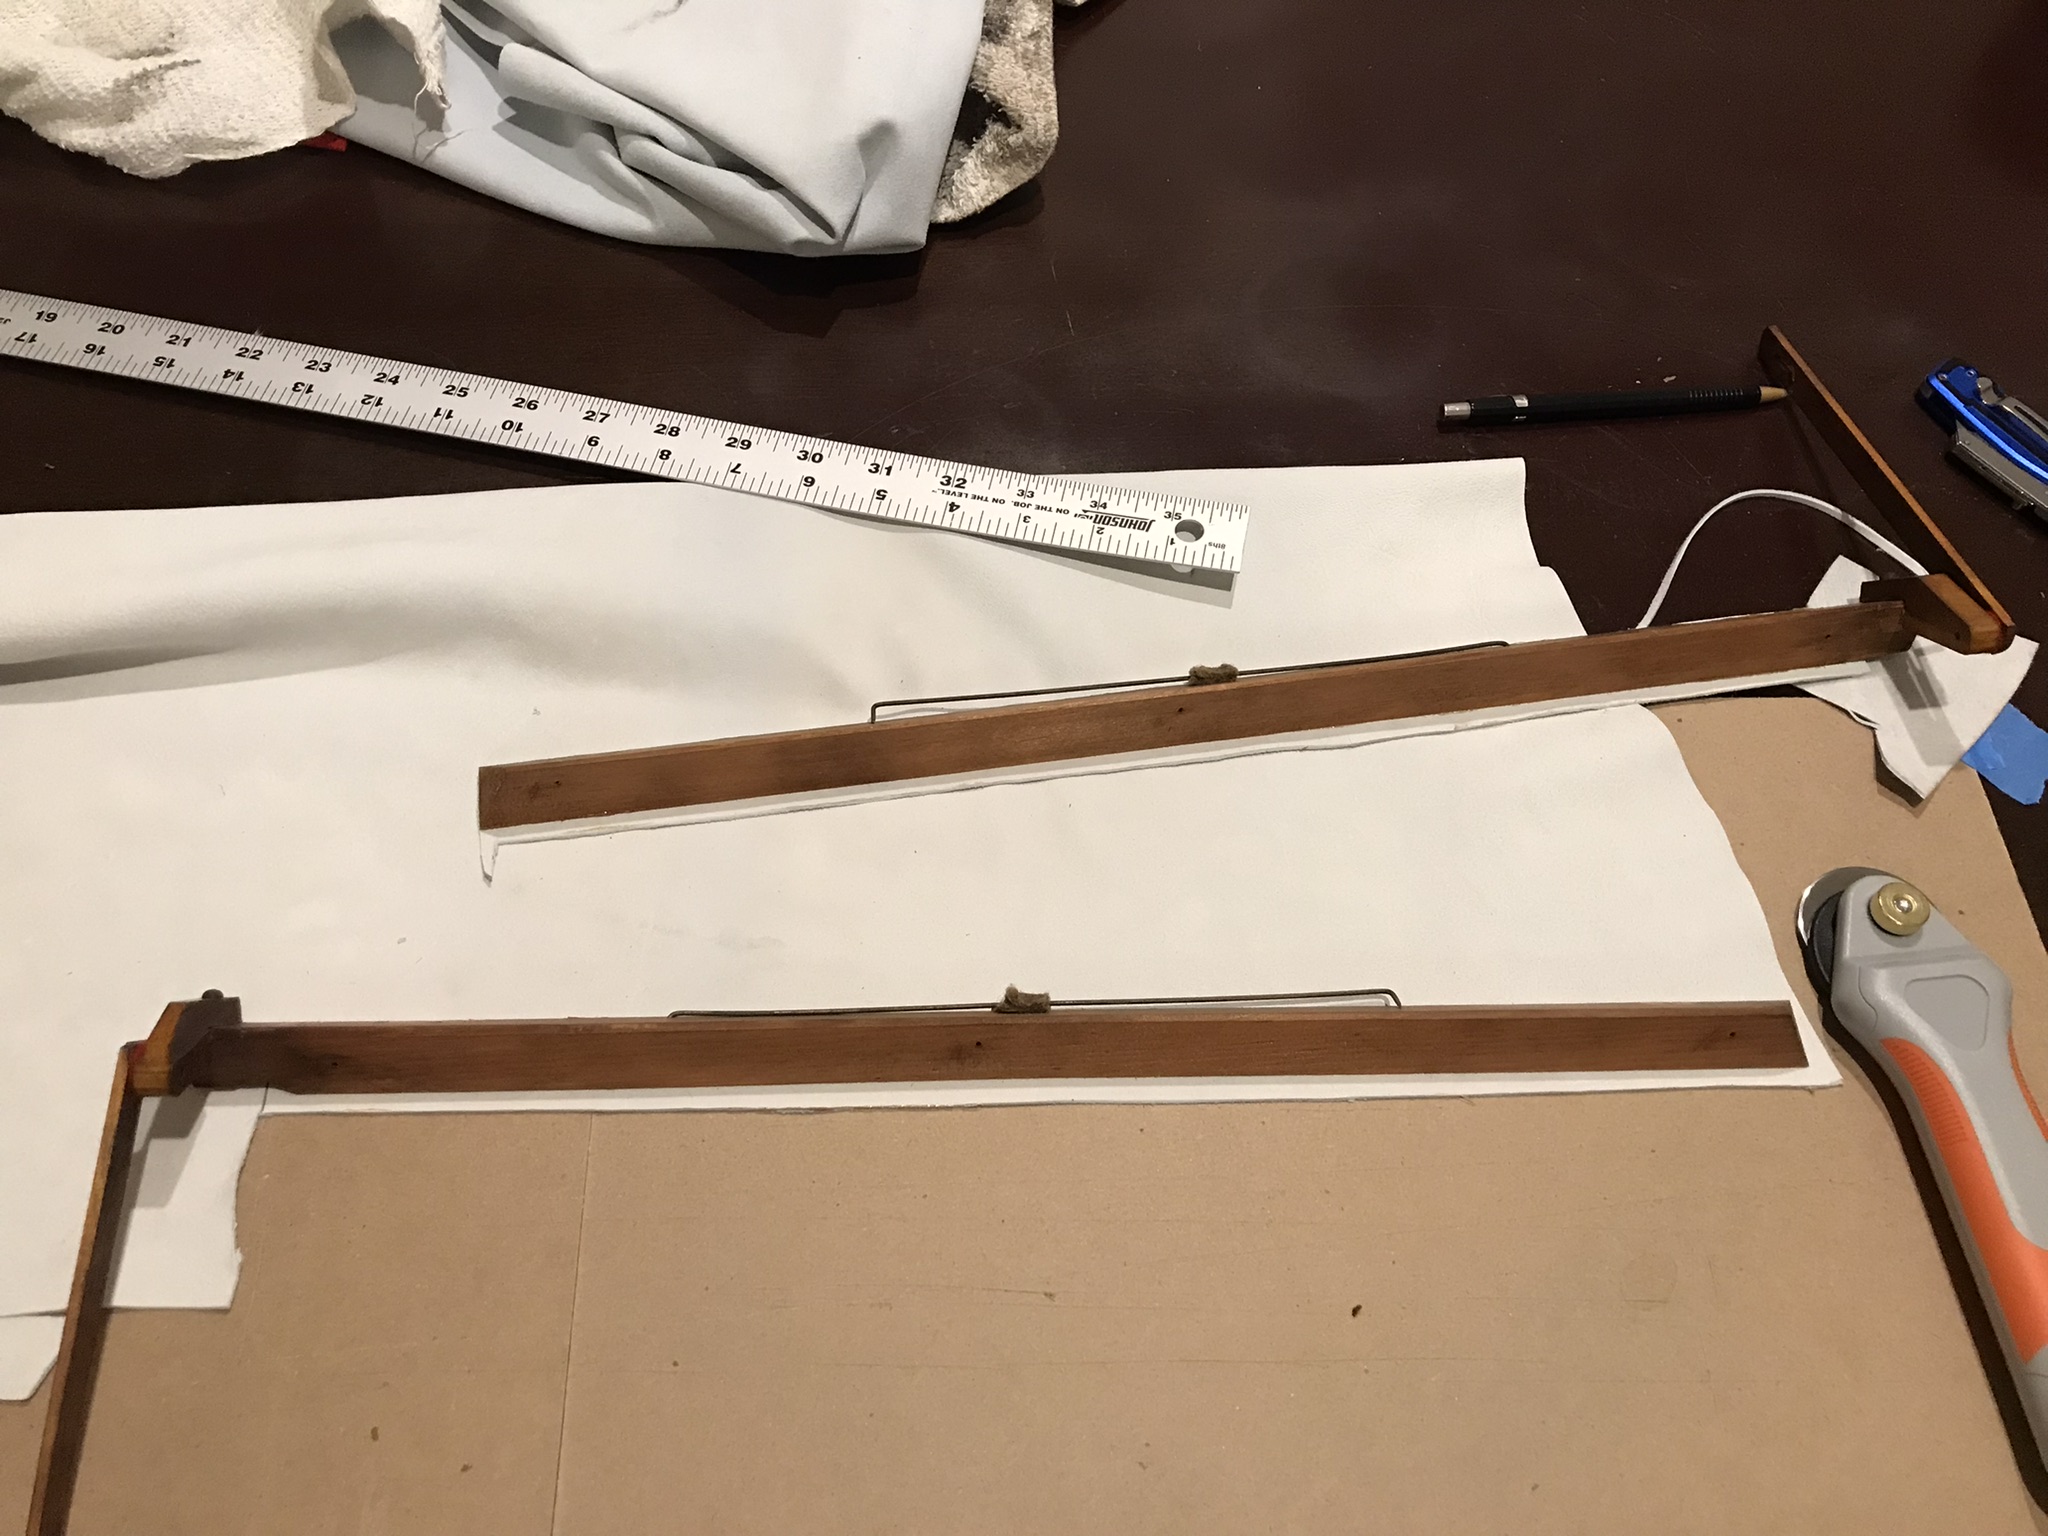
With the reed pan done, I took a look at the mutes. These are essentially additional valves that control either the bass or treble side of a rank. I had hoped to avoid replacing them, since it requires some relatively precise leather-cutting, but it quickly became clear that there was no other choice. The leather was worn and incredibly fragile on all four mutes. The front bass mute was particularly bad, slightly warped and sealing almost none of its reeds. The process went smoothly, however, and I needed a second try on only one mute. As a result, I don’t have many photos.
To make up for the fact reed pan and mutes were simpler than I expected, the octave couplers were much trickier. To begin with, instead of the standard bent-wire mechanism, the builders used a complex arrangement of wooden levers to accomplish the same thing. These are more fragile, complex, and larger than the standard mechanism. Maybe the organ was built before that time. Or maybe they did it to avoid patent infringment. Whatever the reason, his heart or his shoes, I had to restore them. I orginally planned to only replace the most worn bits, but ended up doing a proper restoration.
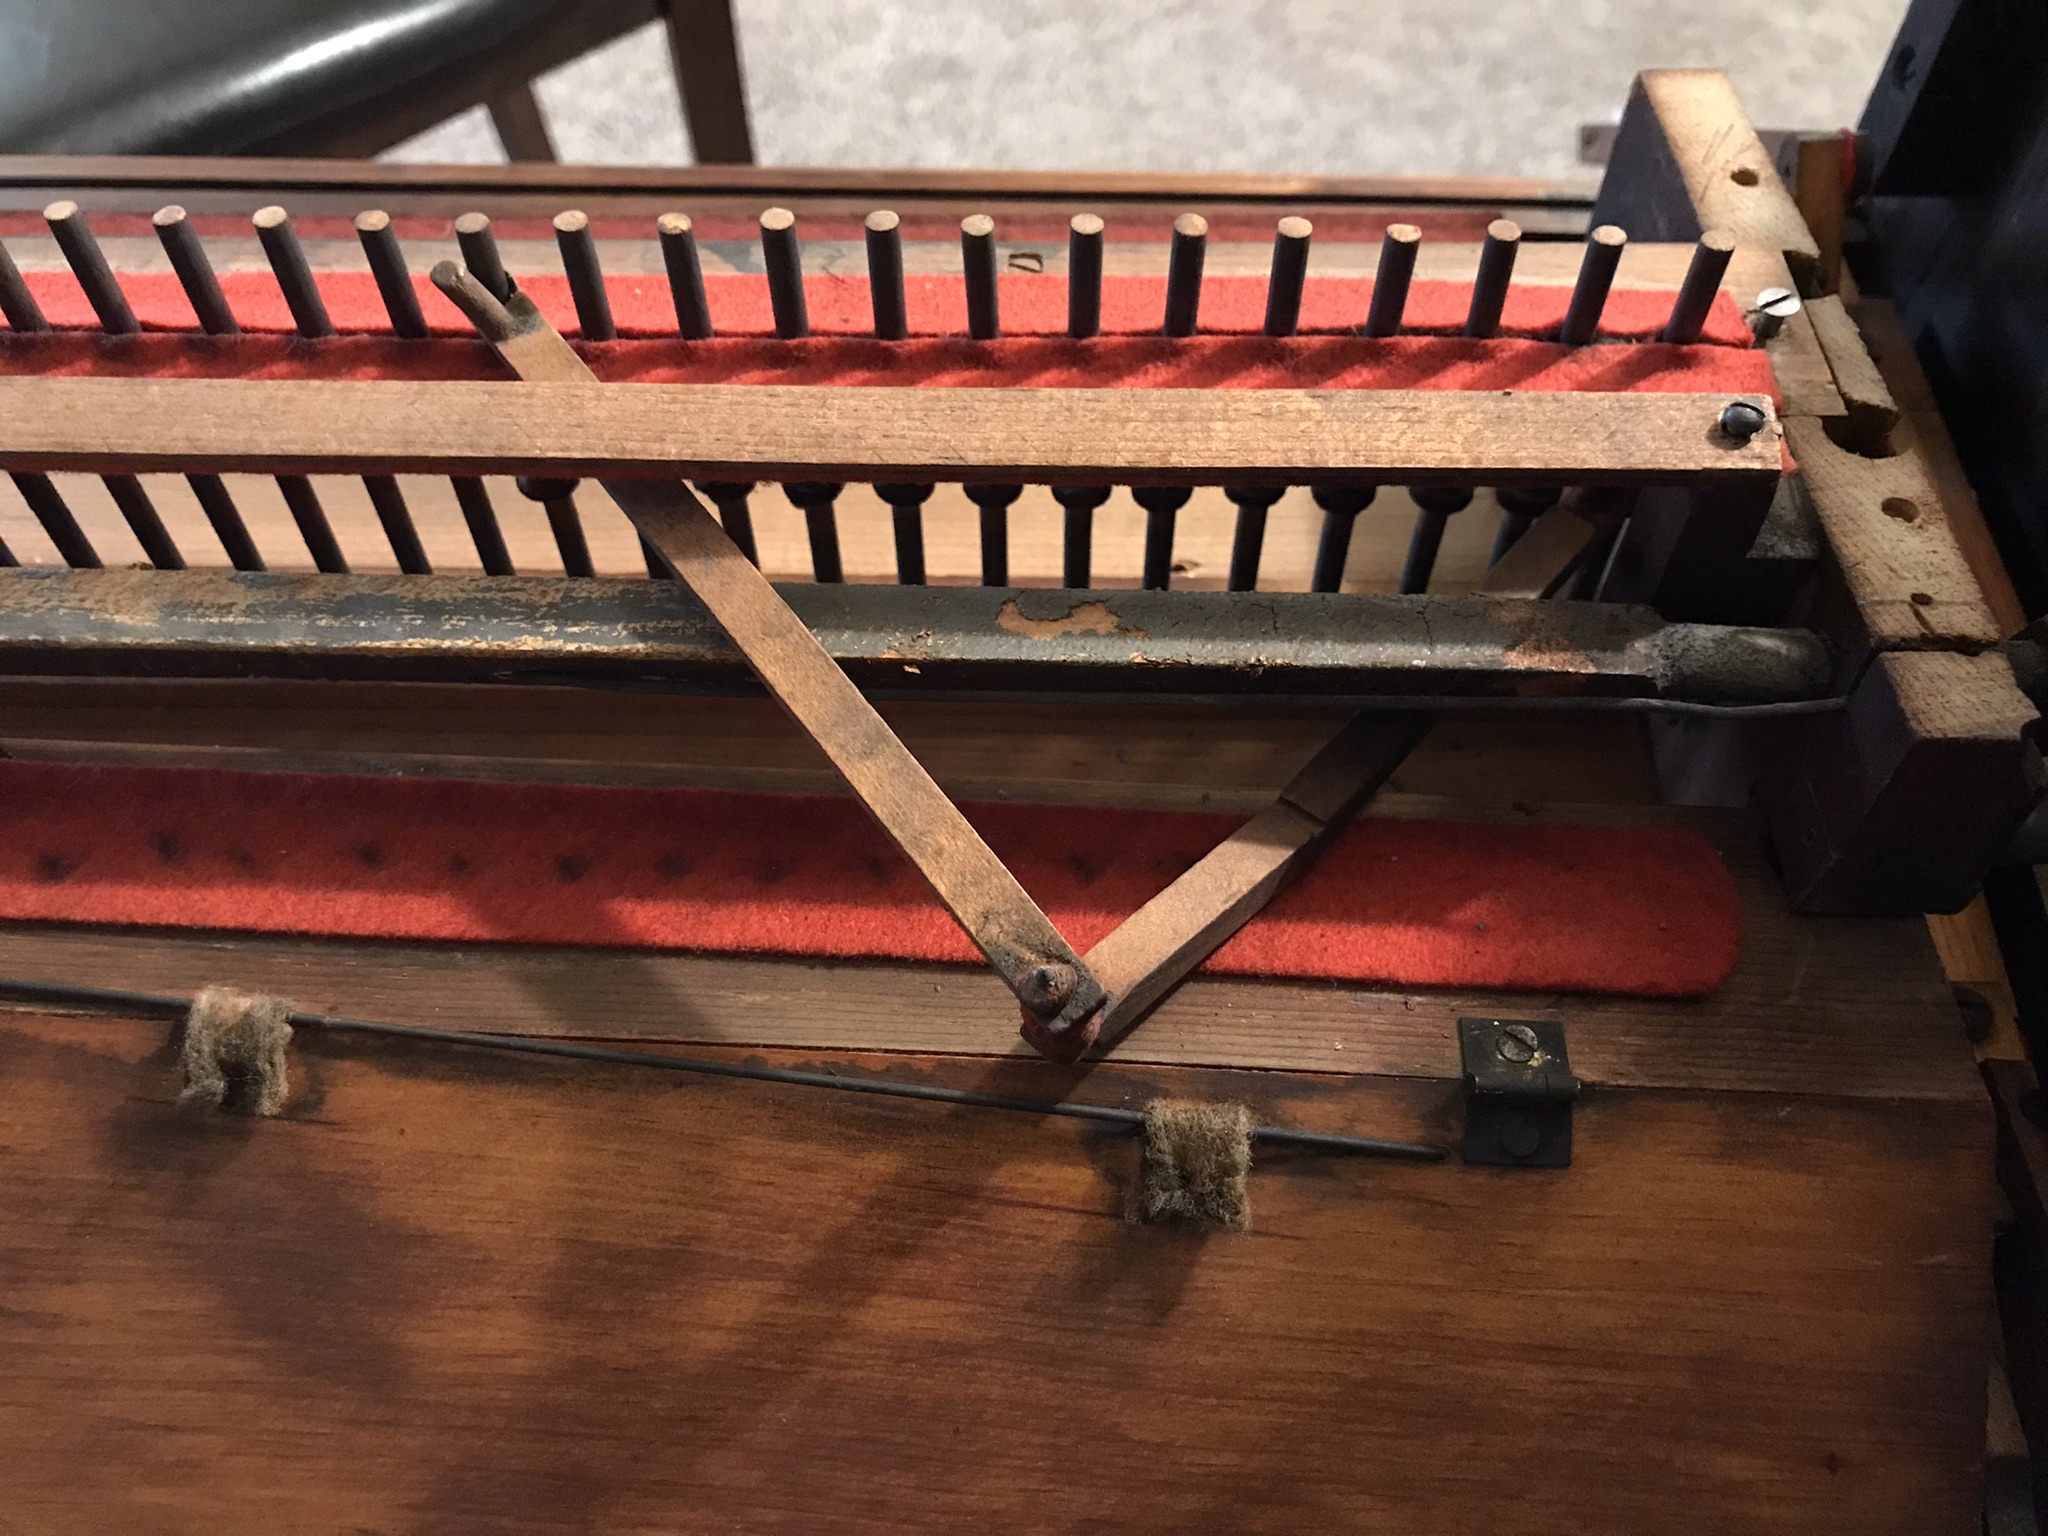
A close up view of the coupler mechanism. The keys rest on both the pitman and the small peg attached to the top lever. There’s ordinarily enough slack so that the levers just sort of feebly rotate when a key is pressed. But when the coupler is enabled, the graphite-covered bar rotates 45 degrees, eliminating the slack and allowing the lever to engage, pushing the coupled pitman.
The design depends on 3/16" holes drilled into 1/4" wood levers, which is extremely questionable to say the least. They only serve to keep the lever in place, so they don’t need to be super strong, but after over a century, they’re dangerously fragile. Needless to say, I broke two, but some wood glue and surgury had them fixed overnight.
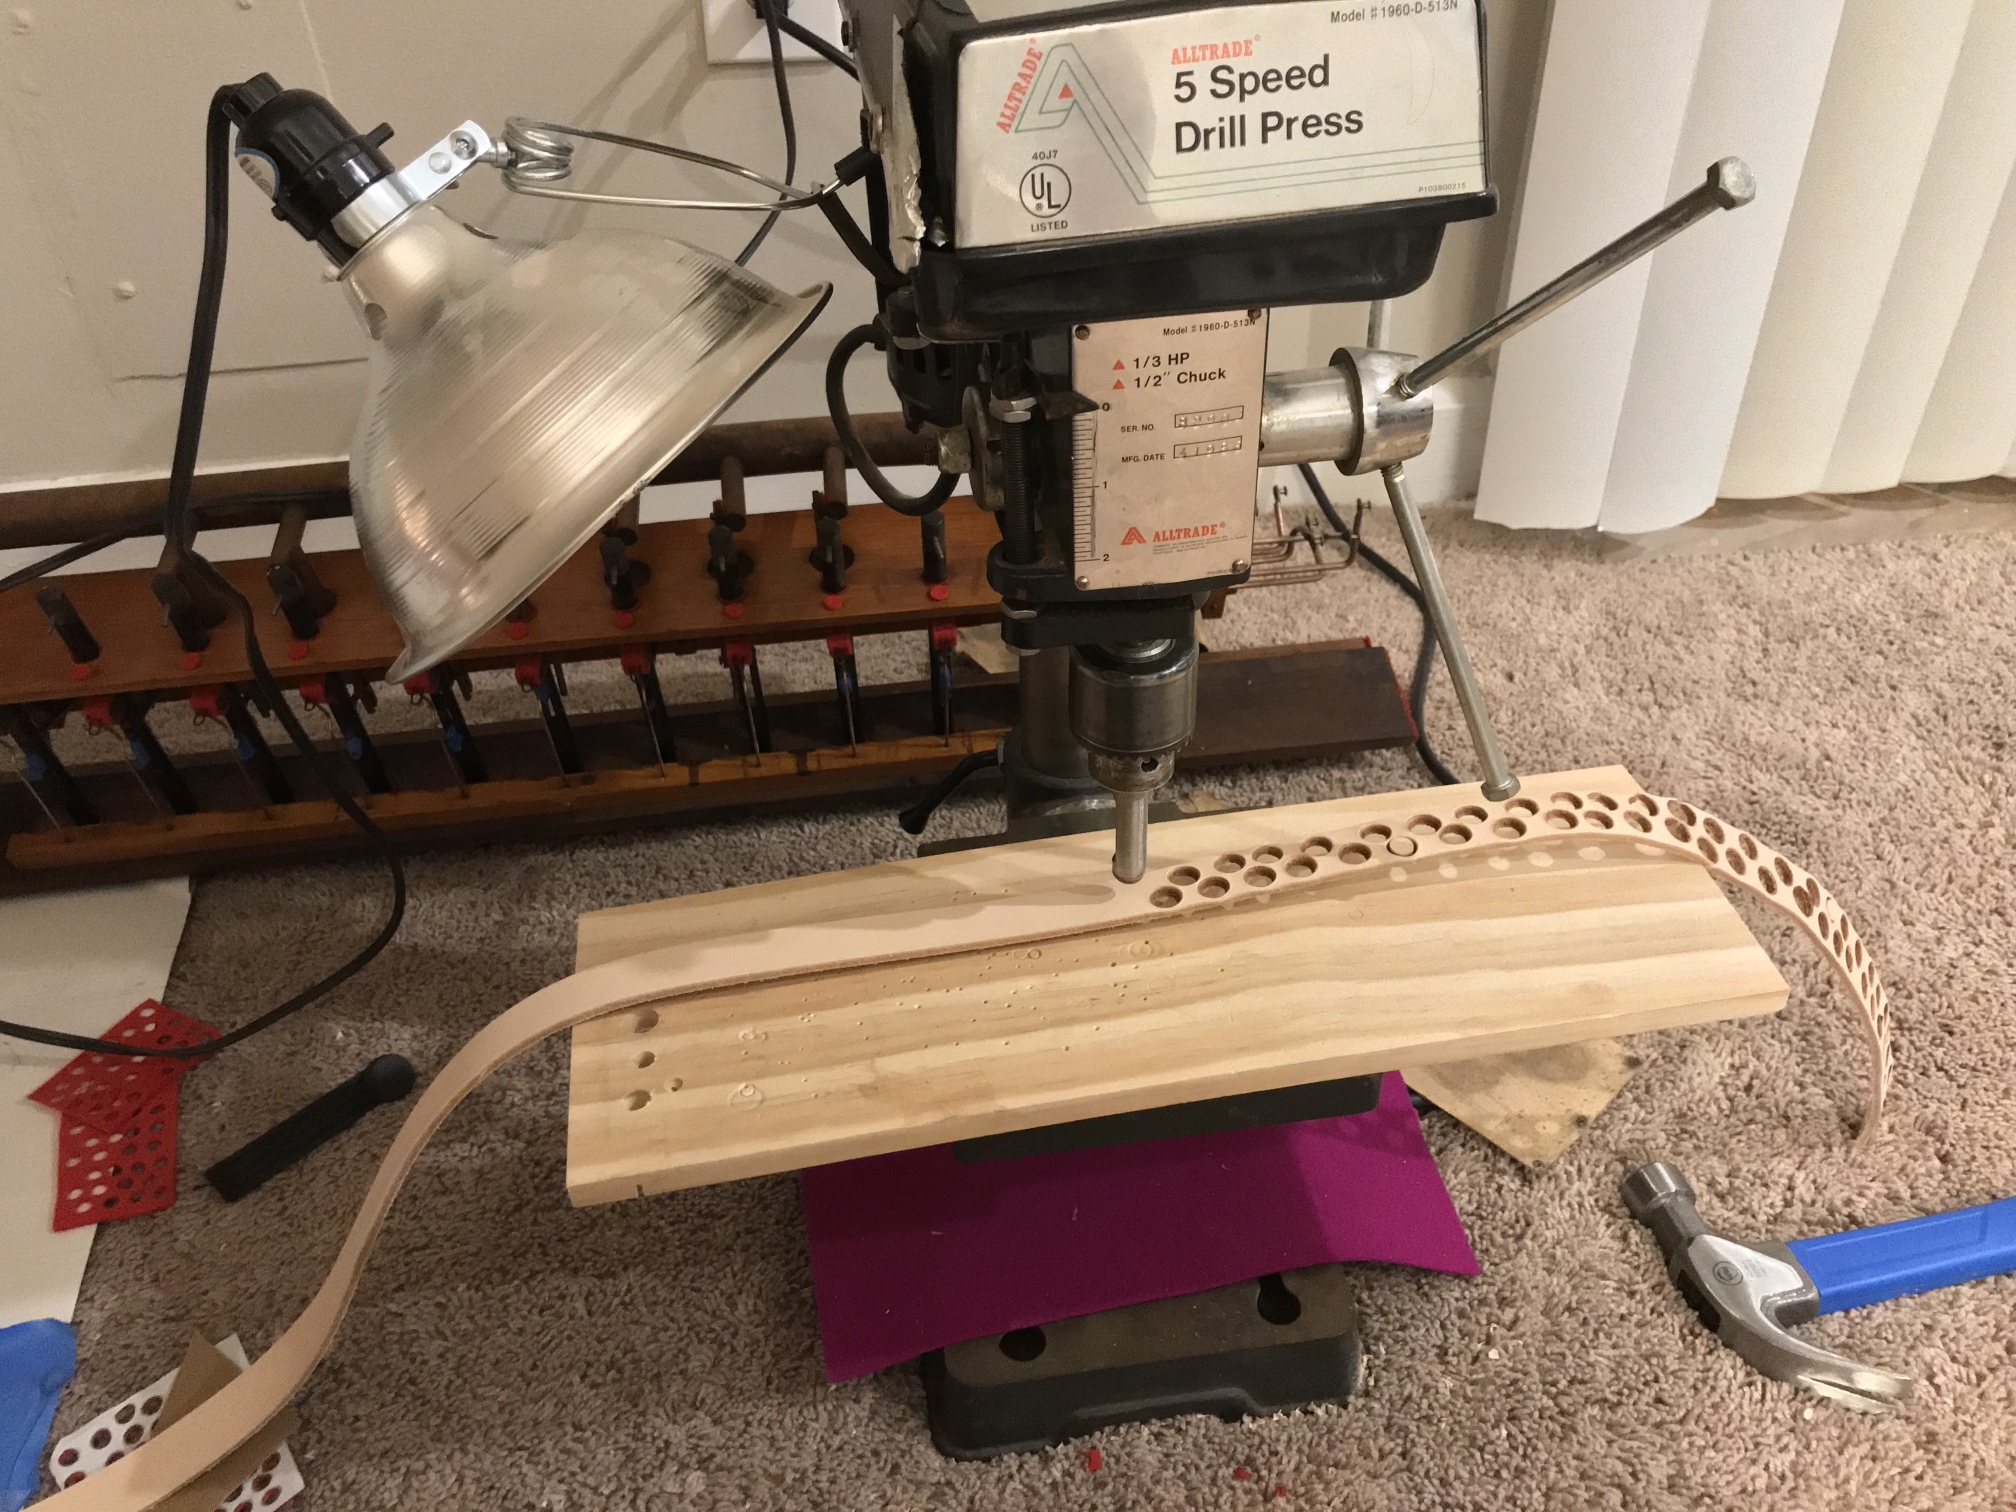
The upper pitman guide was originally covered with two long strips of felt. I decided to replace it with a single strip of felt with regularly punched holes. It ended up looking way nicer, but it took several tries to re-discover the power of paper templates.
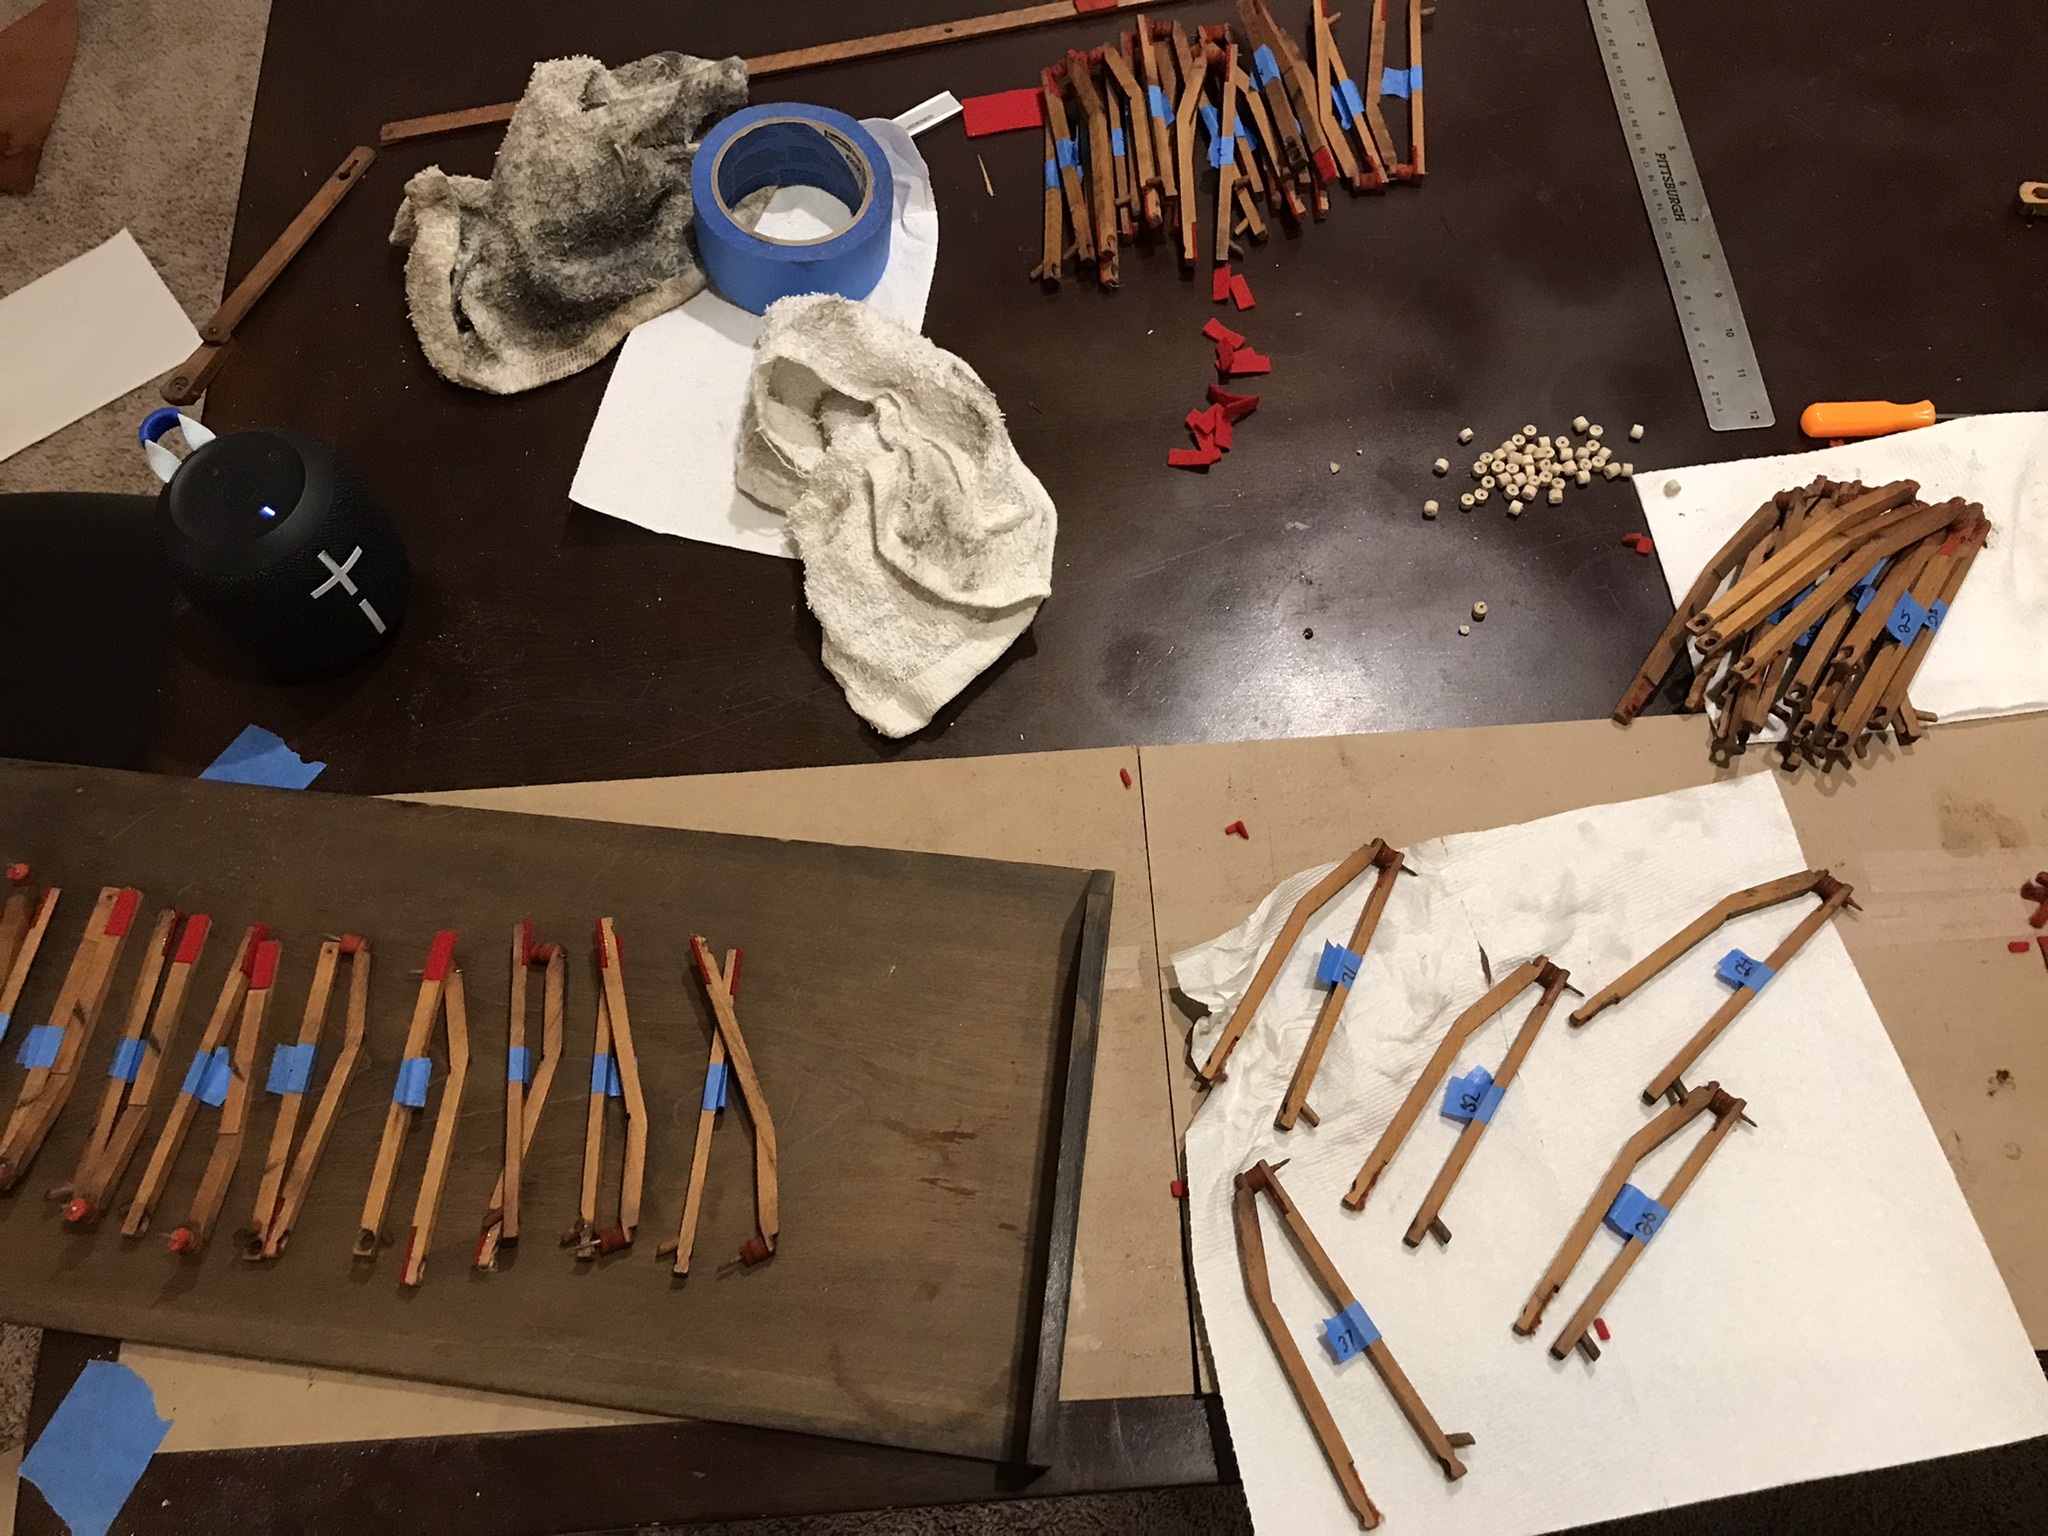
Part way through restoring the levers. Labeled with painters’ tape, of course. I really think that they’re all identical, but I know better than to mix them up!
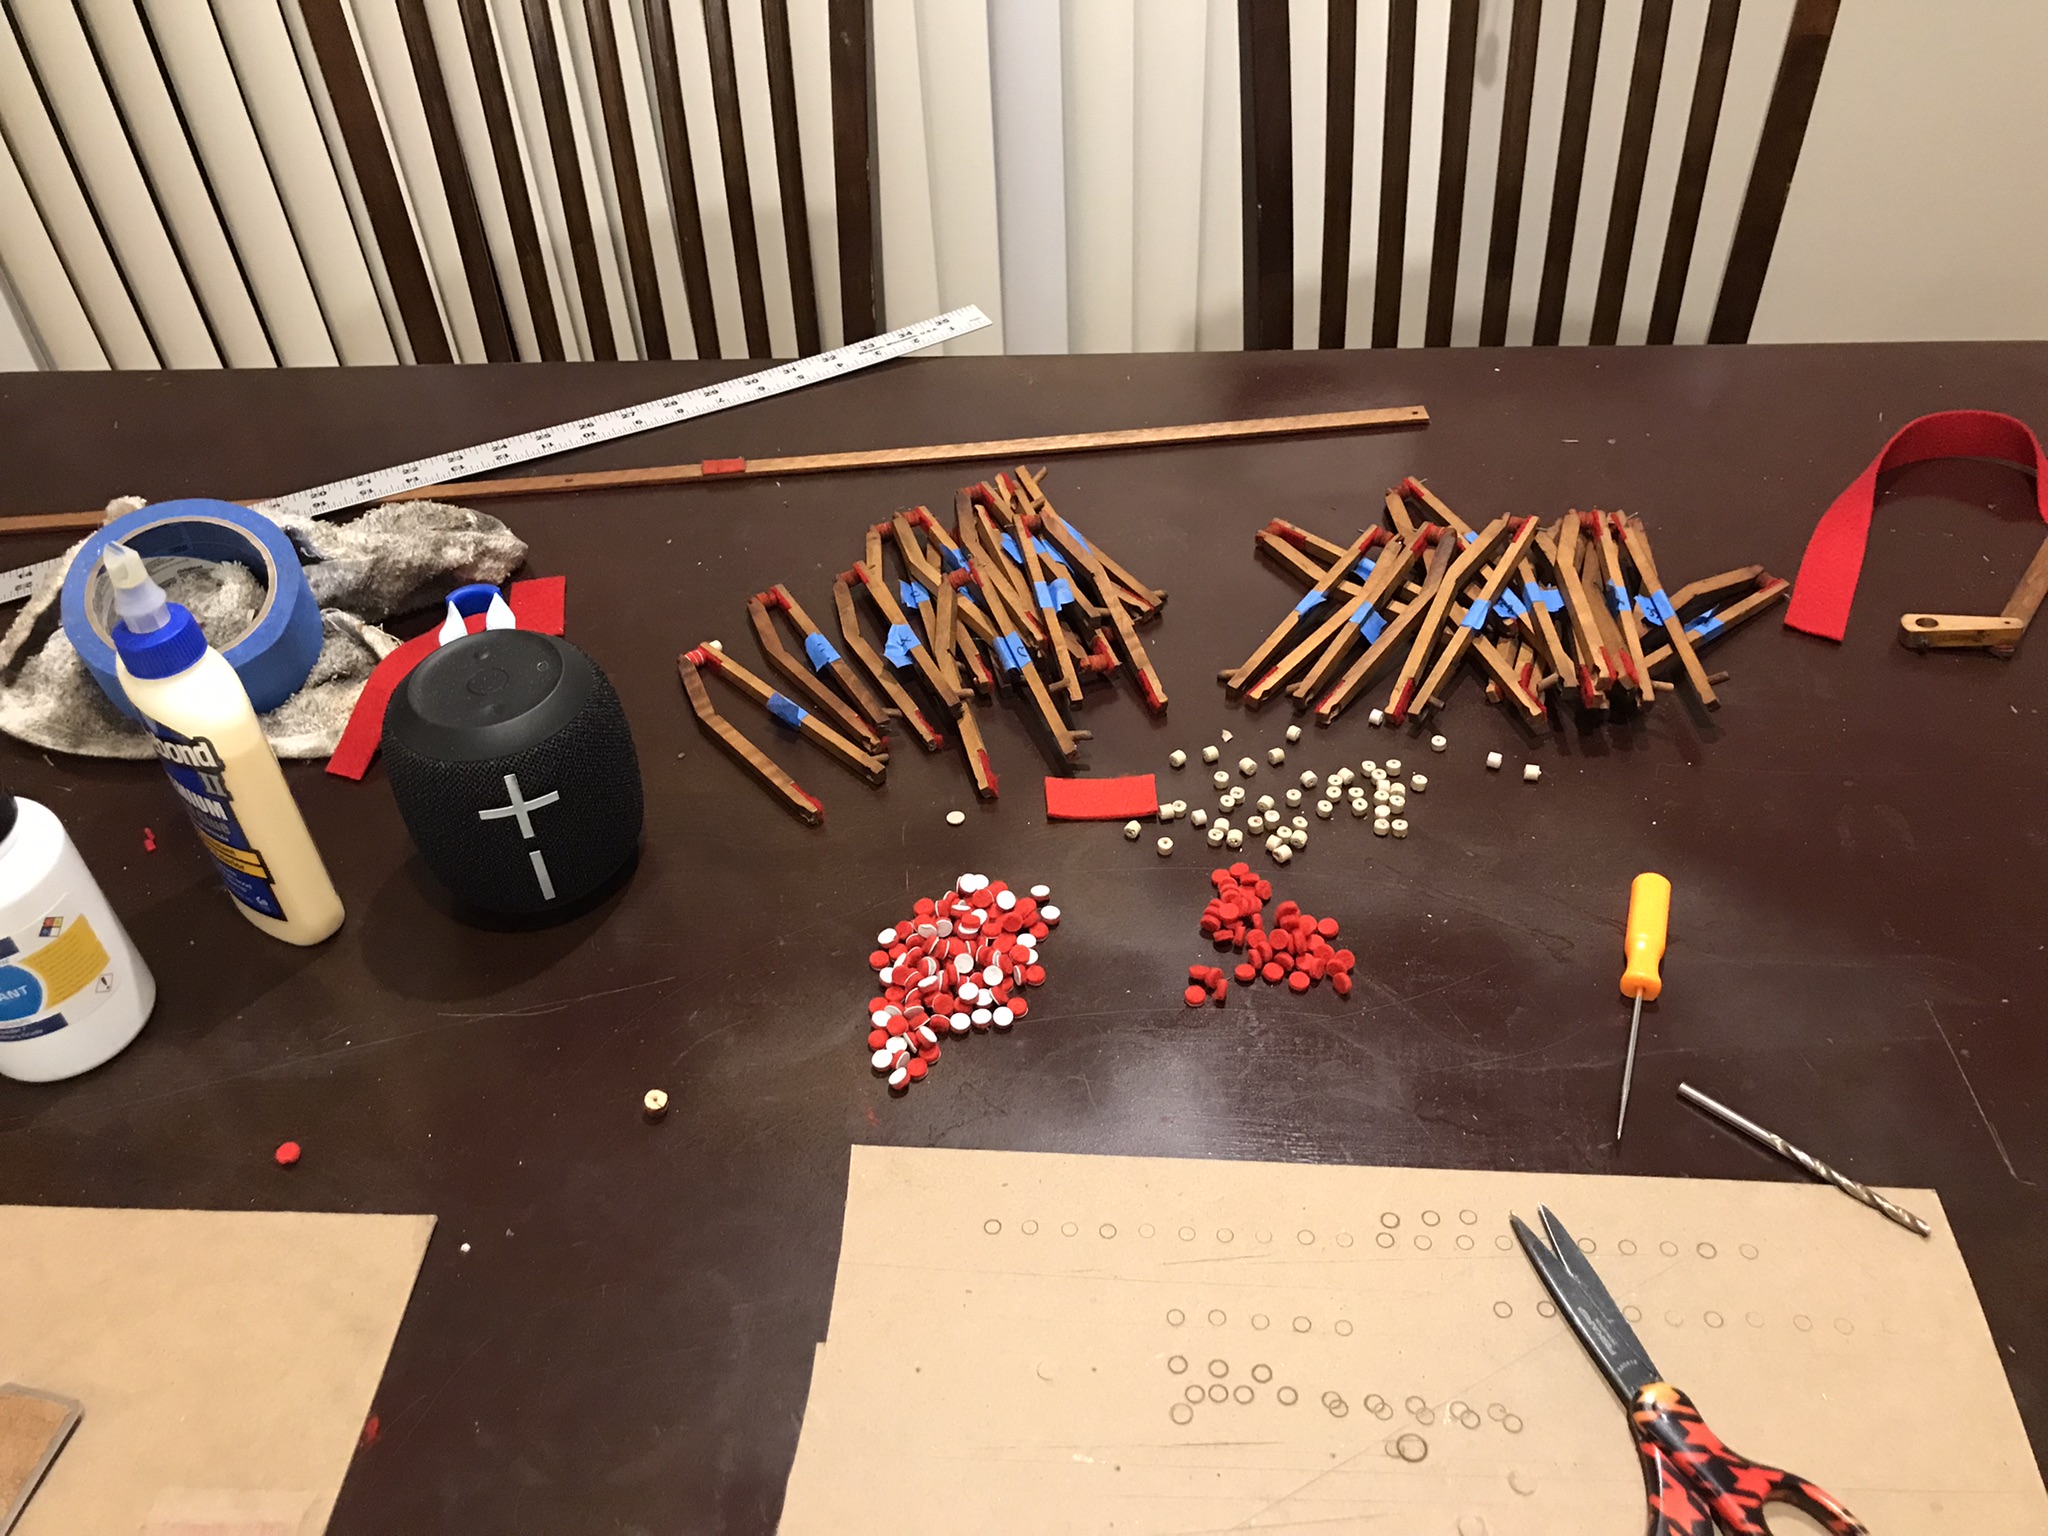
For reasons long forgotten, the level arms are spaced by three felt disks sandwiching two leather disks. I don’t know why they didn’t skip the leather disks, but I did my best to reproduce it. Who am I to question the wisdom of the forefathers?
The end is in sight! All that really remains is the keyboard and some miscellaneous bits of casework. Unless someone stops me, I’ll probably also polish up some of the rougher edges of the stop action. I’m also hoping that I don’t have to tune the reeds. I know enough about the process to dread it. We’ll see what happens.

